
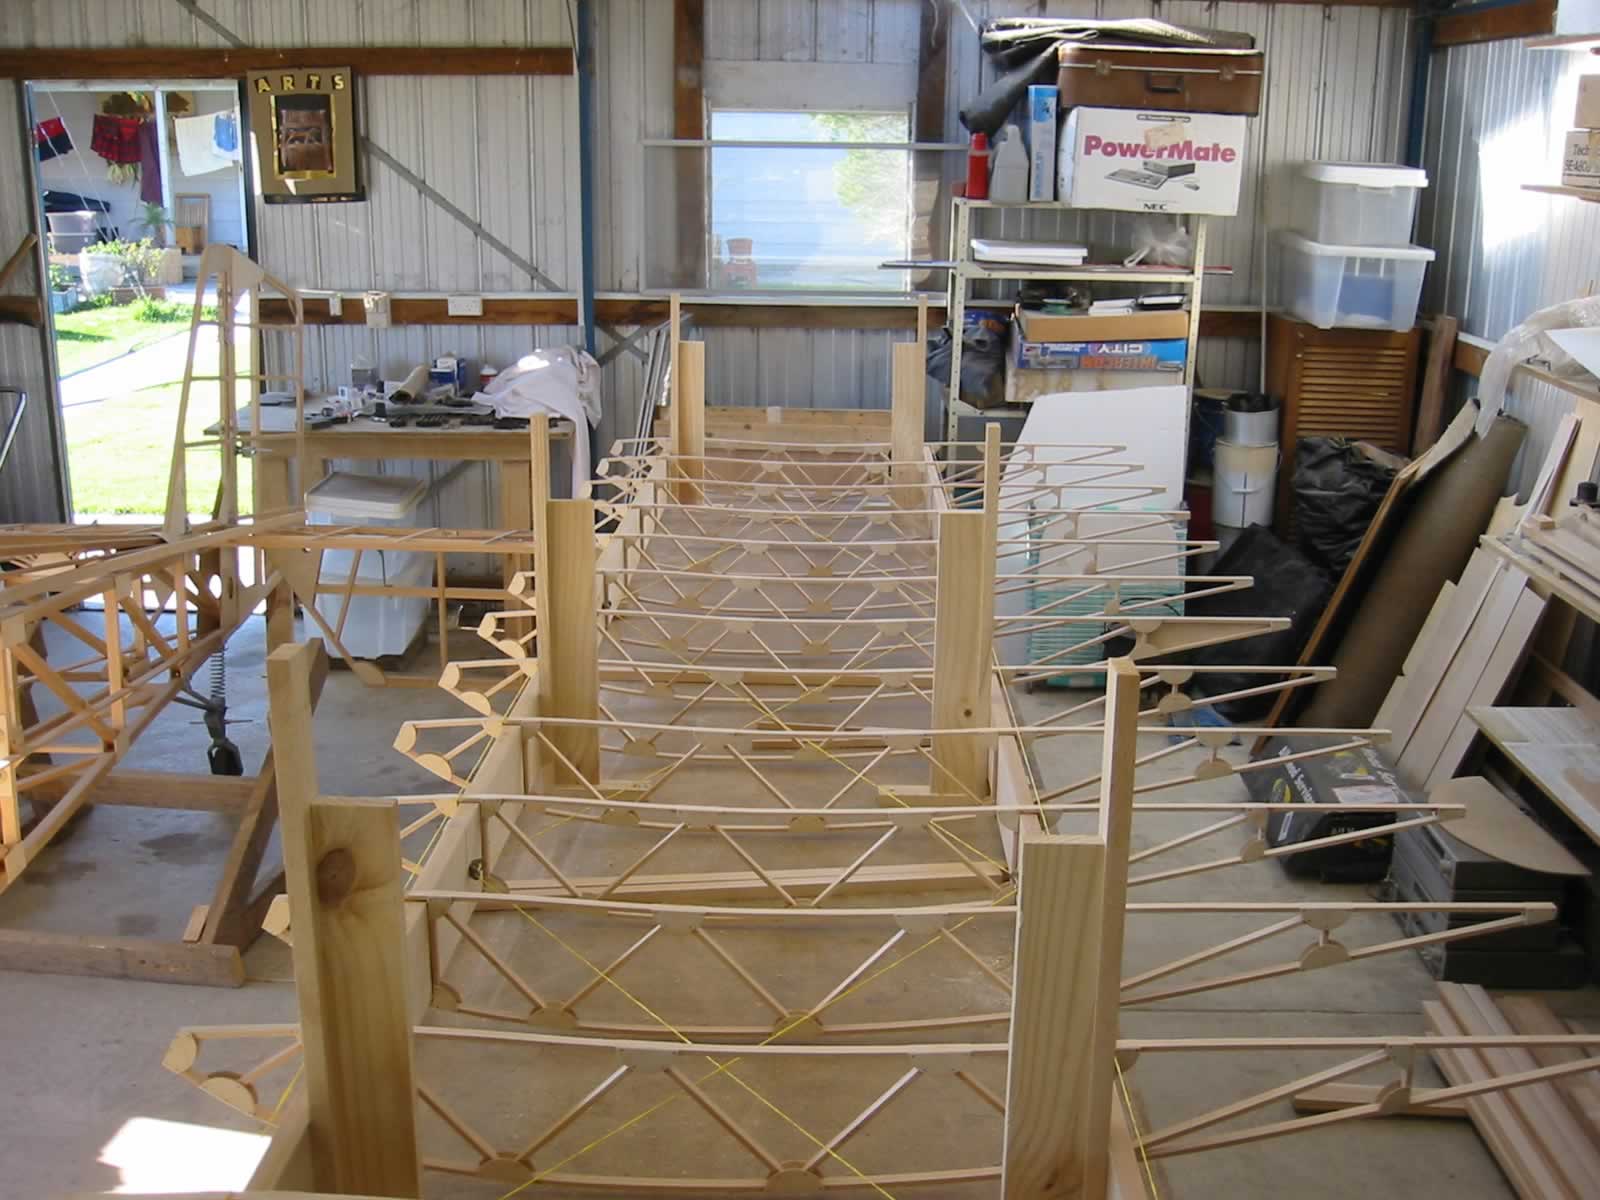
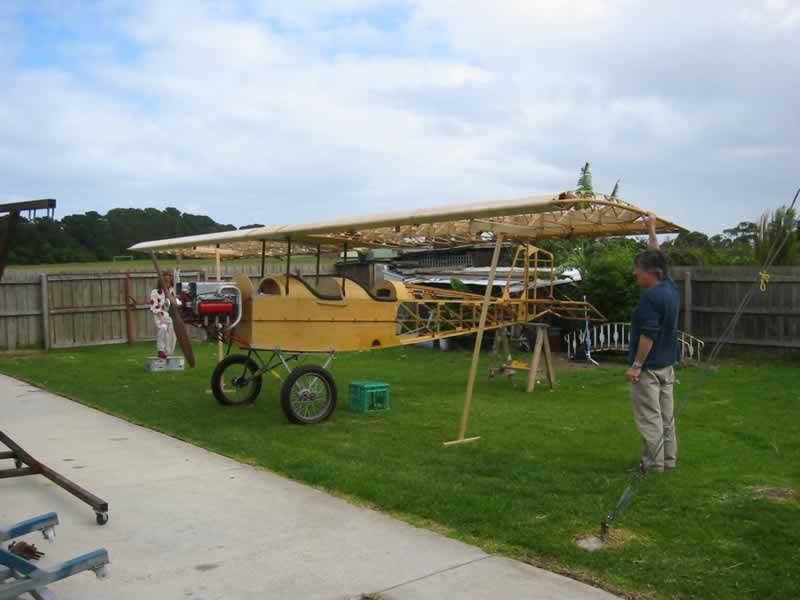
I am laying out the wing upside down and using the center section as a mounting jig. This I hope will keep the wings not only square in itself but also square overall
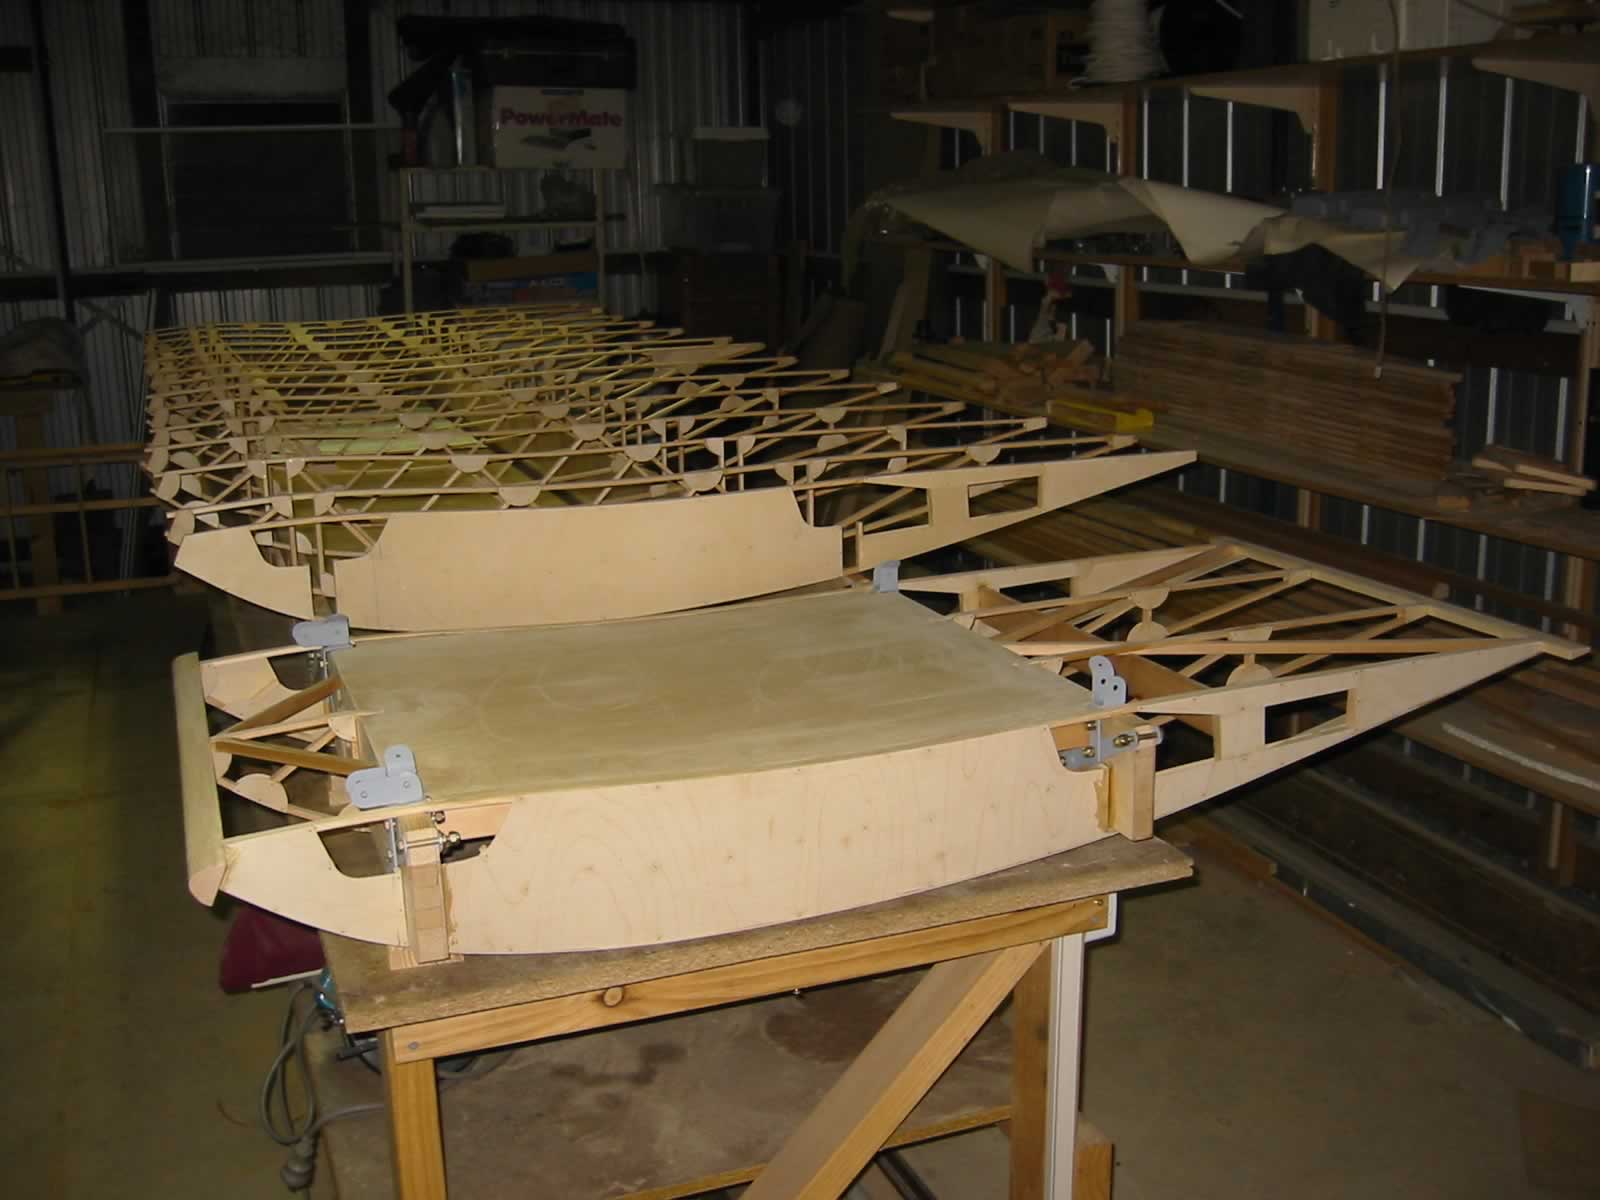 The center section bolted to the wing spars with ribs on top
 The ribs laid out in position on top of the spars. The spars are bolted to the center section using the wing mounting fittings
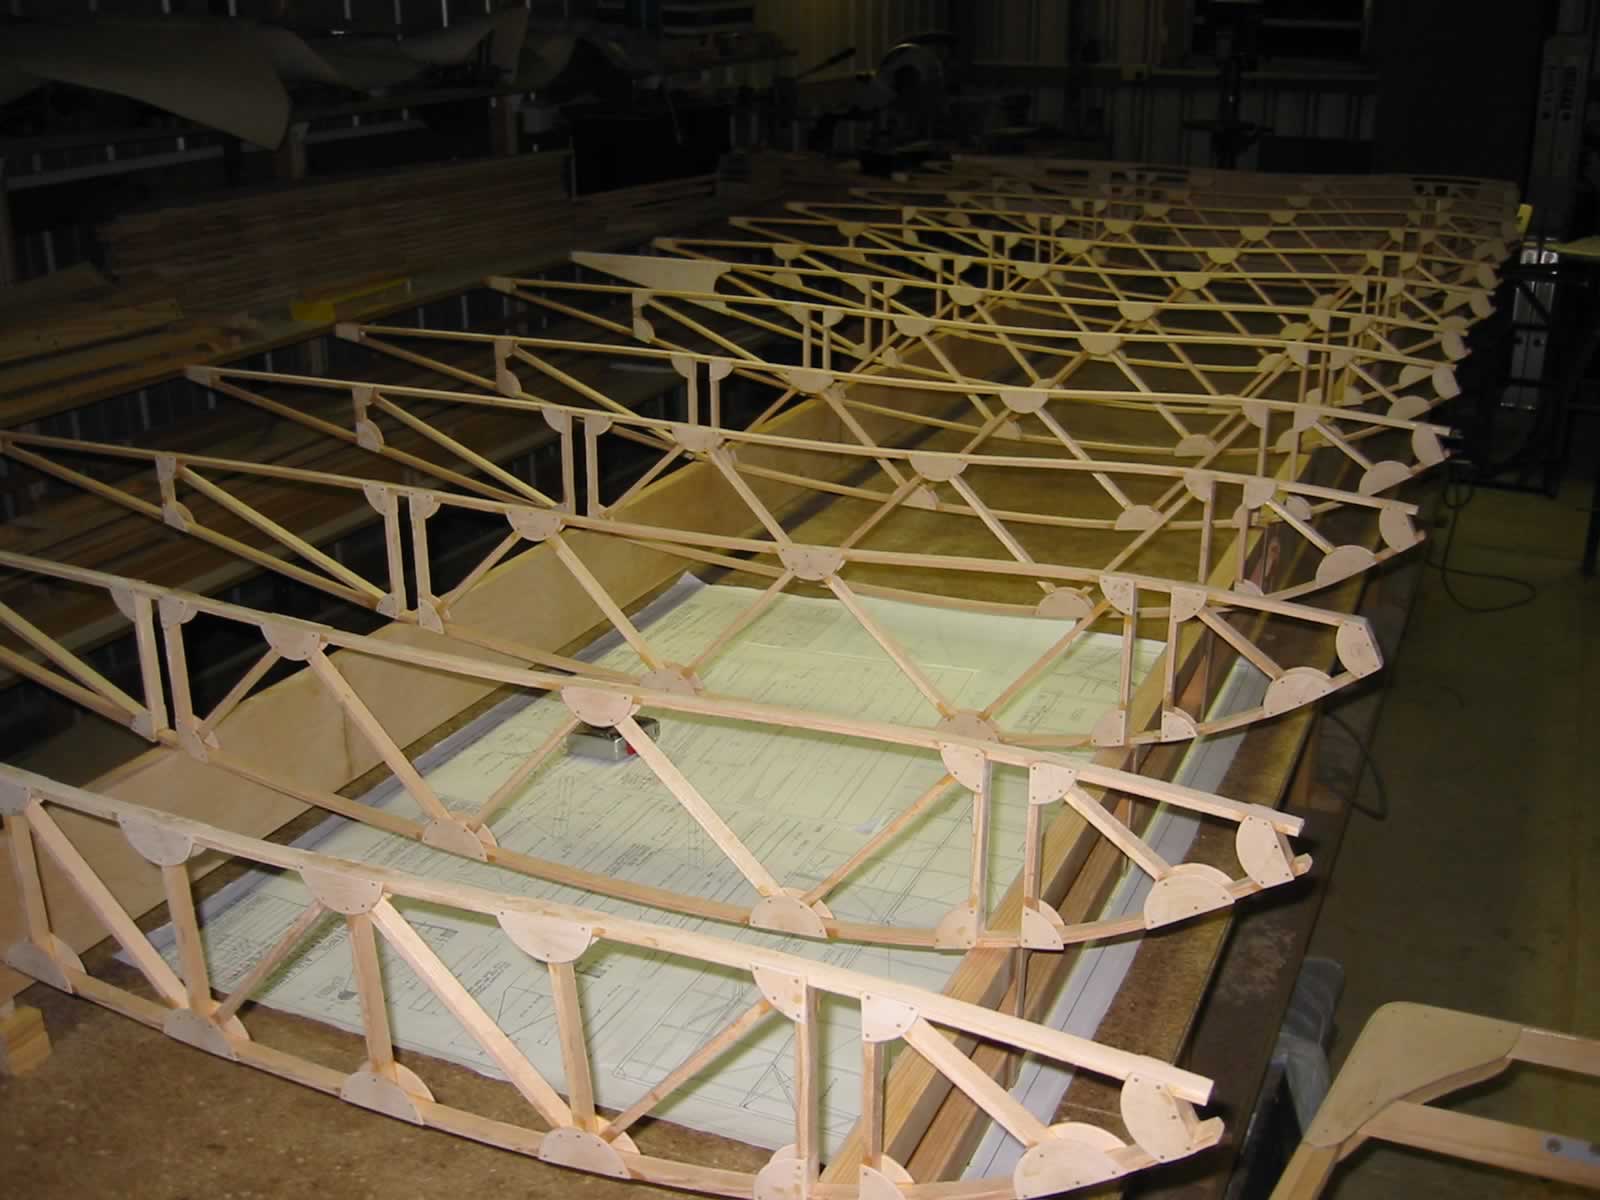 The front of the ribs still need sanding to take the leading edge
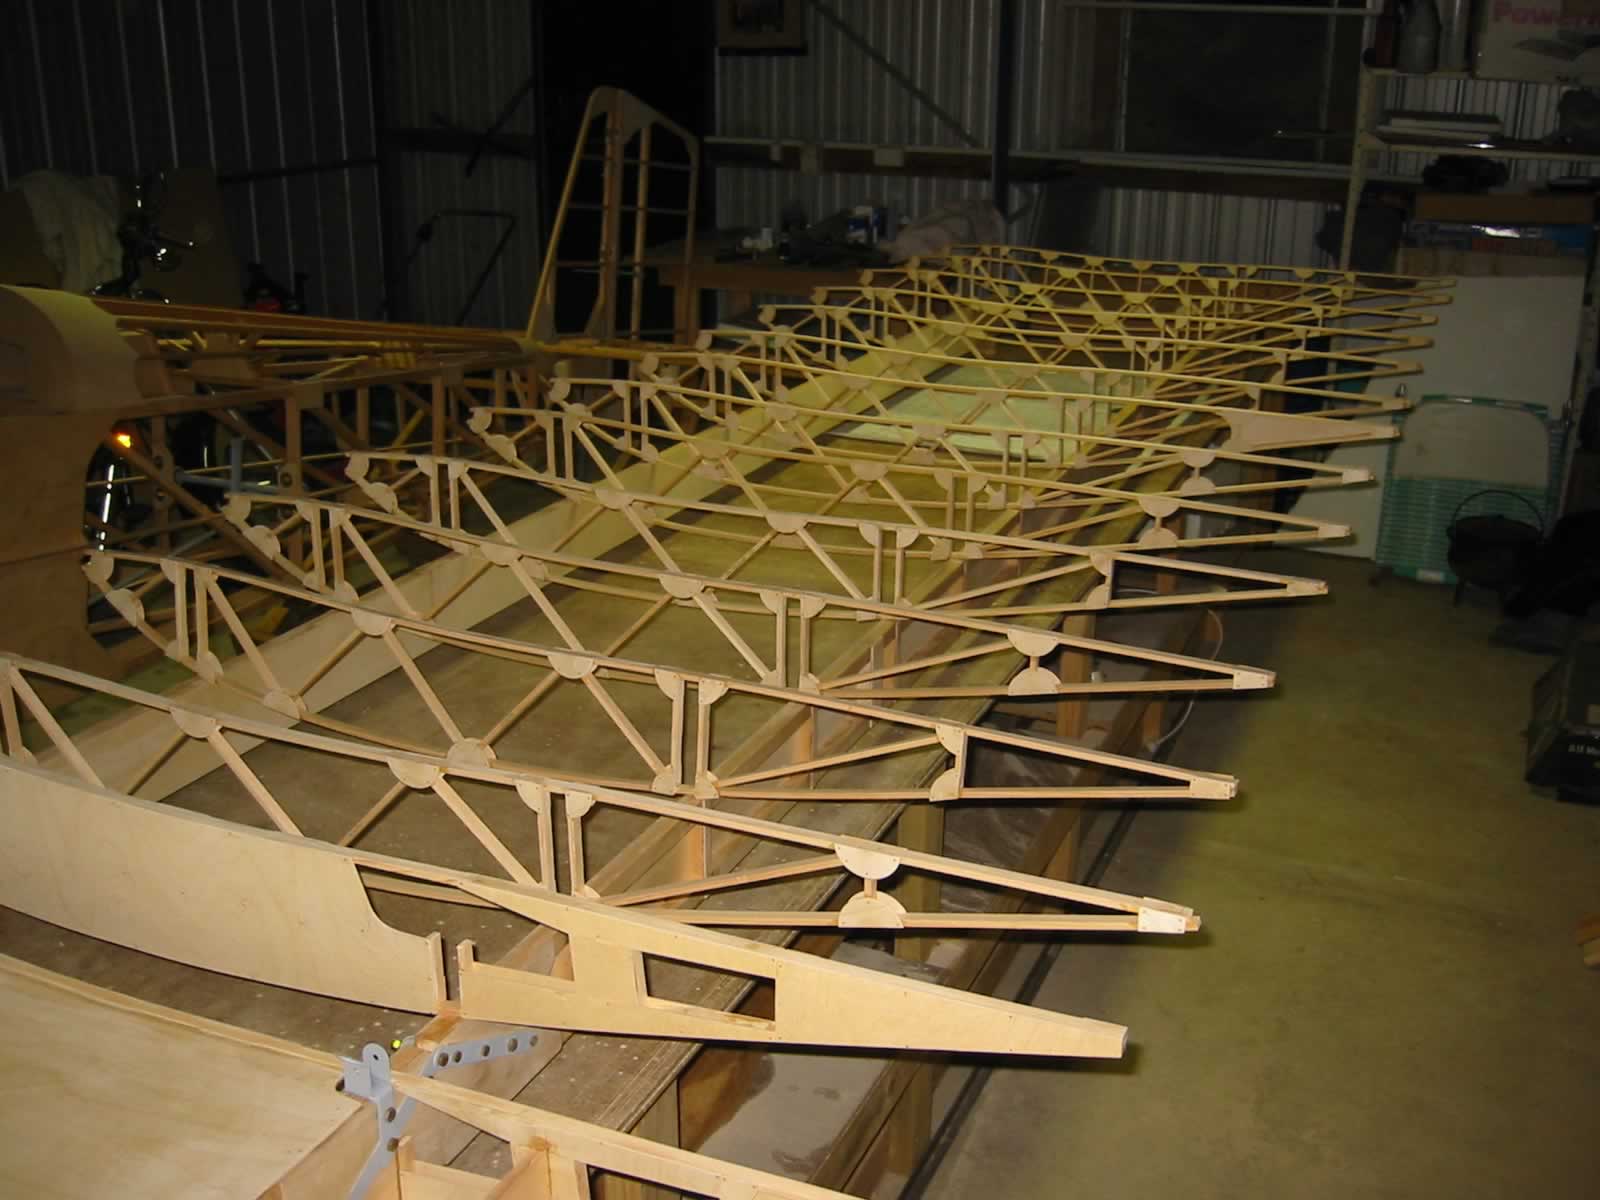
 What a lot of wood!!!!
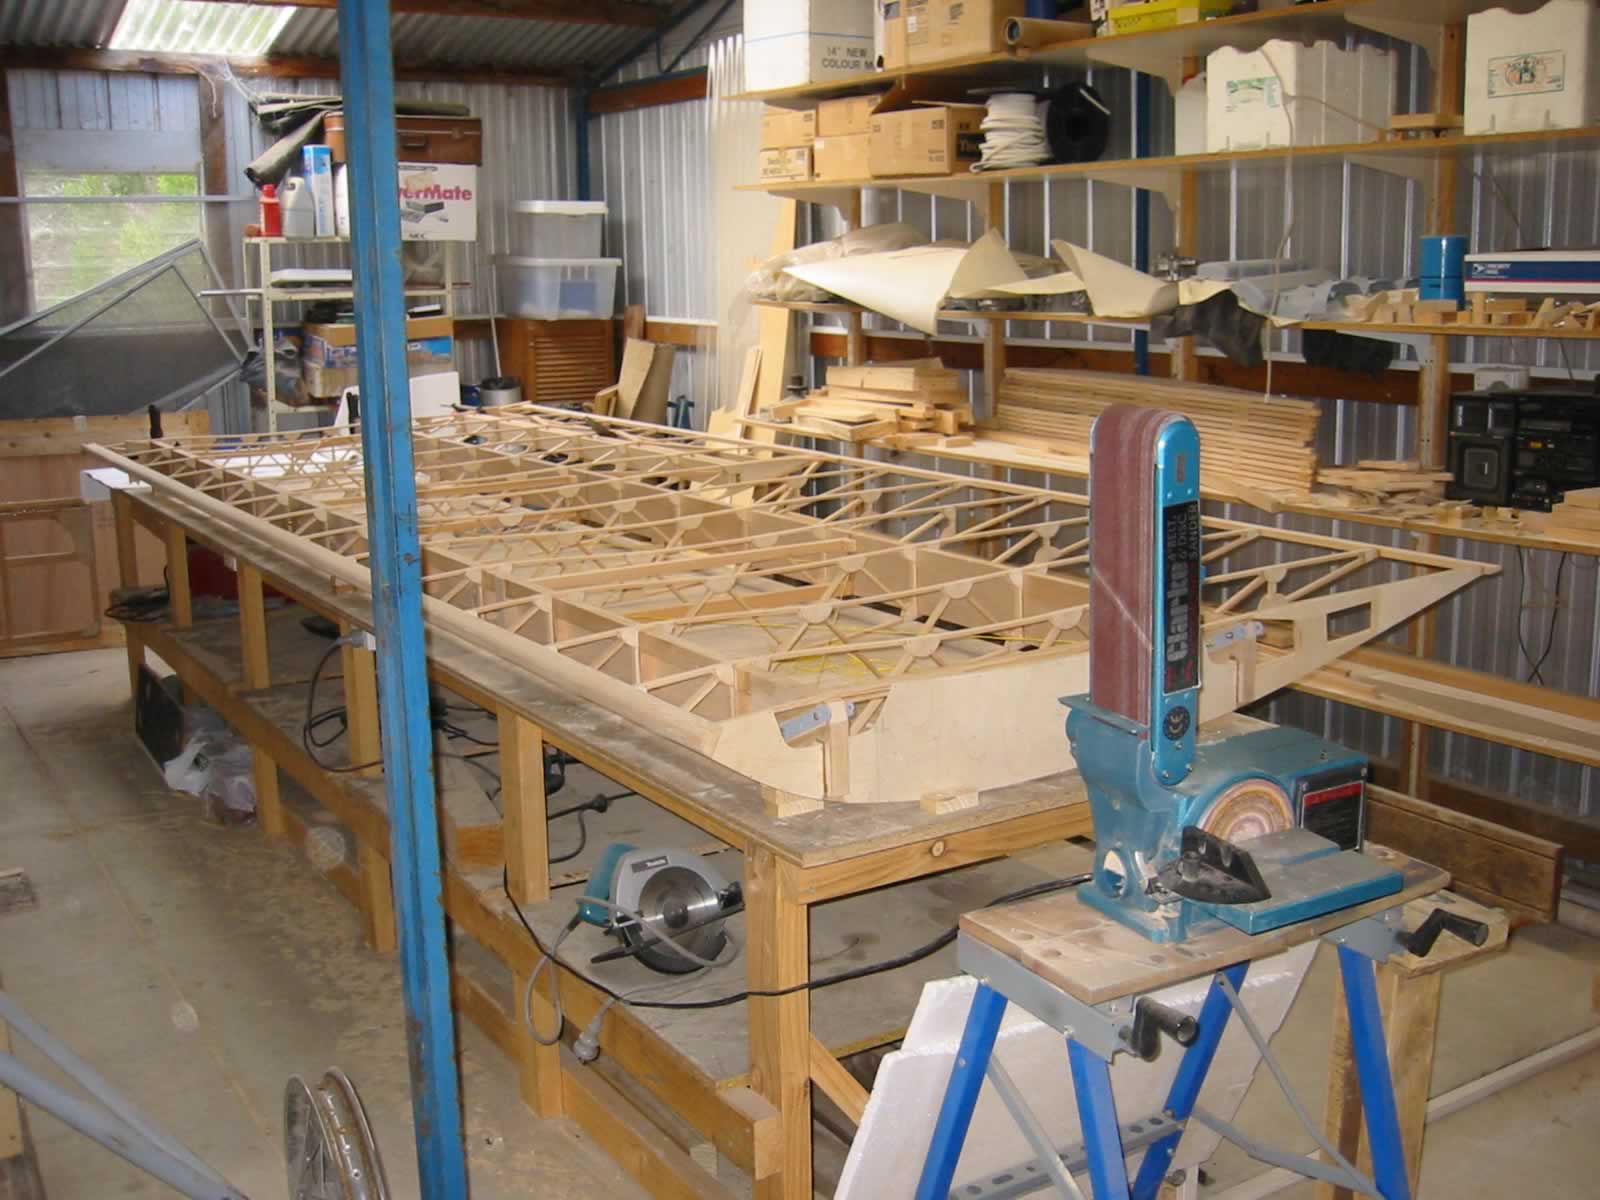
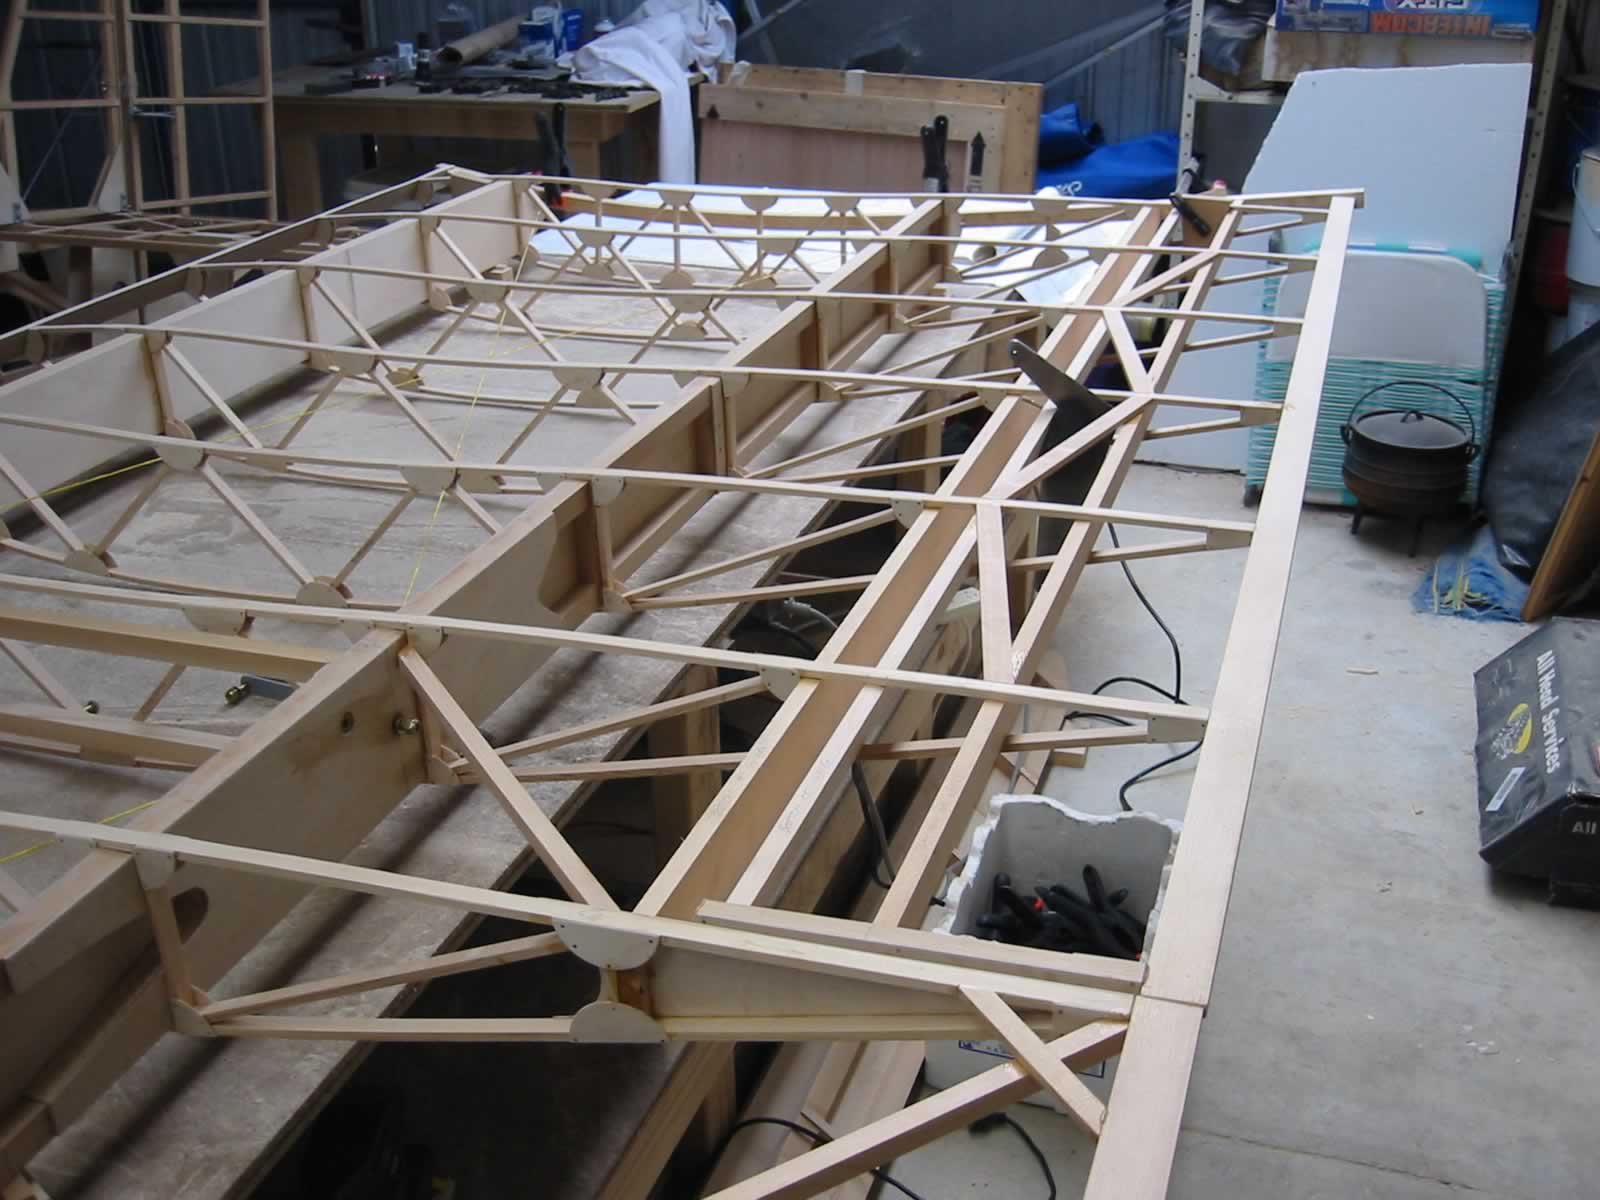
 The ribs glued in position. You can just make out the drag wire positions. I checked that I had left space between the rib bracings by running yellow string between the braces
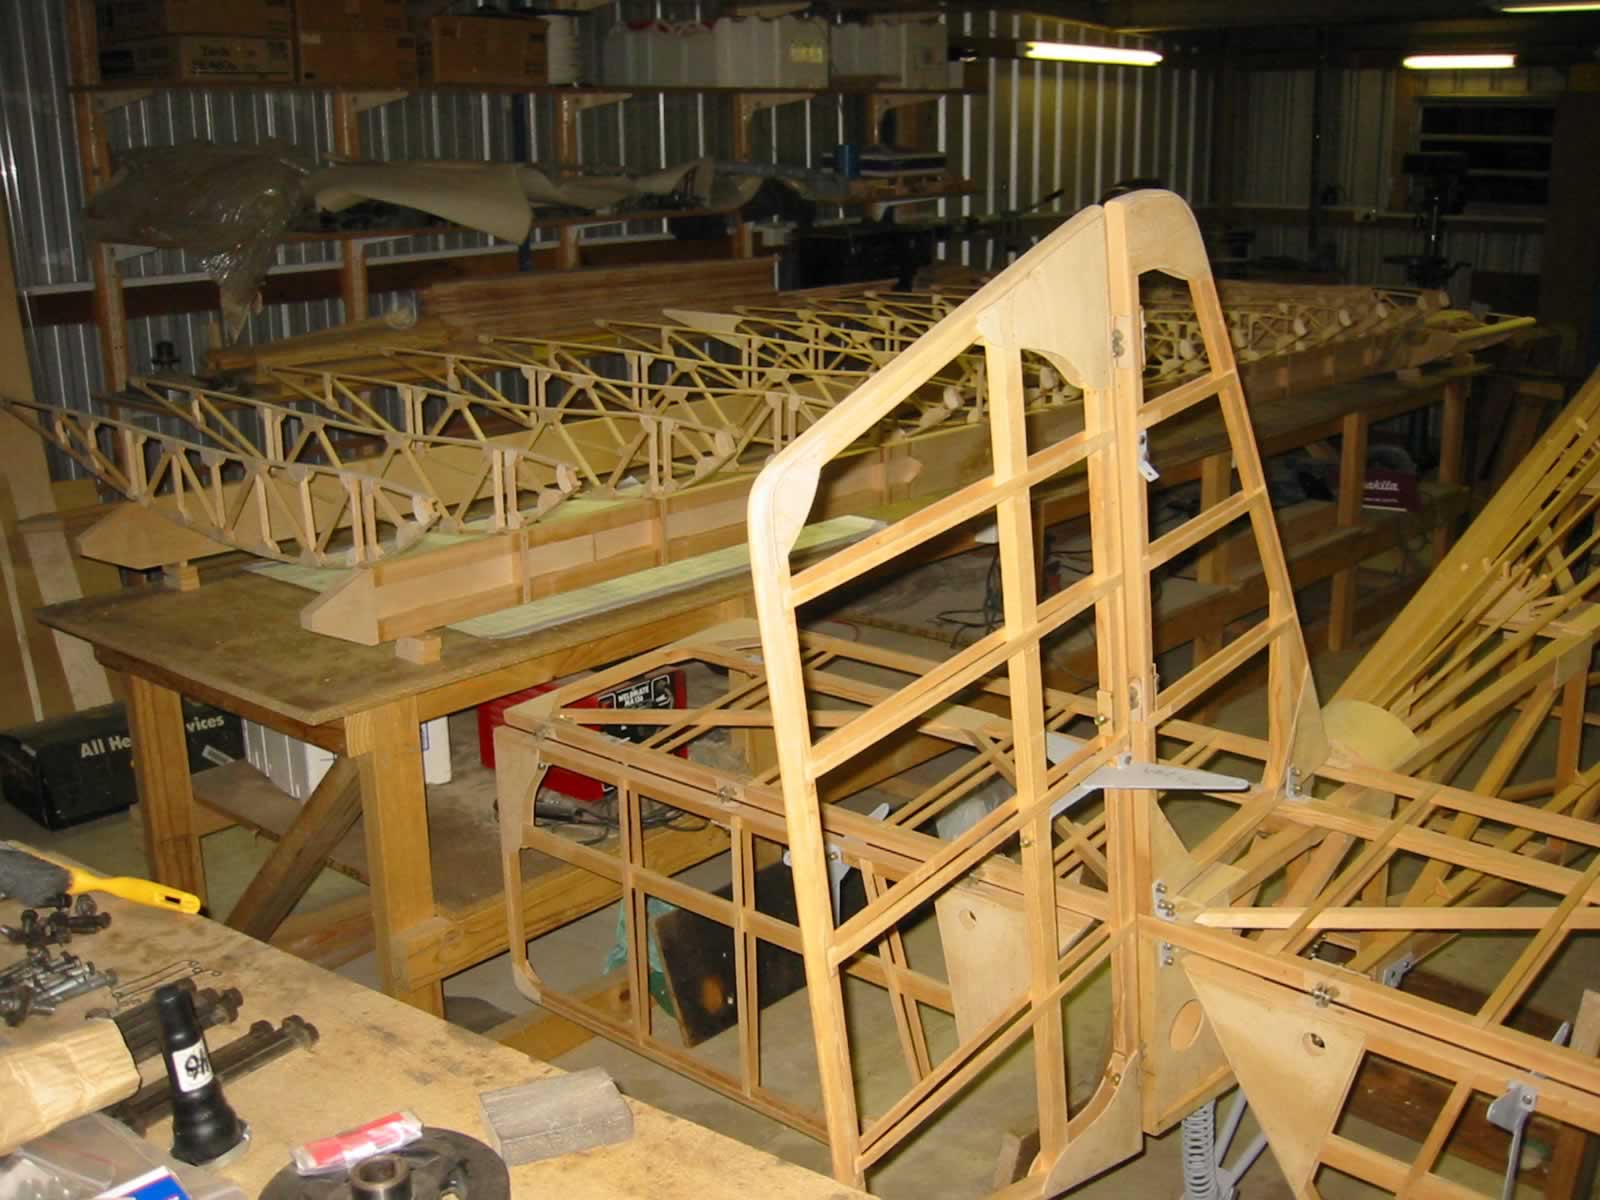
 The first of the wing tips in the jig after gluing the laminates
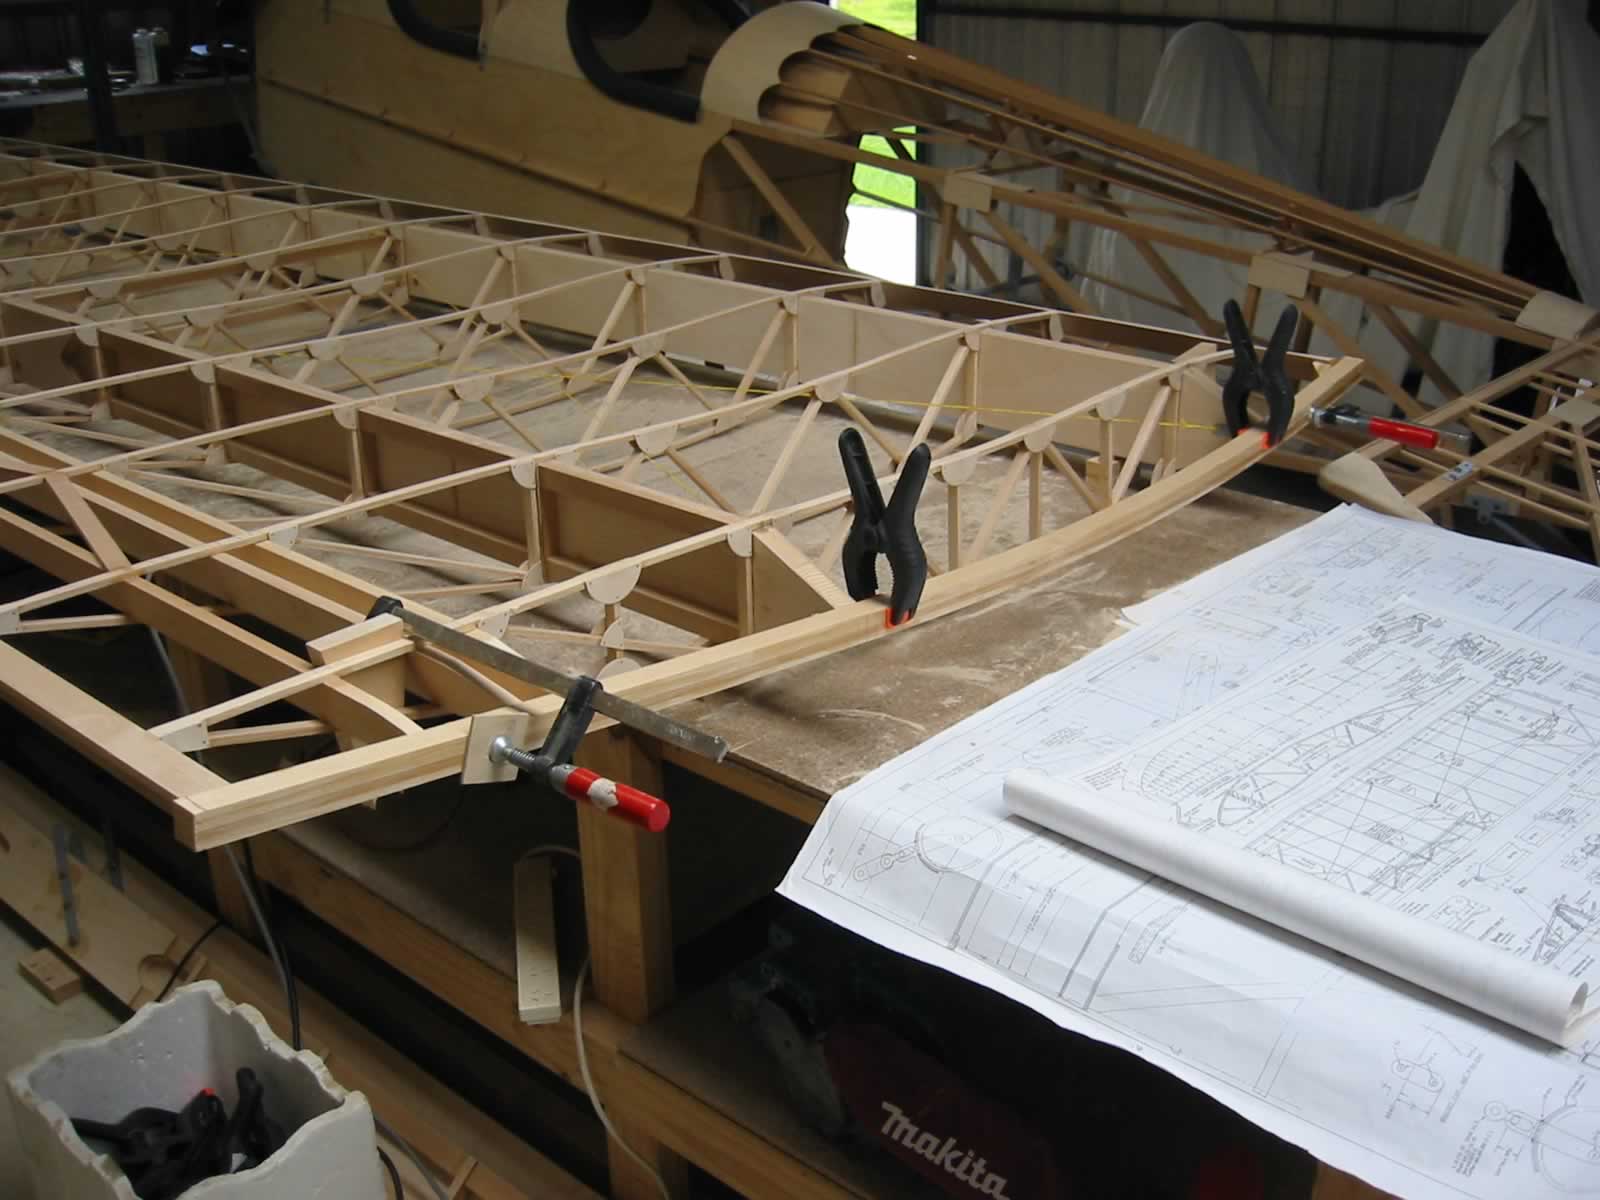
 Wing showing leading and trailing edges in place
 Wing tip glued in place
 The aileron part of the wing with braces and control horn
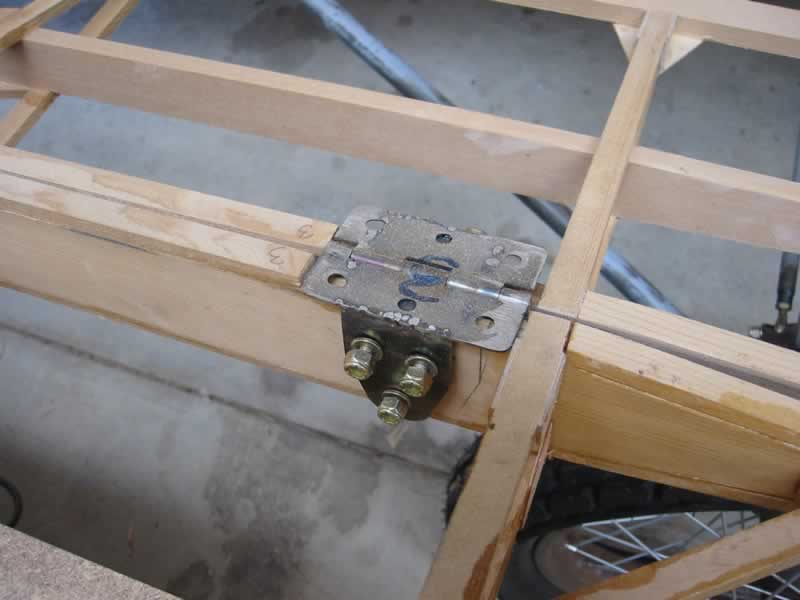 The aileron hinge in place
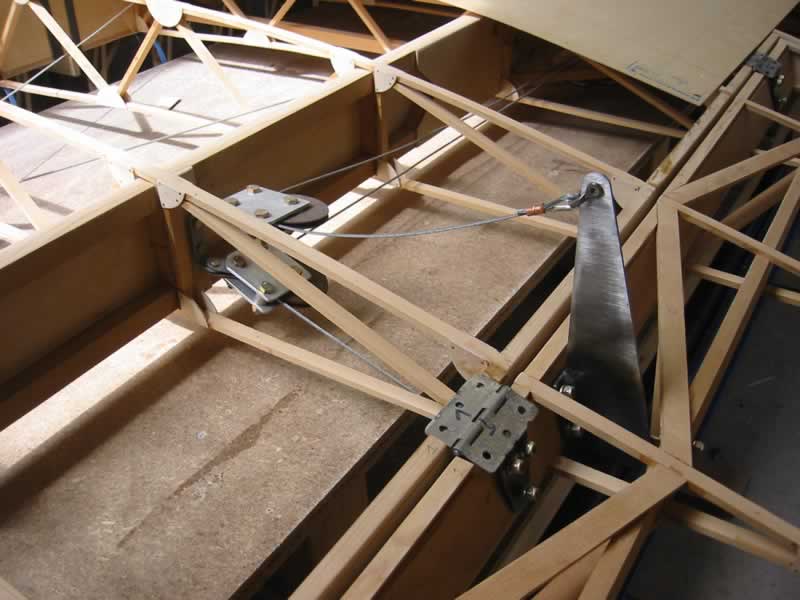 The aileron control horn, pulleys and hinge
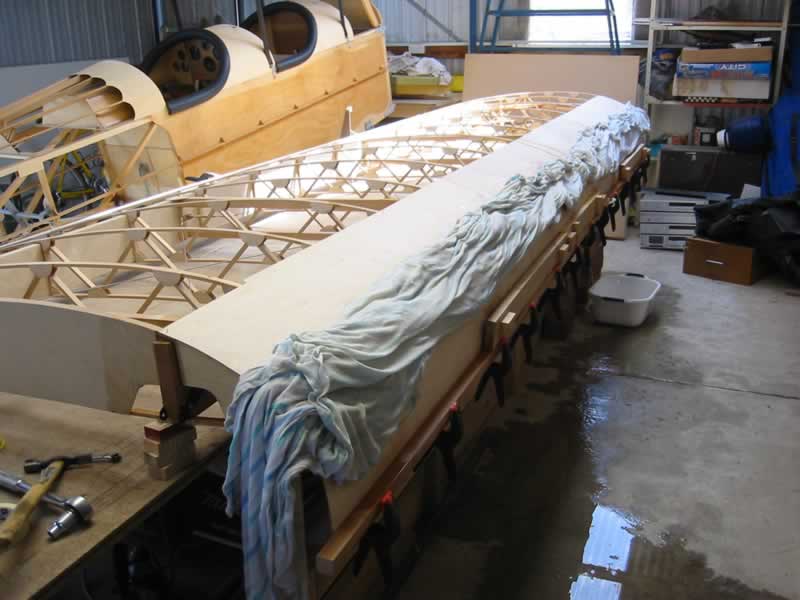 I had some problems with the “D” section. I first made up the whole length of the wing section from scarfe jointed ply. I temporarily nailed the top of the leading edge and placed wet cloth along the leading edge ply. I held the underside in place with rubber bands and tried to glue the ply in place. I found I couldn’t bend the ply enough to form a good fit. I eventually ripped it all off and started again.
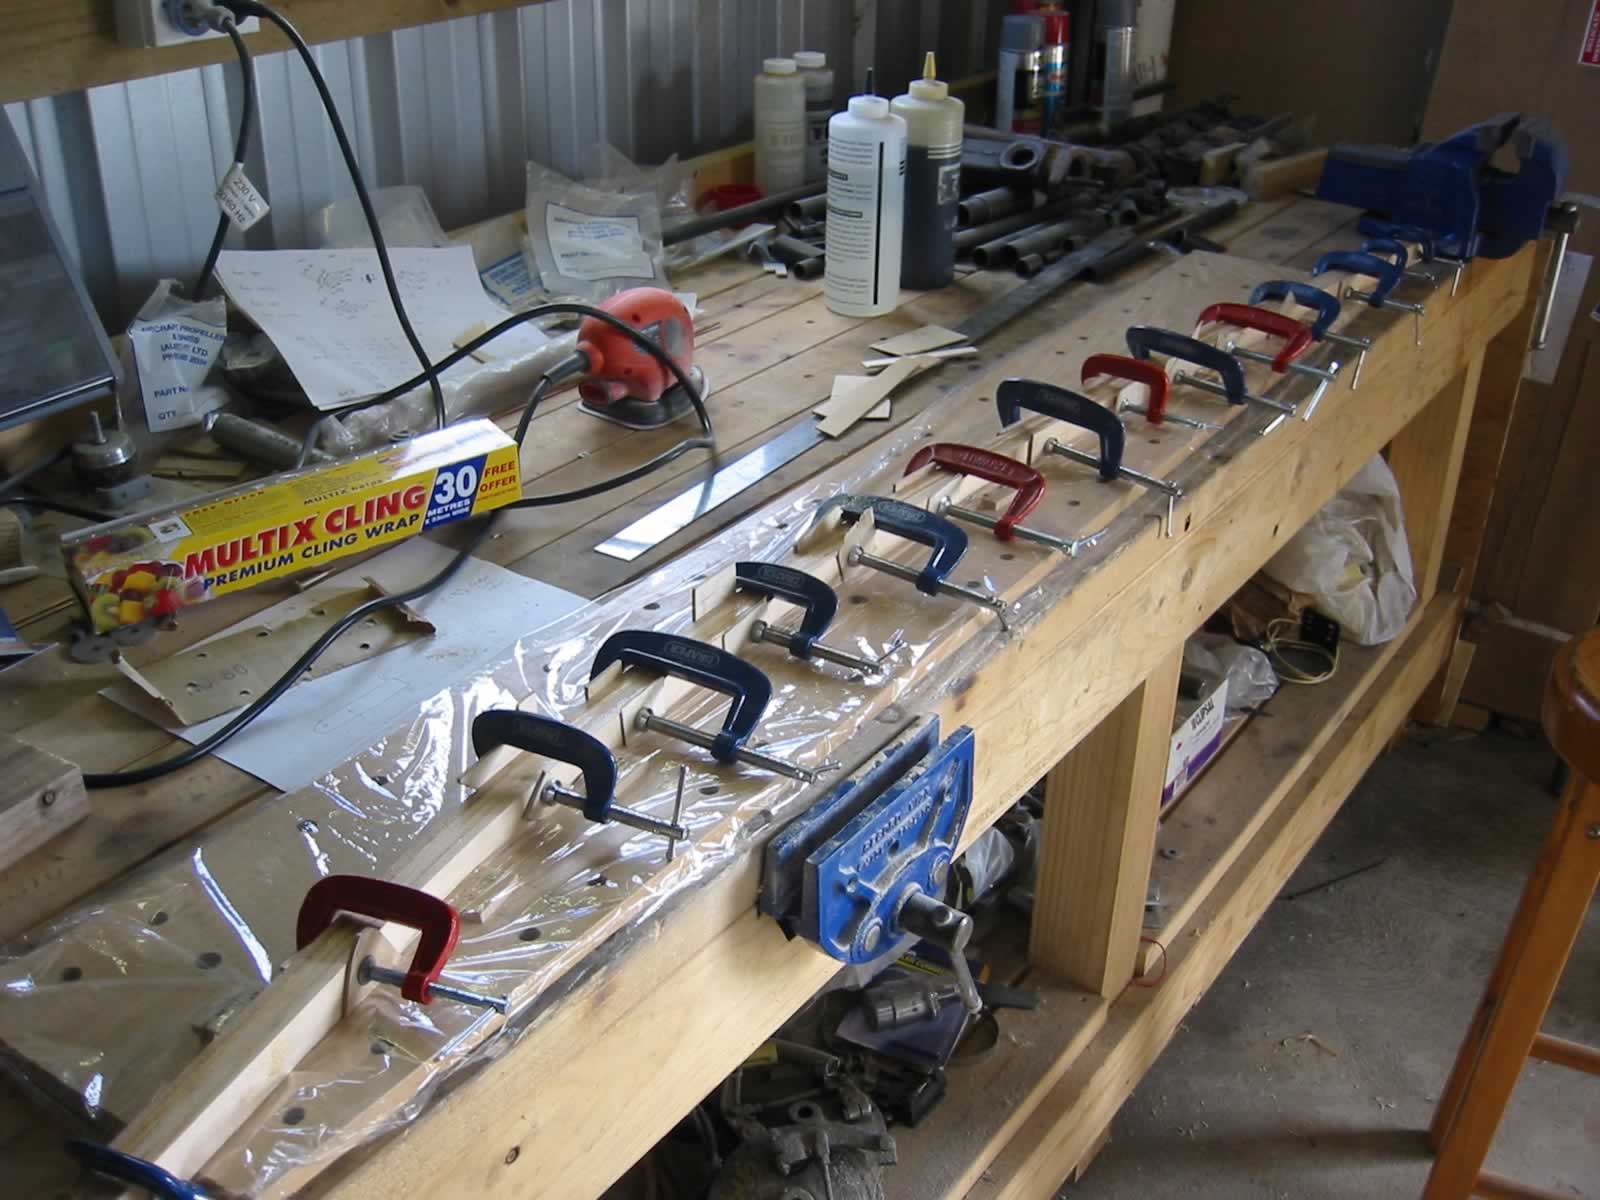
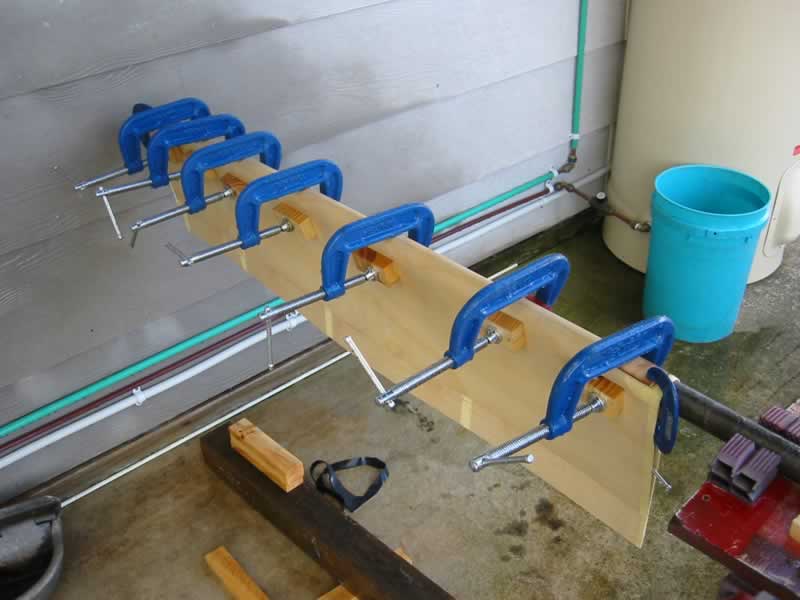 This time I used smaller sections of ply and bent each piece over a small diameter steel pipe. The ply was soaked in warm water and bent around the pipe. I held it all in place with clamps until it was dry
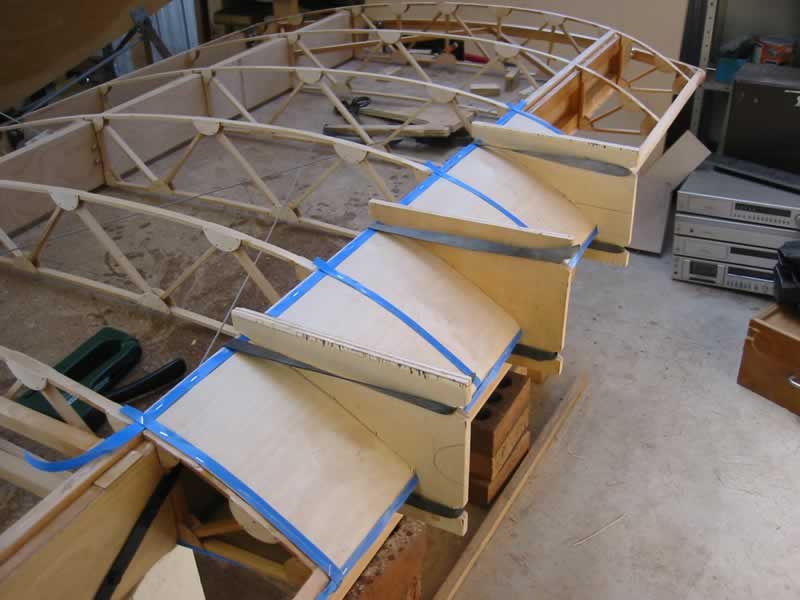 I made up some clamps with a cut out the same shape as the leading edge profile. These are held in place with large rubber bands (cut up inner tube). I masked off the area to be glued and varnished the inside of the wing section and ply. When dry I applied glue to the exposed ply and stapled in place on the wing. The clamps held the ply in place while I applied the staples. The blue tape is to make removal of the staples easier. A much better looking job altogether!
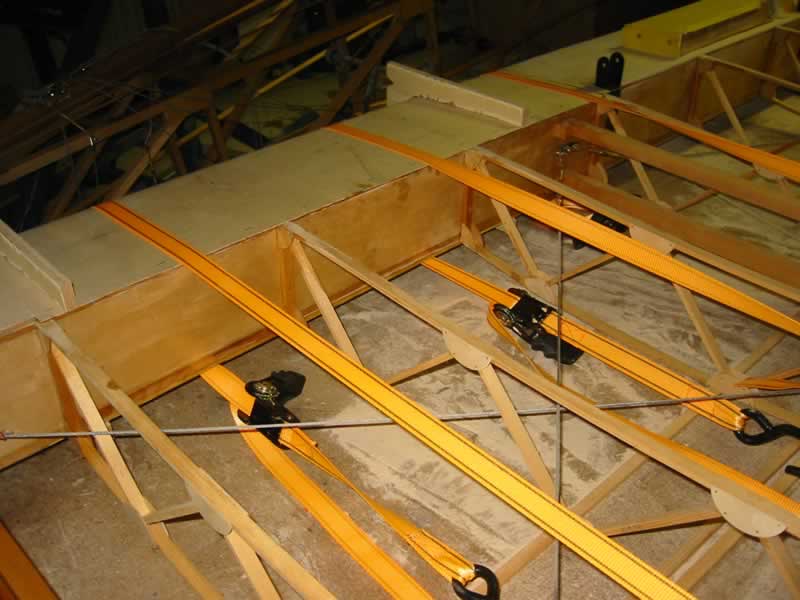 After a trip down to my local hardware store, I found these tie down ratchets going cheap. These made the job of holding the ply tightly in place much easier (the wing is upside down) and did not need anywhere near the same amount of staples as the picture above
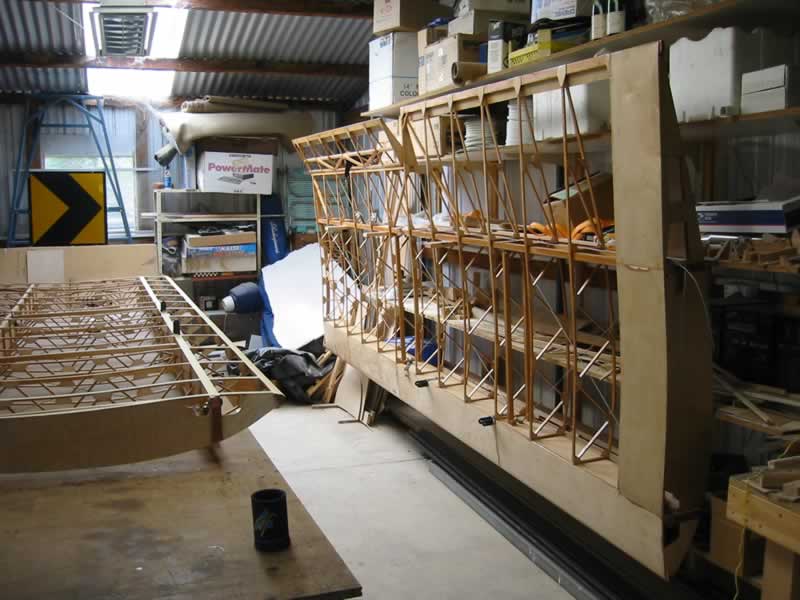 One completed outer section with the other varnished and fittings in place. Ready for the leading edge ply
 Both installed on the first fitting