
Rather than give a blow by blow account of my engine rebuild go to Mark Langford’s excellent website and follow his rebuild from there. I will show some pictures of my rebuild with some additional comments.
Rather than build the engine in the shop along with the sawdust, I decide (with permission!!) to start the rebuild in the kitchen. I first bolted both crankcase halves together with the crankshaft and camshaft complete with new bearings.
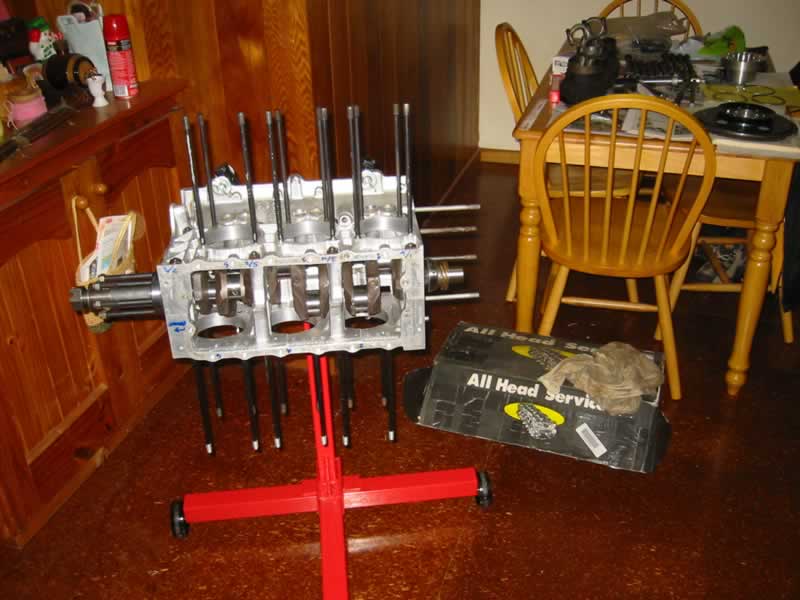 Crank & Cam installed.
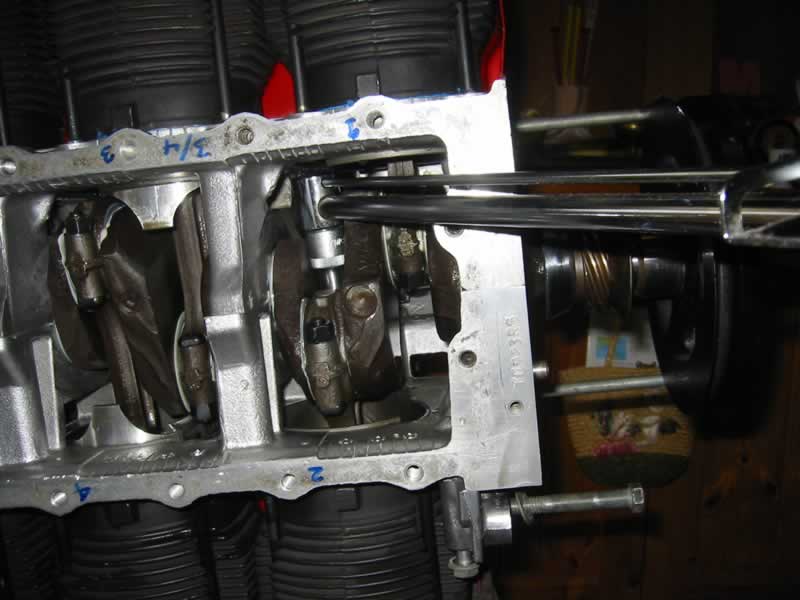
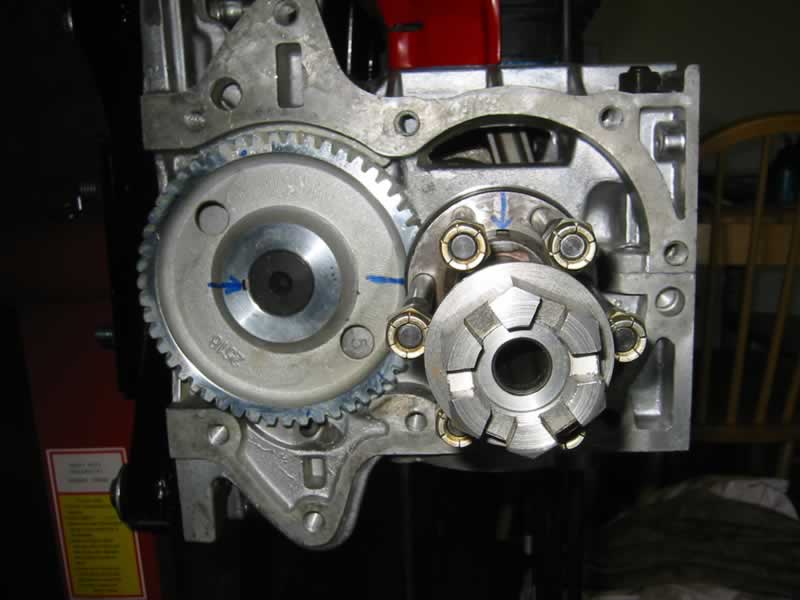 With No.1 cylinder at TDC the camshaft and crankshaft keyways aligned as shown, together with the marks on both camshaft and crankshaft should mean that it’s all OK!
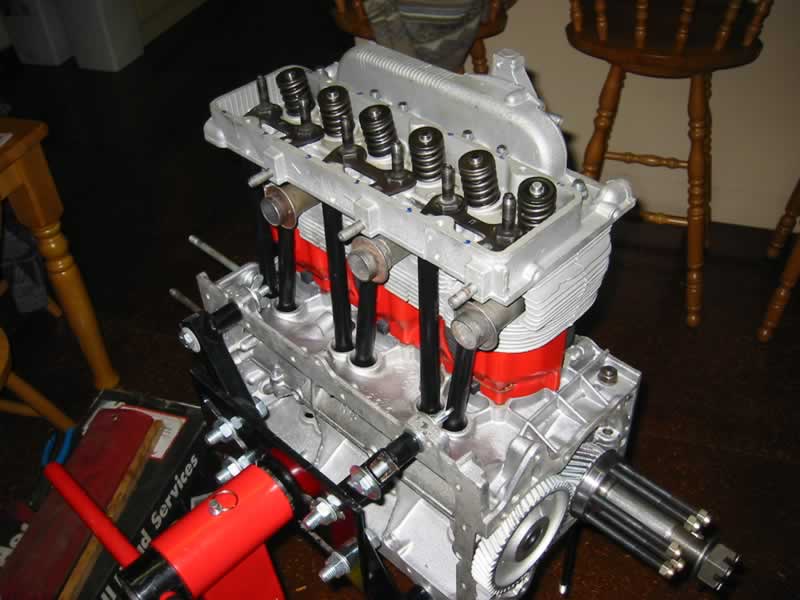 Right-hand bank cylinders and cylinder head in place.
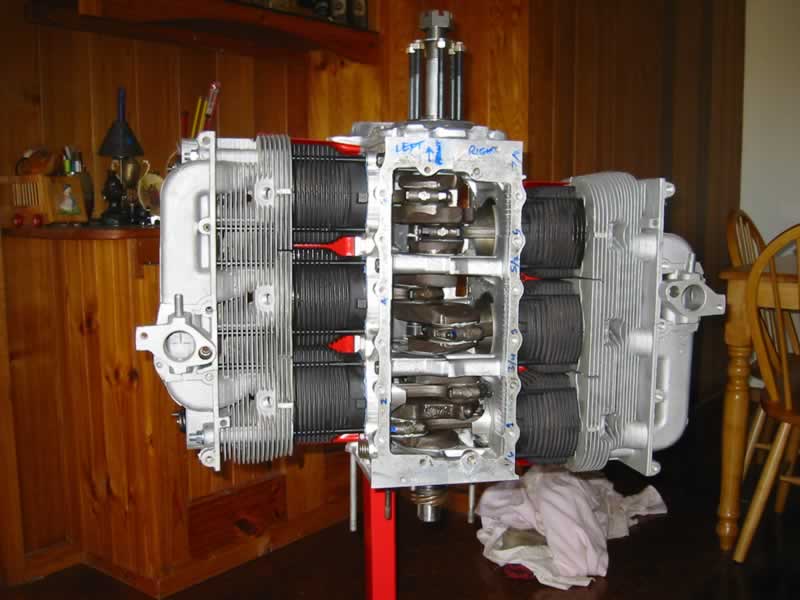 Both banks installed. I still have to torque the rod bolts
 Getting in to torque the rod bolts. I used a beam torque wrench and a standard 1/2 inch socket.
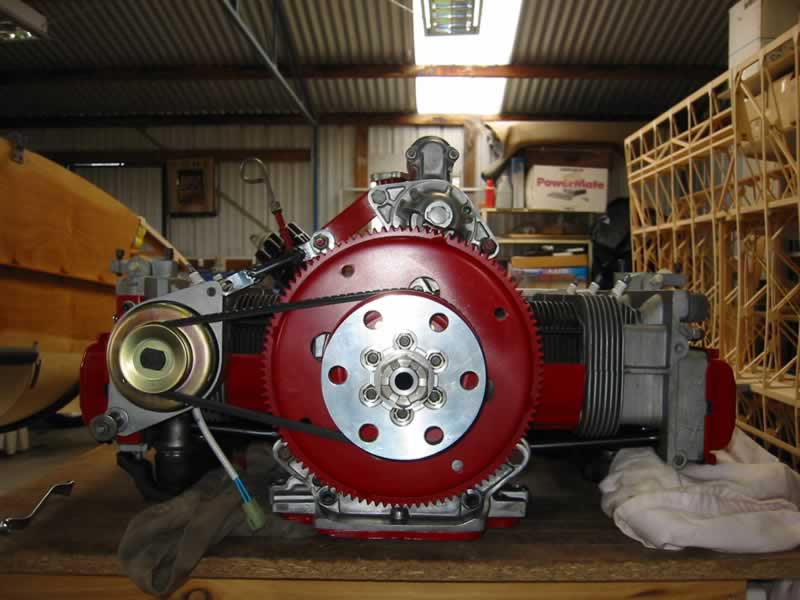
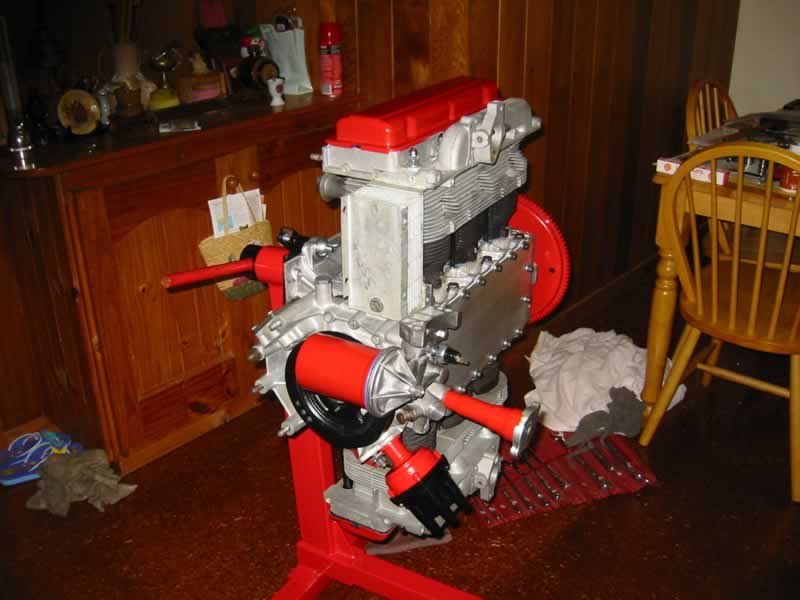 Rear of rebuilt engine.
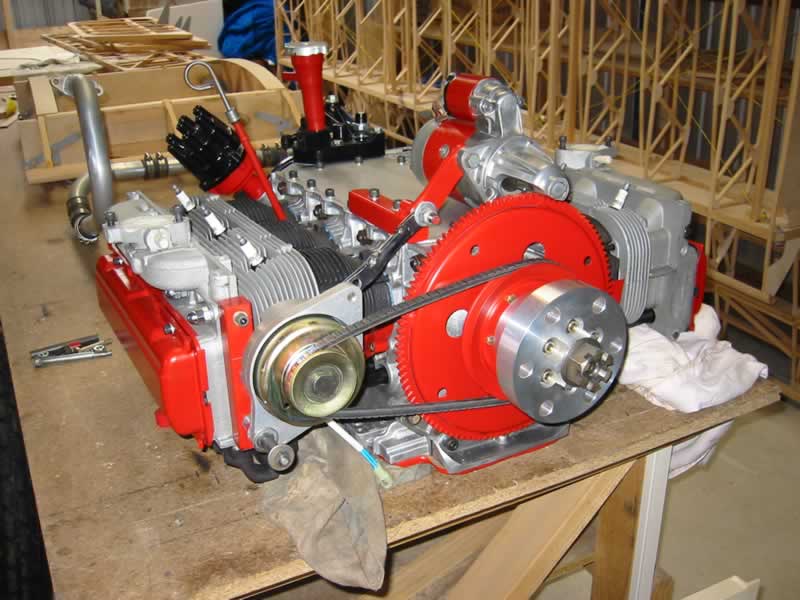
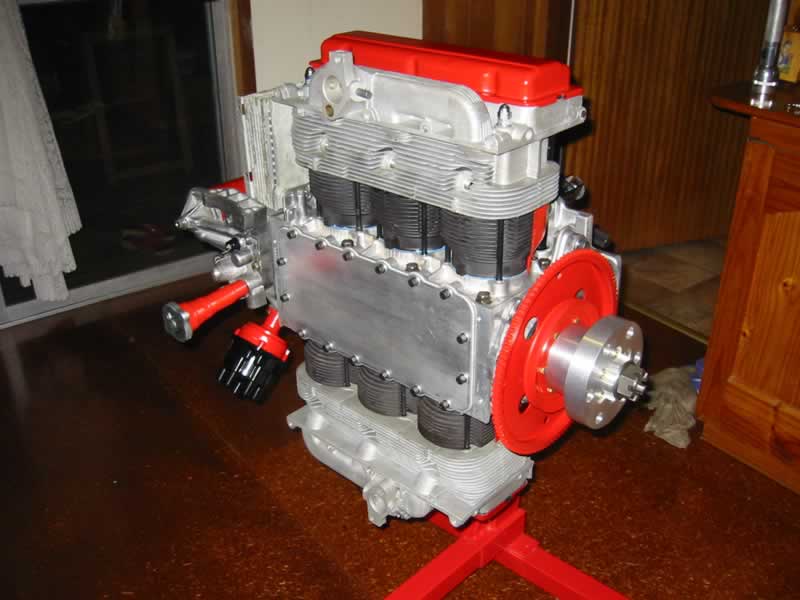 Front of rebuilt engine.
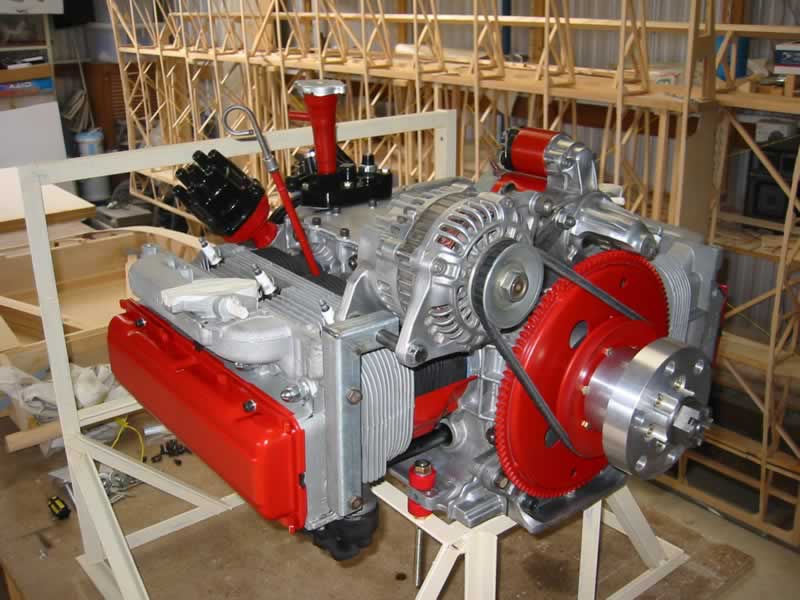 With alternator and starter motor fitted.
 Alternator and starter motor detail (front).
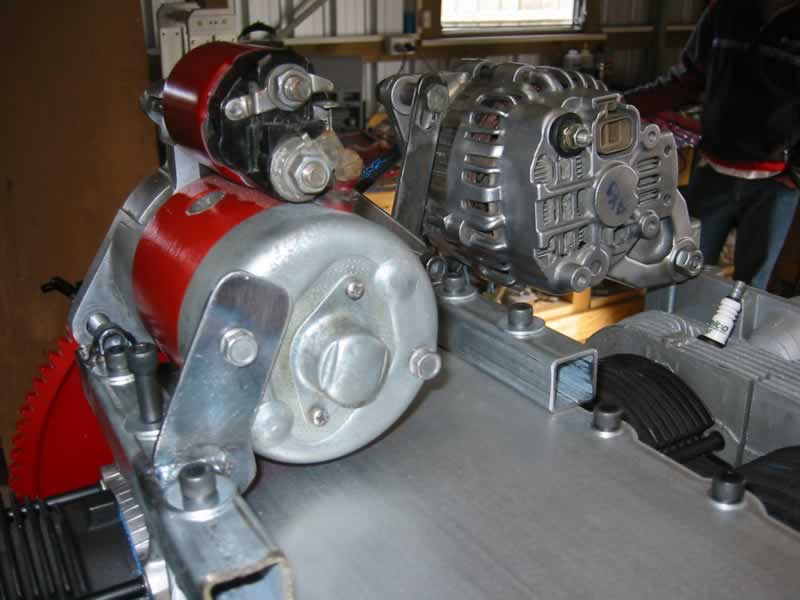 Alternator and starter motor detail (rear).
 Some old waste pipe being used as the inlet manifold pattern. I intend having some aluminum tubing bent to shape. I am hoping that I can weld the bend to the flange rather than have the ‘tee’ piece as shown.
 The right side….
 …and the rear view.
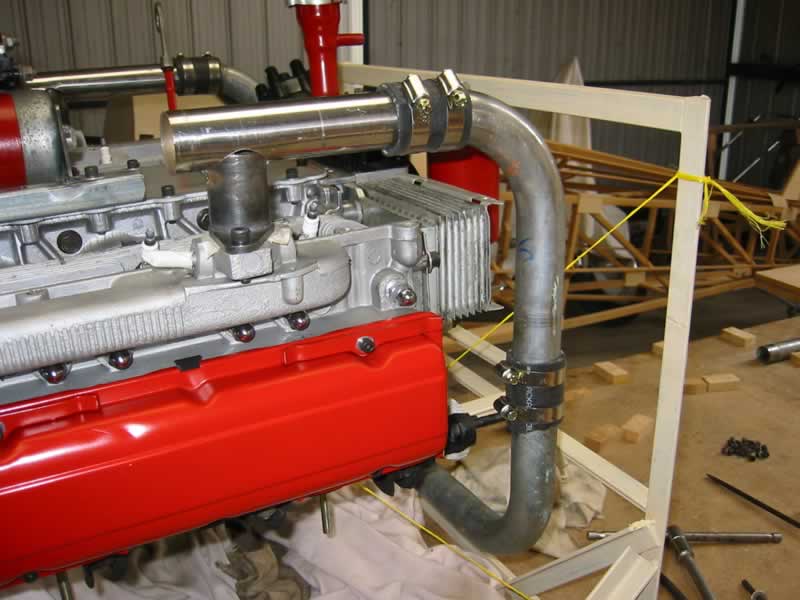
 The carb will mount approximately where the two hose clips are on the bottom tube.
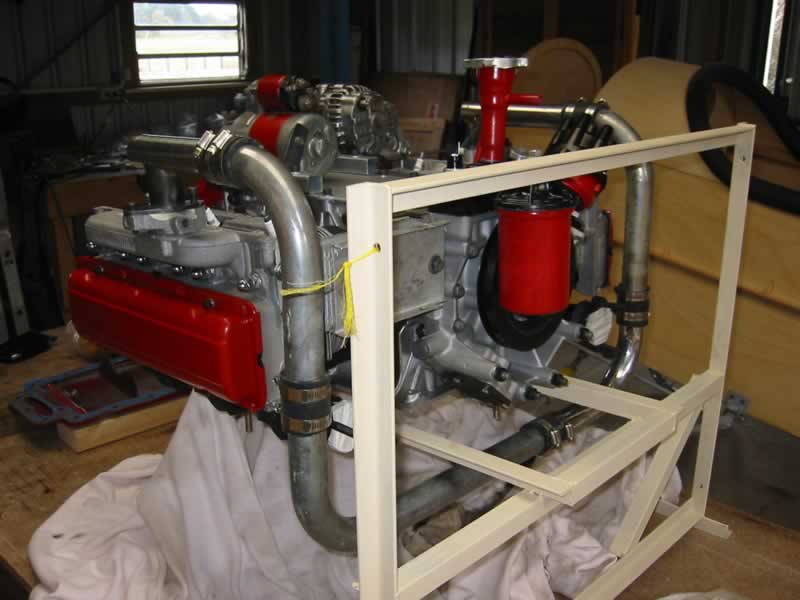
 I moved the engine to the engine mount and fitted it to the fuse to check the fit of the manifold. Needs a couple more aluminum bends and some more welding but is looking good so far.
 The inlet manifold in its final (approximate) position.
 The carb mounted in position.
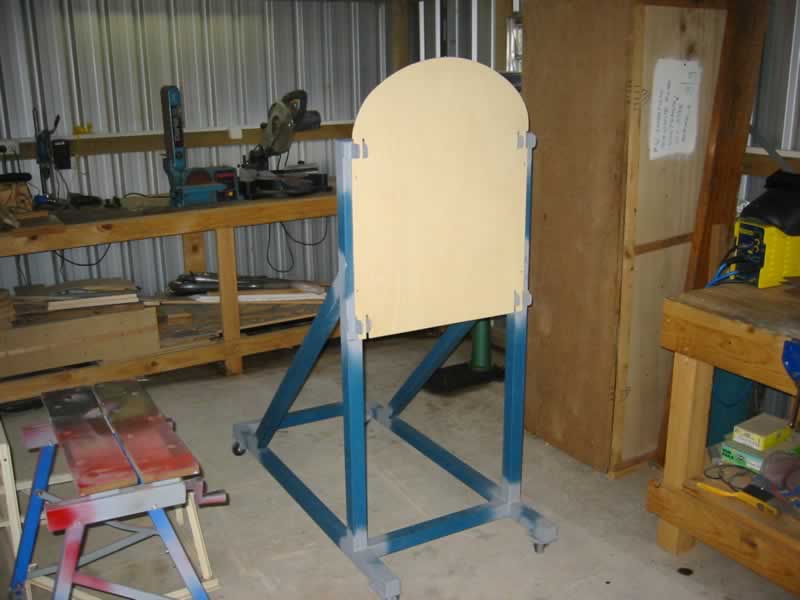 The engine test frame awaiting the engine.
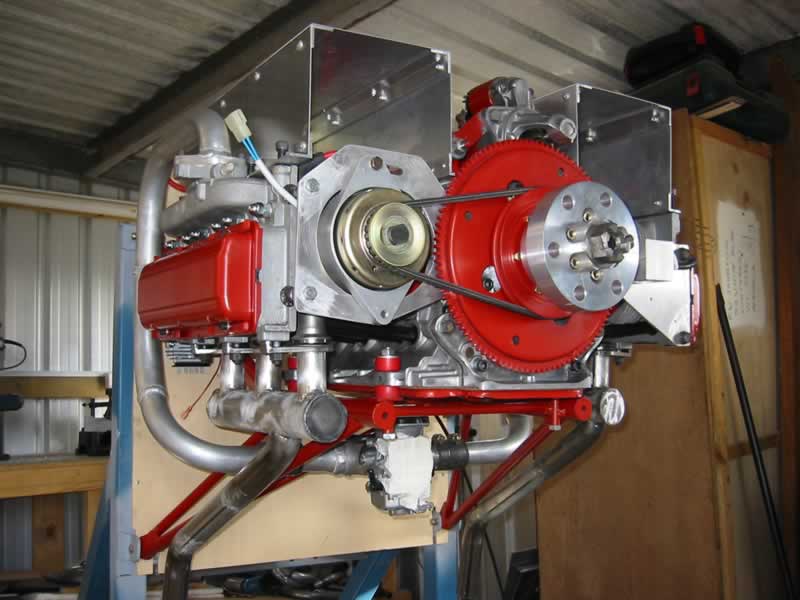
 I changed out the original Nippon Denso alternator for a John Deere unit.
 The gives a much cleaner profile and I can now get efficient cooling on both cylinder banks with properly positioned cowling “ears”.
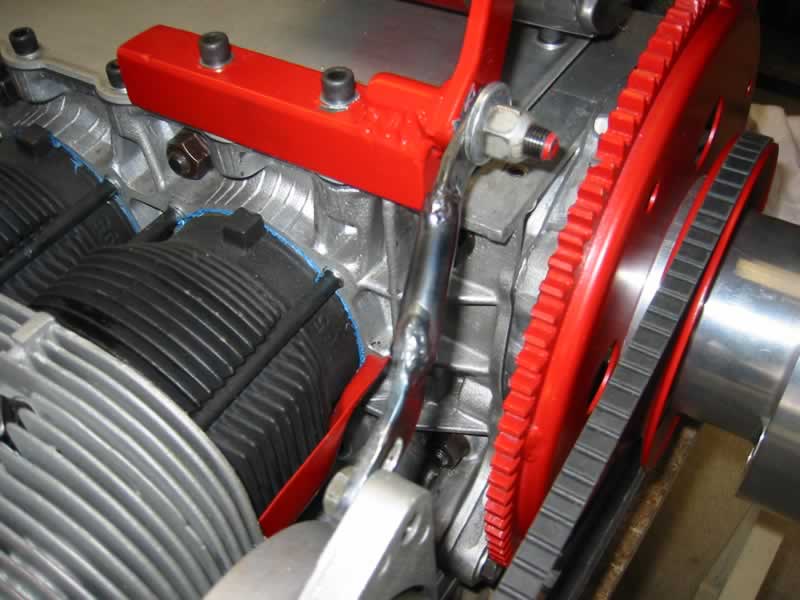 Top bracket details still waiting for some paint.
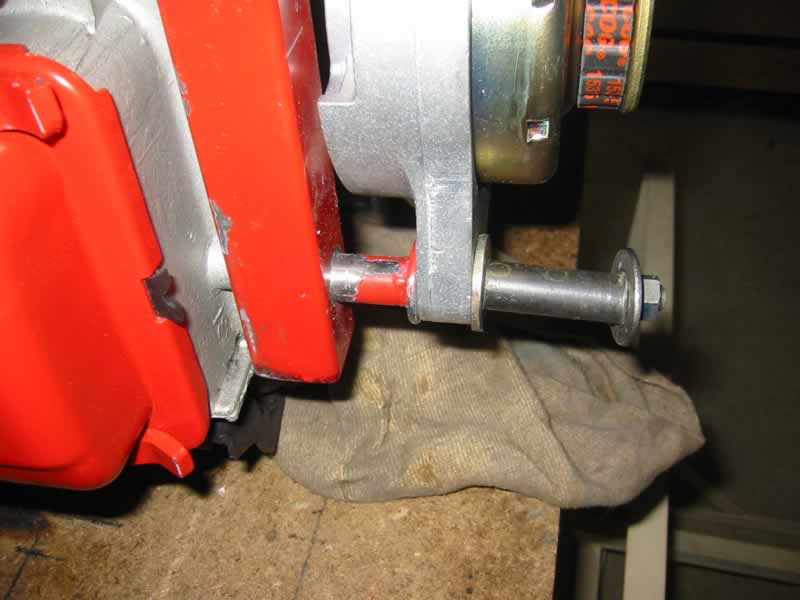 The bottom bracket bolt will be changed for the correct length!
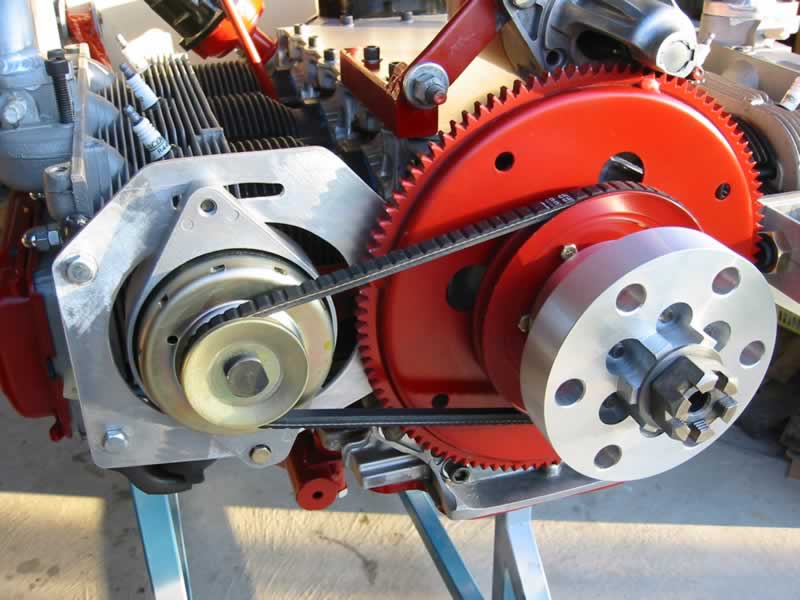 I changed out the mounting bracket to an aluminum plate. I need to fit the tacho sender on the other side of the engine so I took the opportunity to make the brackets the same type. I borrowed the idea from William Wynne’s website.
 Shows the side on view of the new bracket
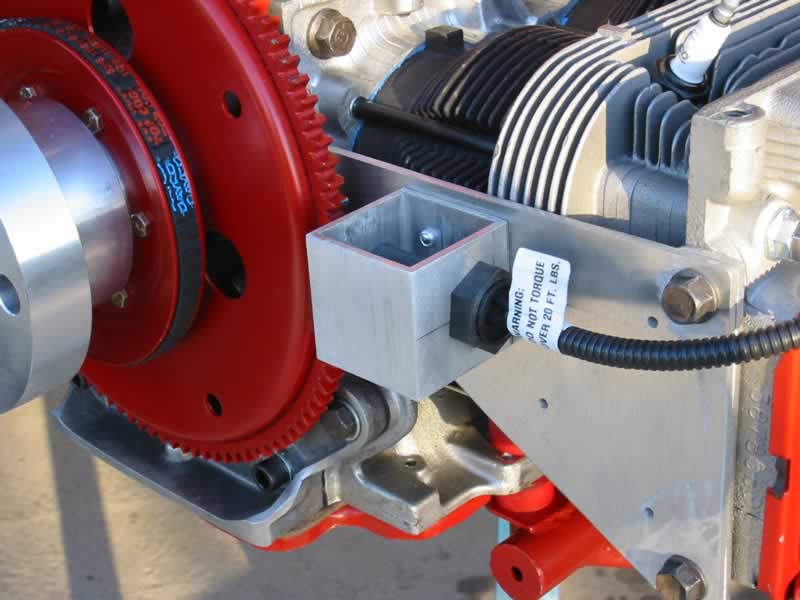 The tacho sender unit mounted close to the starter ring gear
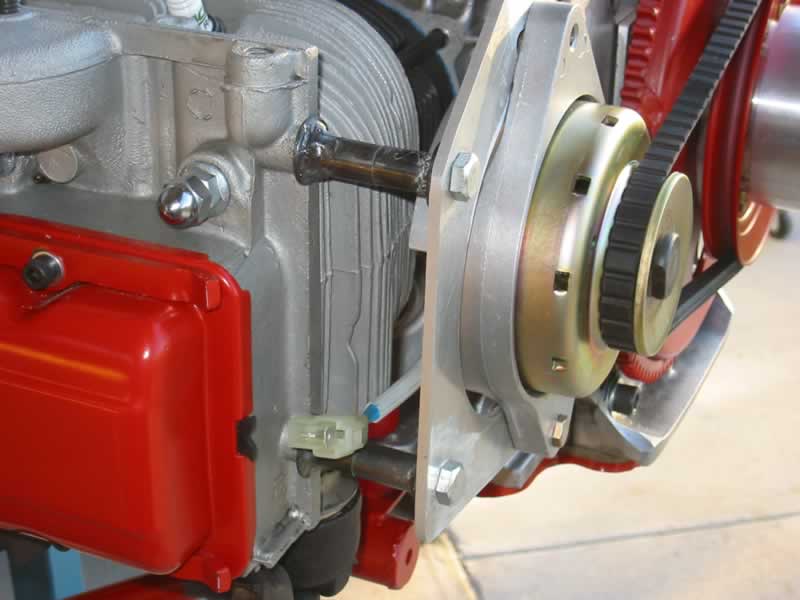
 The sender half a turn back from the starter ring gear.
 The inlet manifold welded together
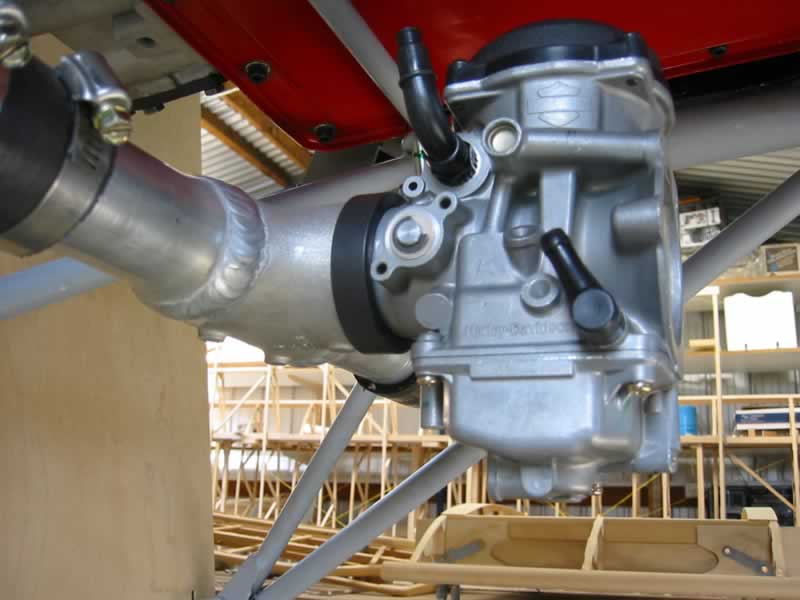
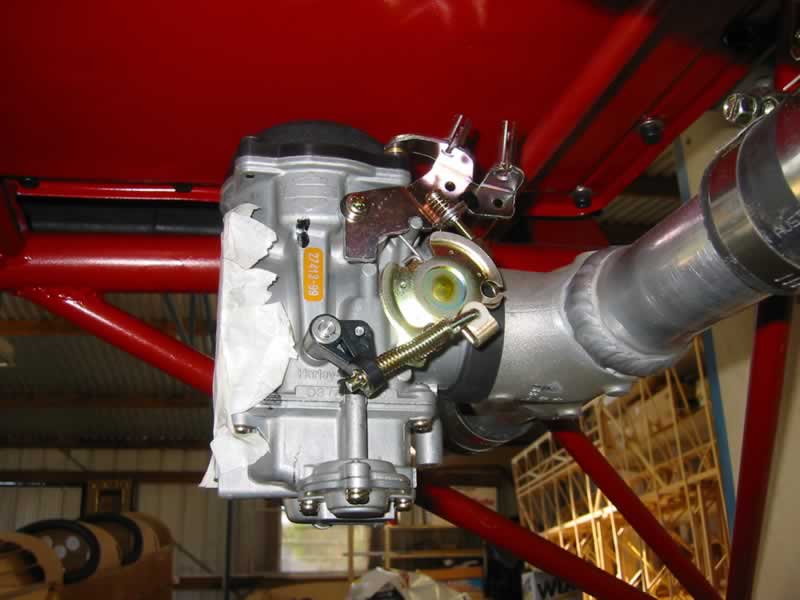 The HD CV40 Carburetor mounted in position.
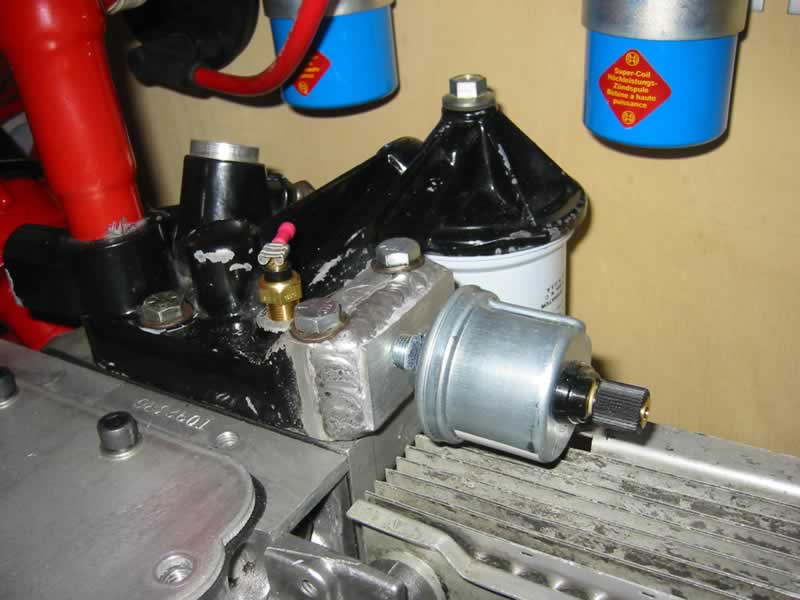 I modified the alternator mounting bracket to accept the oil pressure and temperature senders.
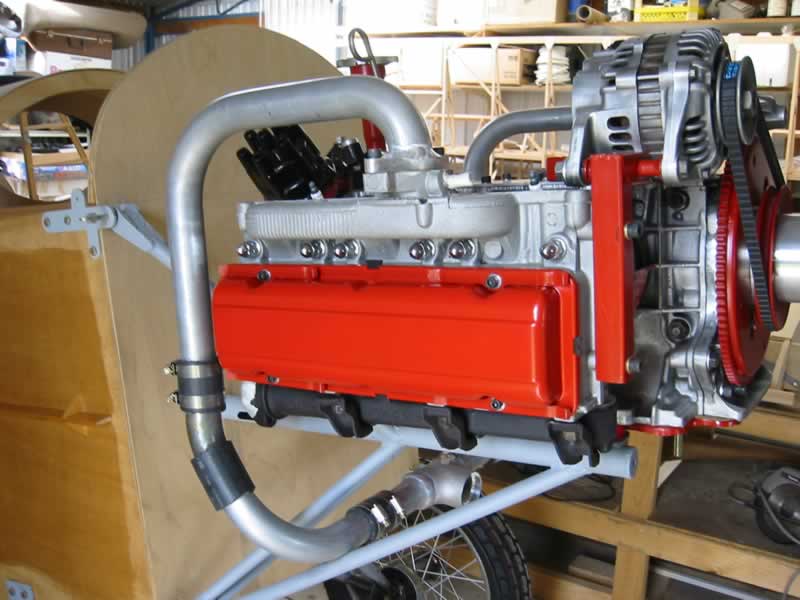
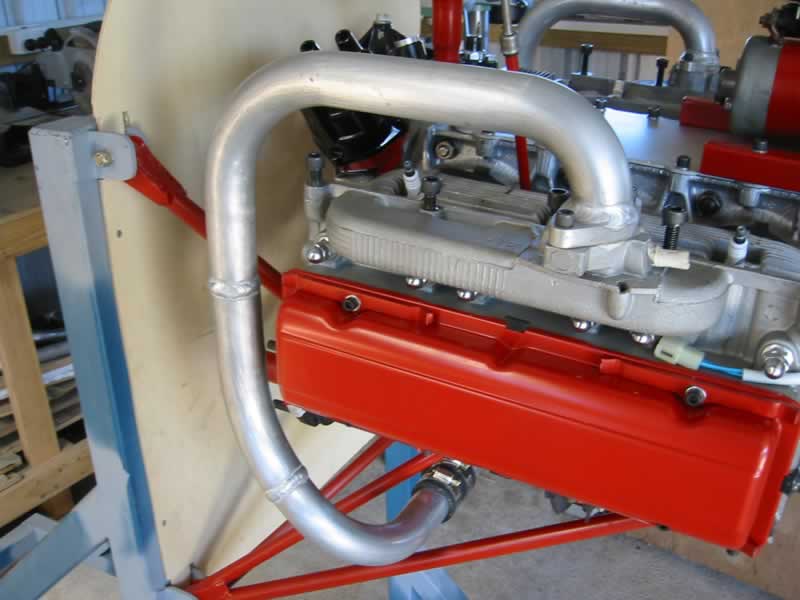
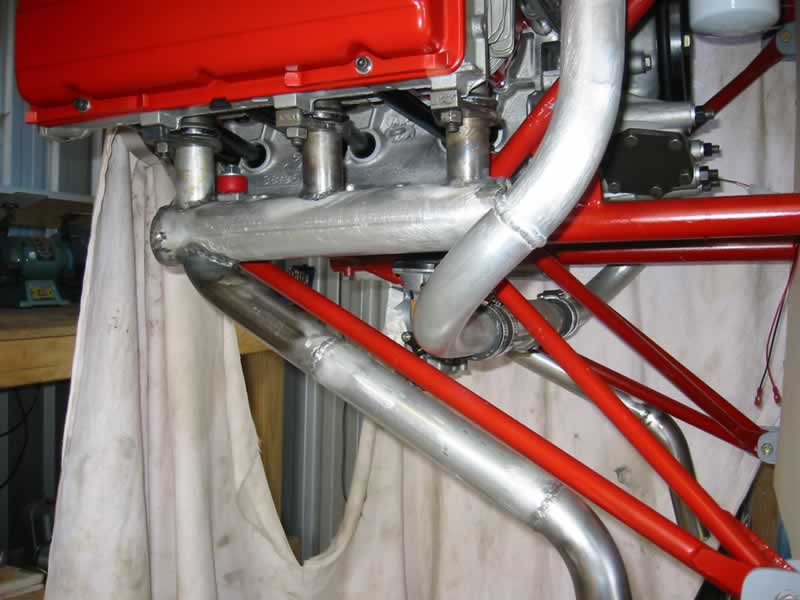 The Port side exhaust system mounted in position. Needs a coat of High Temp paint.
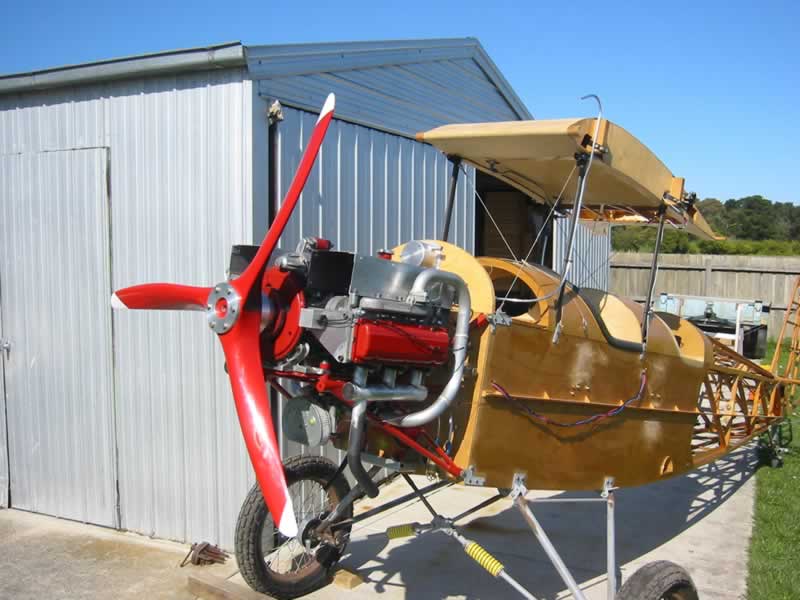
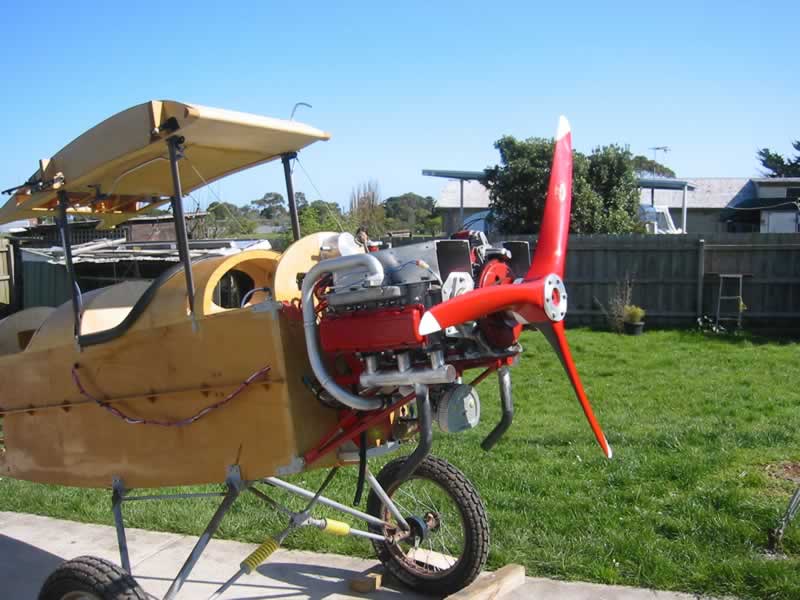
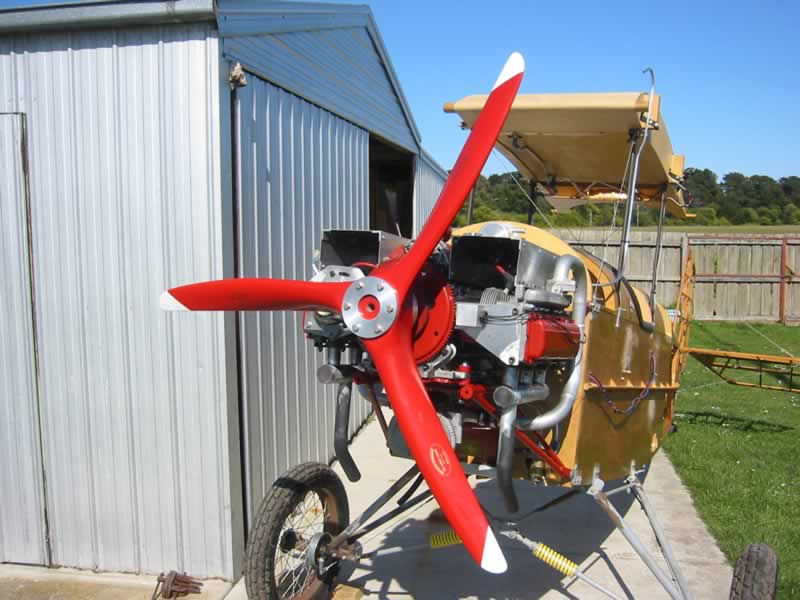
 The engine with both test “Ears” attached.
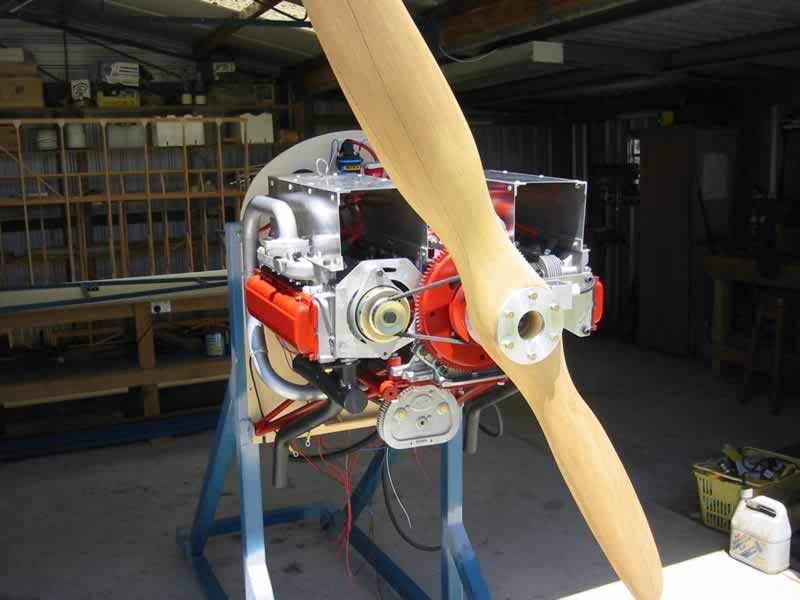
 Ready now for the carb heat air box/air filter.
 Ready for its first start-up!. (Click on the images to hear the engines first run.)
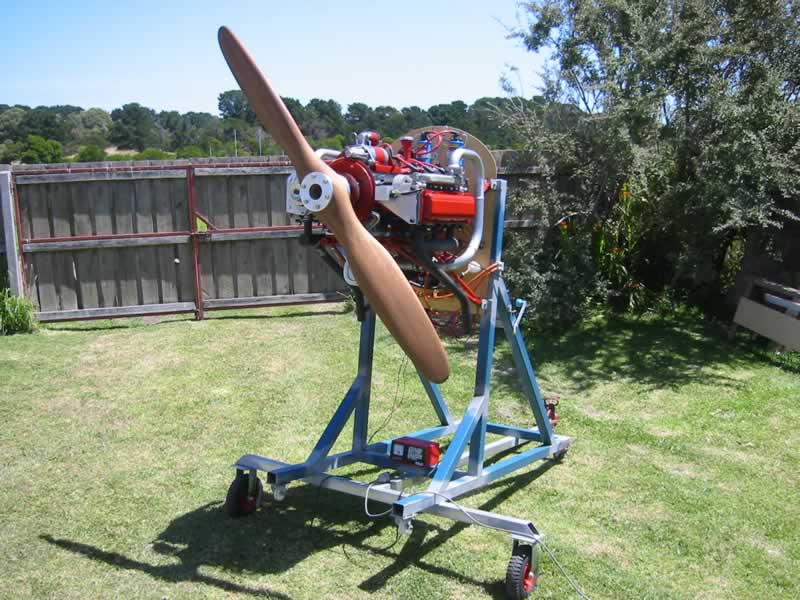 I modified the stand to make it easier to manage. (Click here to see why!!)
I have found that the Harley Davidson CV 40 Carburetor needs priming or full choke at each start up. If I put my hand over the carb mouth at start up it fires up OK. As soon as the prop blast hits the carb when I remove my hand the engine dies. Too much air I think. I will make up a choke as part of my air box to see if that helps with the starting. I think I need only the choke or primer, not both. Ignition is set to about 8 degrees so should give me about 30 degress when WOT. I also intend making the ears smaller in height so that they fit within the cowling. I also find that the starter motor doesn’t like anything except a fully charged battery. The starter motor jams sometimes if not fully charged. Could be some tuning on the timing is required.
 Changing the timing improved the starting considerably. I also installed an Odessy Battery which has not needed charging. I have changed the carb out for a borrowed NAS-3. I also borrowed a three blade prop and the combination is working very well. Presently the engine turns static at around 2800rpm. Oil pressure is in the 45 – 50 psi , the oil temp and CHT not very high (too much cooling with no cowling?) I am thinking of purchasing a NAS-3 or MA3-SPA. The CV 40 is OK but needs a lot of adjustment and fiddling about. The NAS-3 bolted straight on with (at present) no adjustment needed. Click on these small images for some engine runs. These runs are with the CV 40 still installed