
I have chosen to go with the Poly-Fibre process because it is well proven, available locally in Melbourne and well documented. During the construction process, I had the Piet all assembled so the first thing to do was to disassemble everything. I took everything off the fuse and put all the fittings etc in separate labeled plastic bags. The undercarriage, tailwheel and wheels were sent off for powder coating.


The completed (un-varnished, unpainted, uncovered) Piet on display at our local Chapter display.
On re-assembly, I varnished the fuse again with two coats of Estapol 7800. All items that would not be accessible after covering were reinstalled in the fuse.
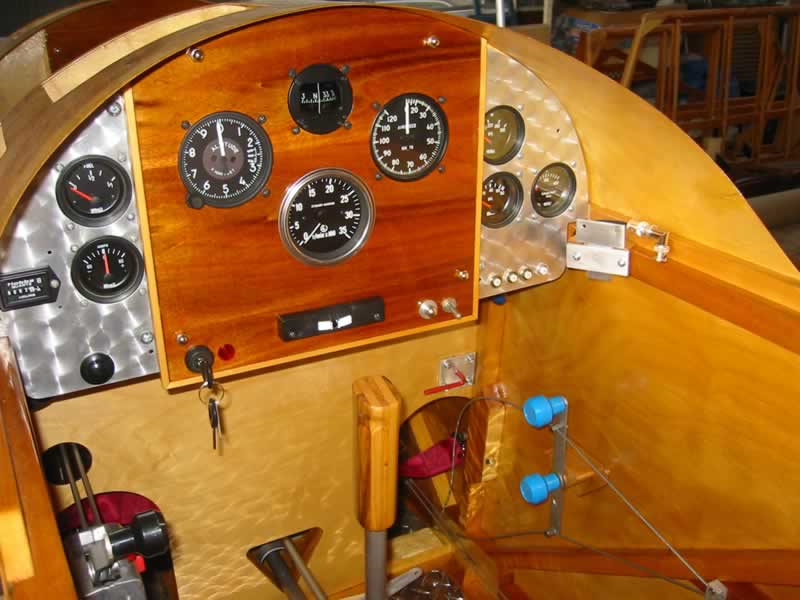
 The completed cockpit, varnished and all instruments fitted and wired. I even fitted a small bracket for a handheld radio. The antenna is installed behind the rear seat.
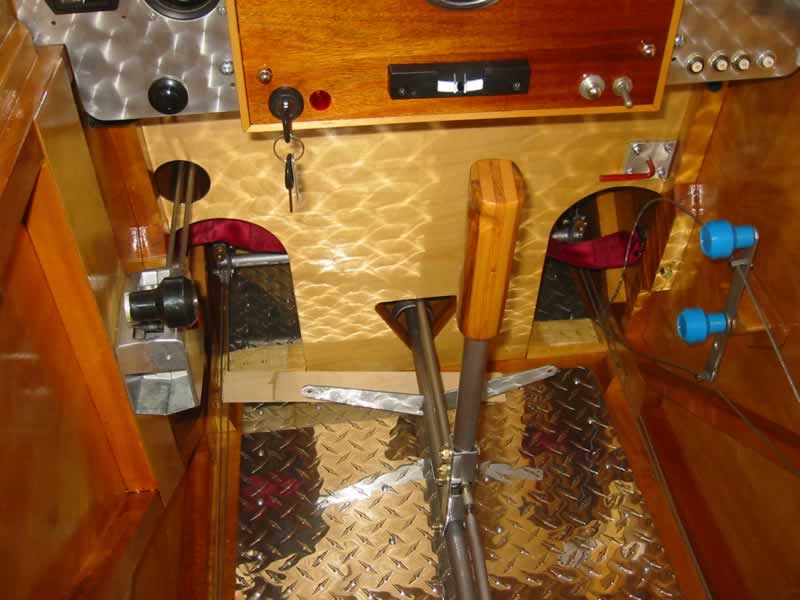
 VHF Radio antenna mounted (upside down, radio waves don’t know that!) behind the rear seat.
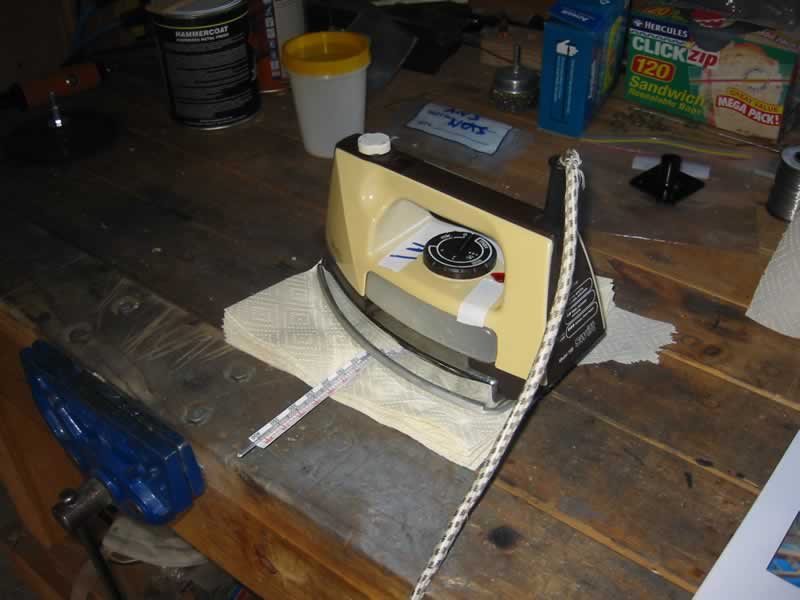 Calibrating the iron prior to use
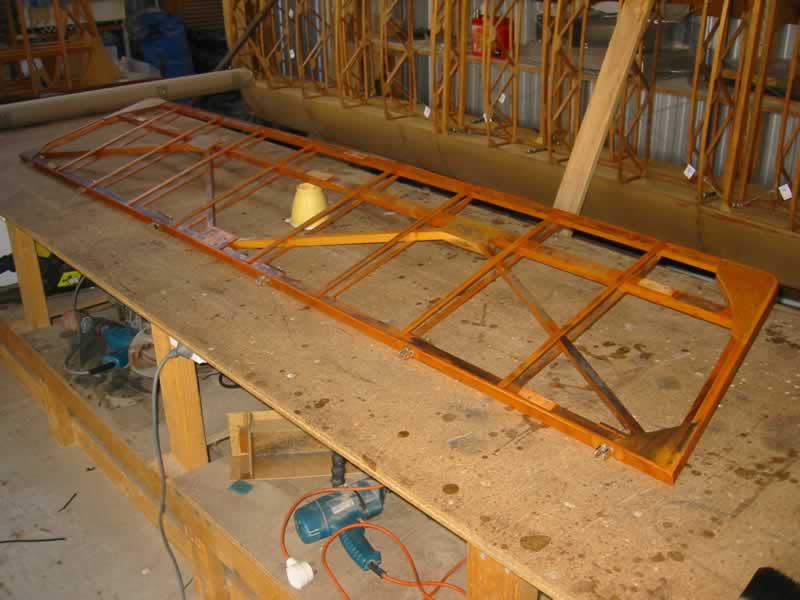 Part of the tail feathers with two coats of Poly-Brush (3:1) ready for some fabric
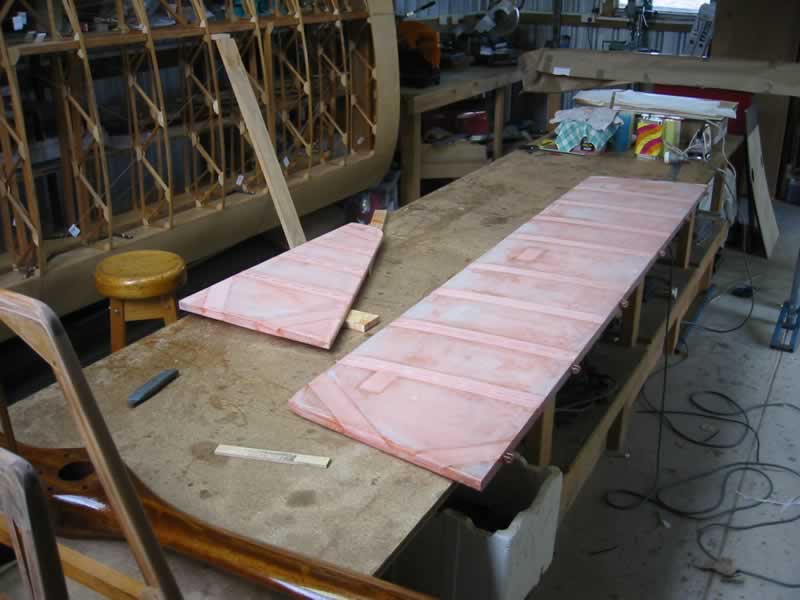 Vertical and horizontal stabilizer complete except for the leading/trailing edge tapes
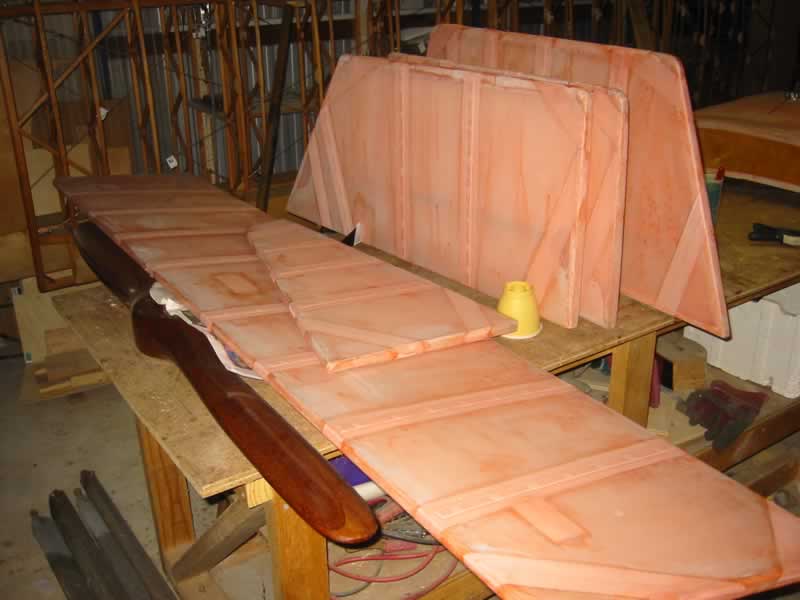 Tails feathers complete except for the leading/trailing edge tapes
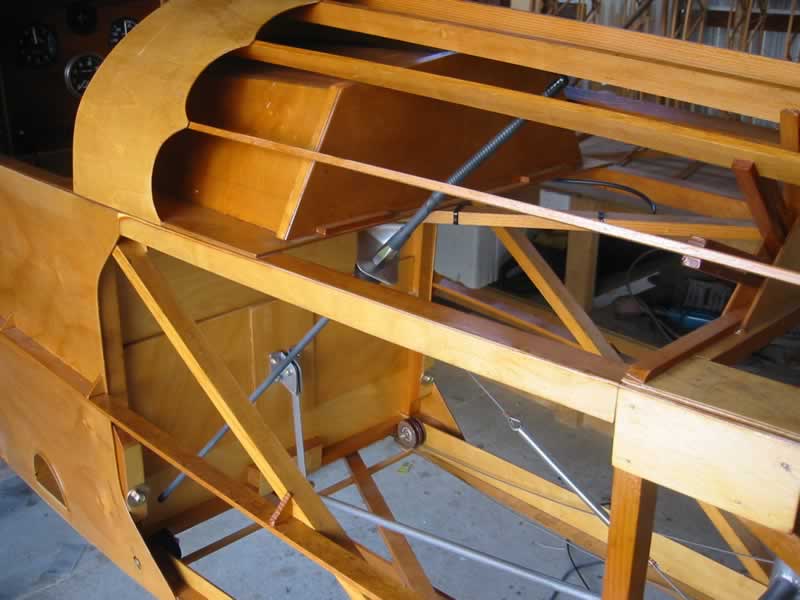
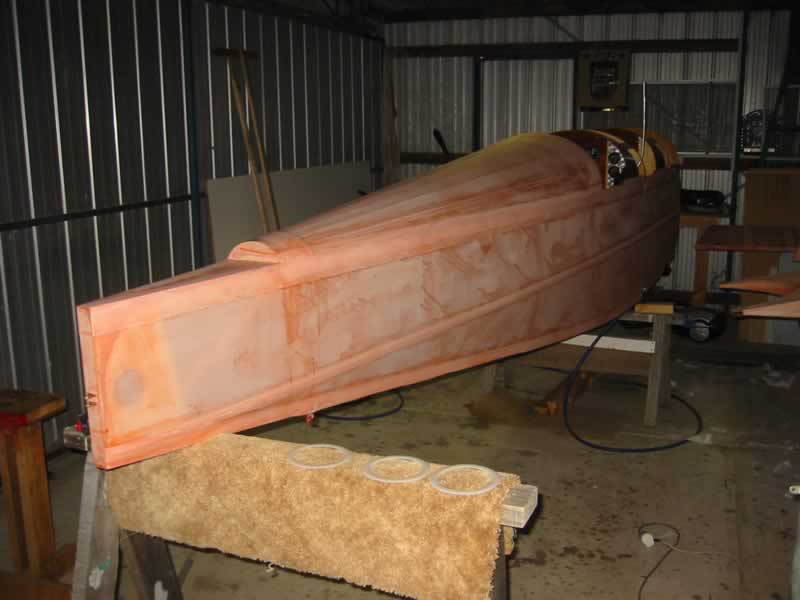 Fuse ready for the turtle deck tapes
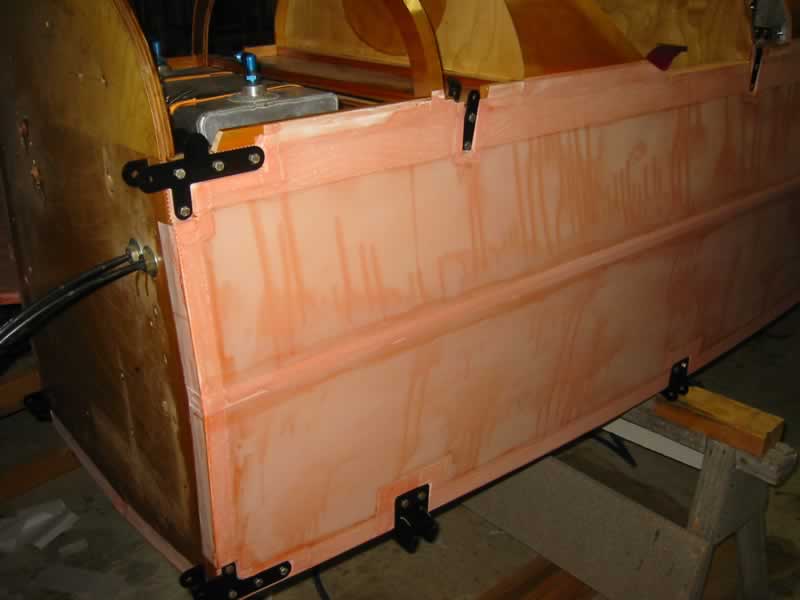 Some of the fittings re-installed
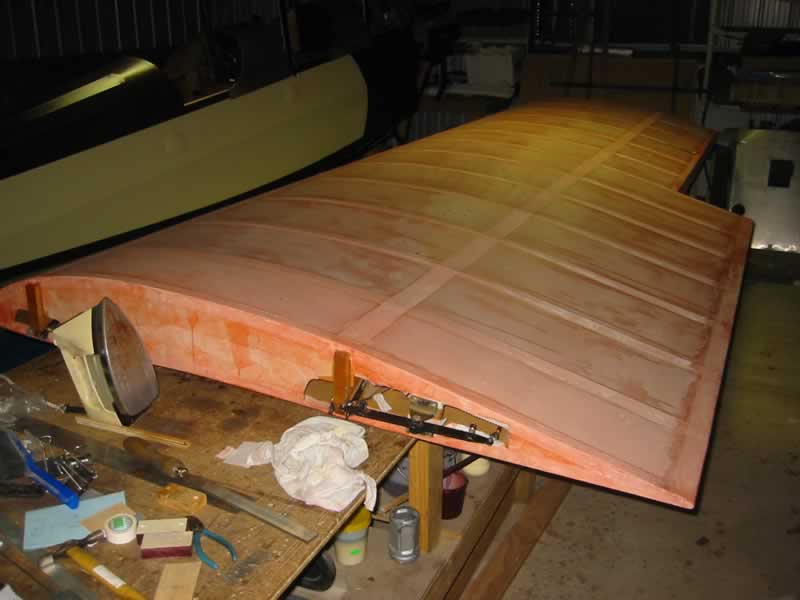
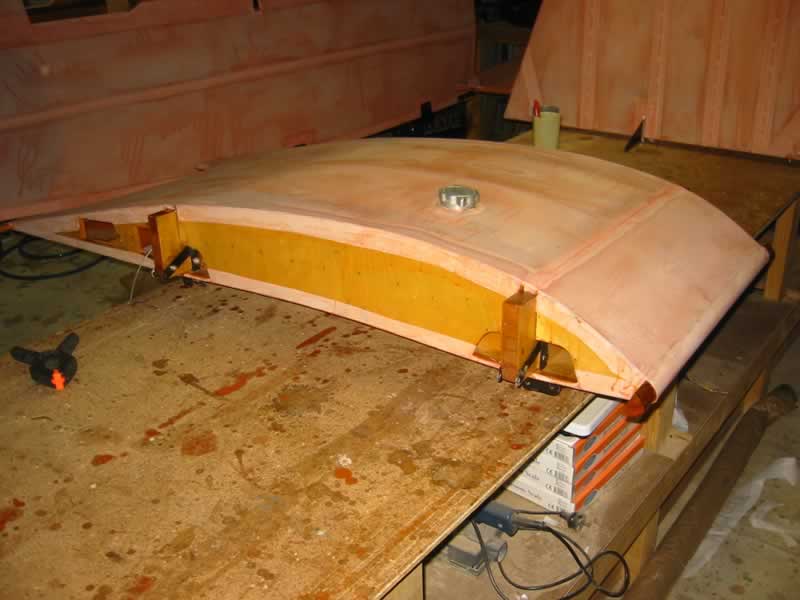 Top and bottom covering on the center section
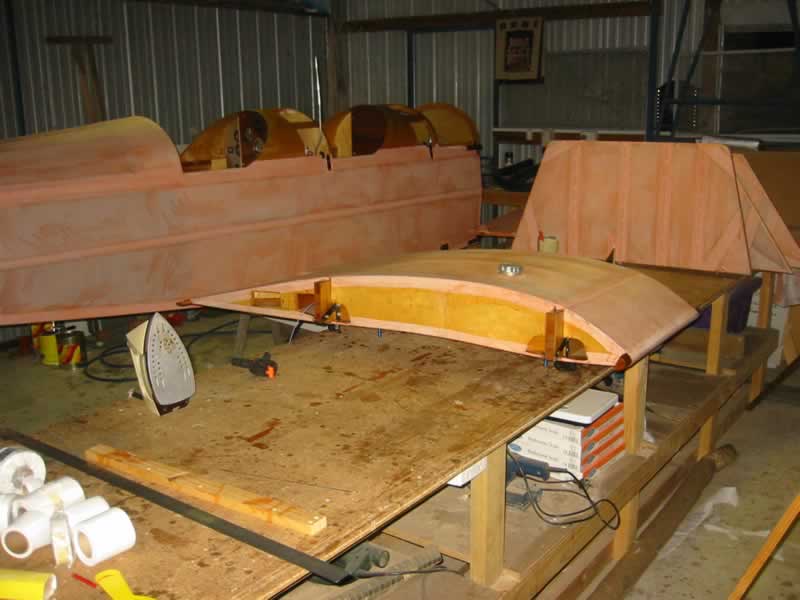 Fuselage, center section and tail feathers all complete except for the finishing edge tapes
 Fuselage and tail feathers all complete and another temporary fitting to check control cable exits
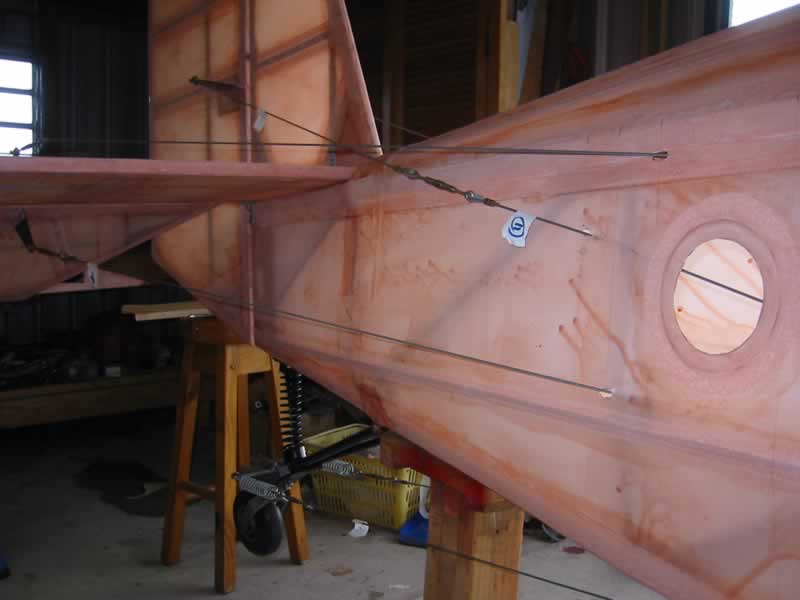 Control cable exits cut in fuse covering
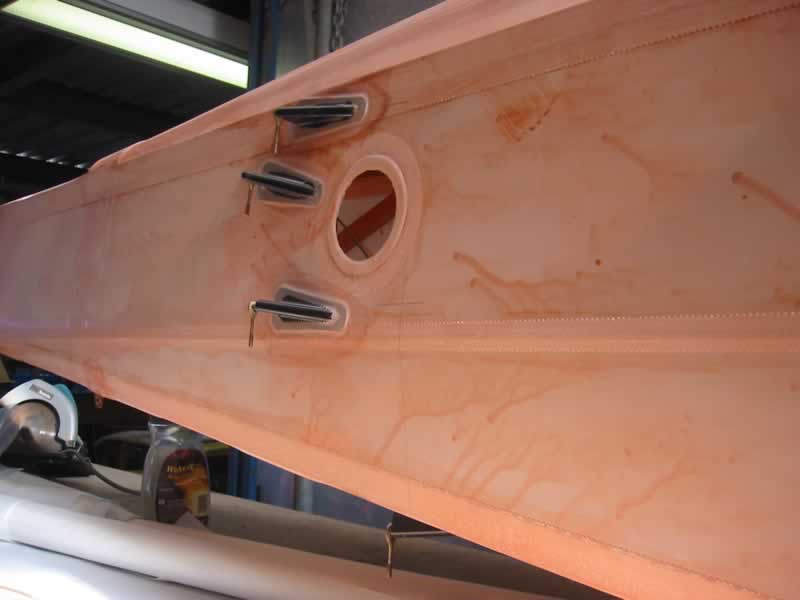 Control cable exits covered with fairings
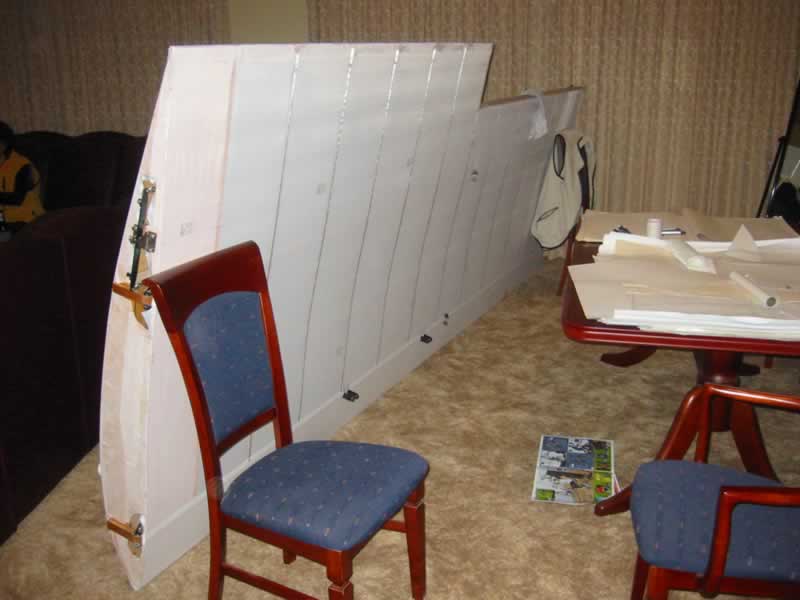 One wing ready for rib stitching
 One wing covered and ready for paint