
The plans I have purchased call for a combination Broad “U”/Box spar construction . The two top and bottom booms are supported by ply the whole length of the spar on one side and in parts on the other side.
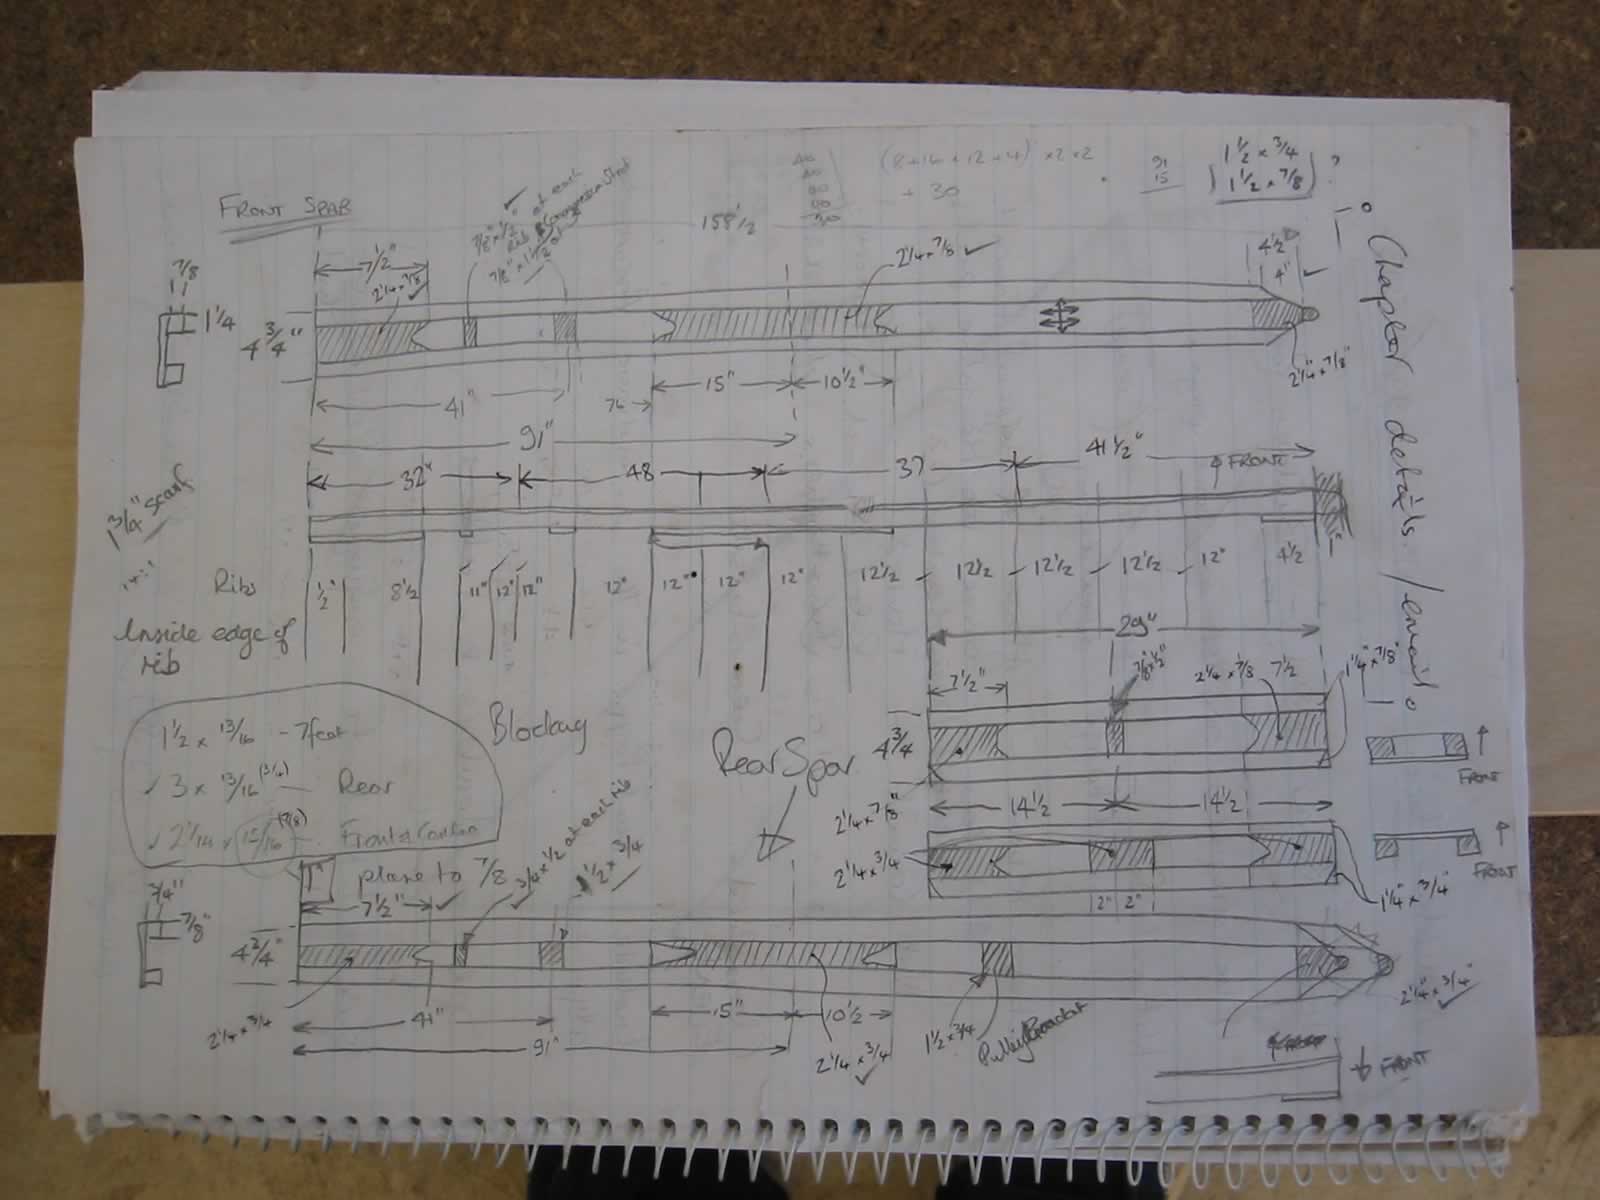 When building, I make a notebook copy of the plan I am working on. This allows my brain to think out what I am going to do in the workshop. This a thumbnail of the notebook page for the spars. Click on the thumbnail for a larger image (1.5Mb).
The 1/8th inch ply comes in 48 inch pieces so I had to scarfe 4 pieces together to get the 158 1/2 inch spar length. I checked around on the web and came across a fairly simple method using a jig and a circular saw. The jig is made out of two pieces of ply or chipboard and both set at the angle required for the scarfe. I needed about 1:12 so the angle is around 4 degrees. A strip of wood is screwed to the lower ply to support the saw at the correct angle.
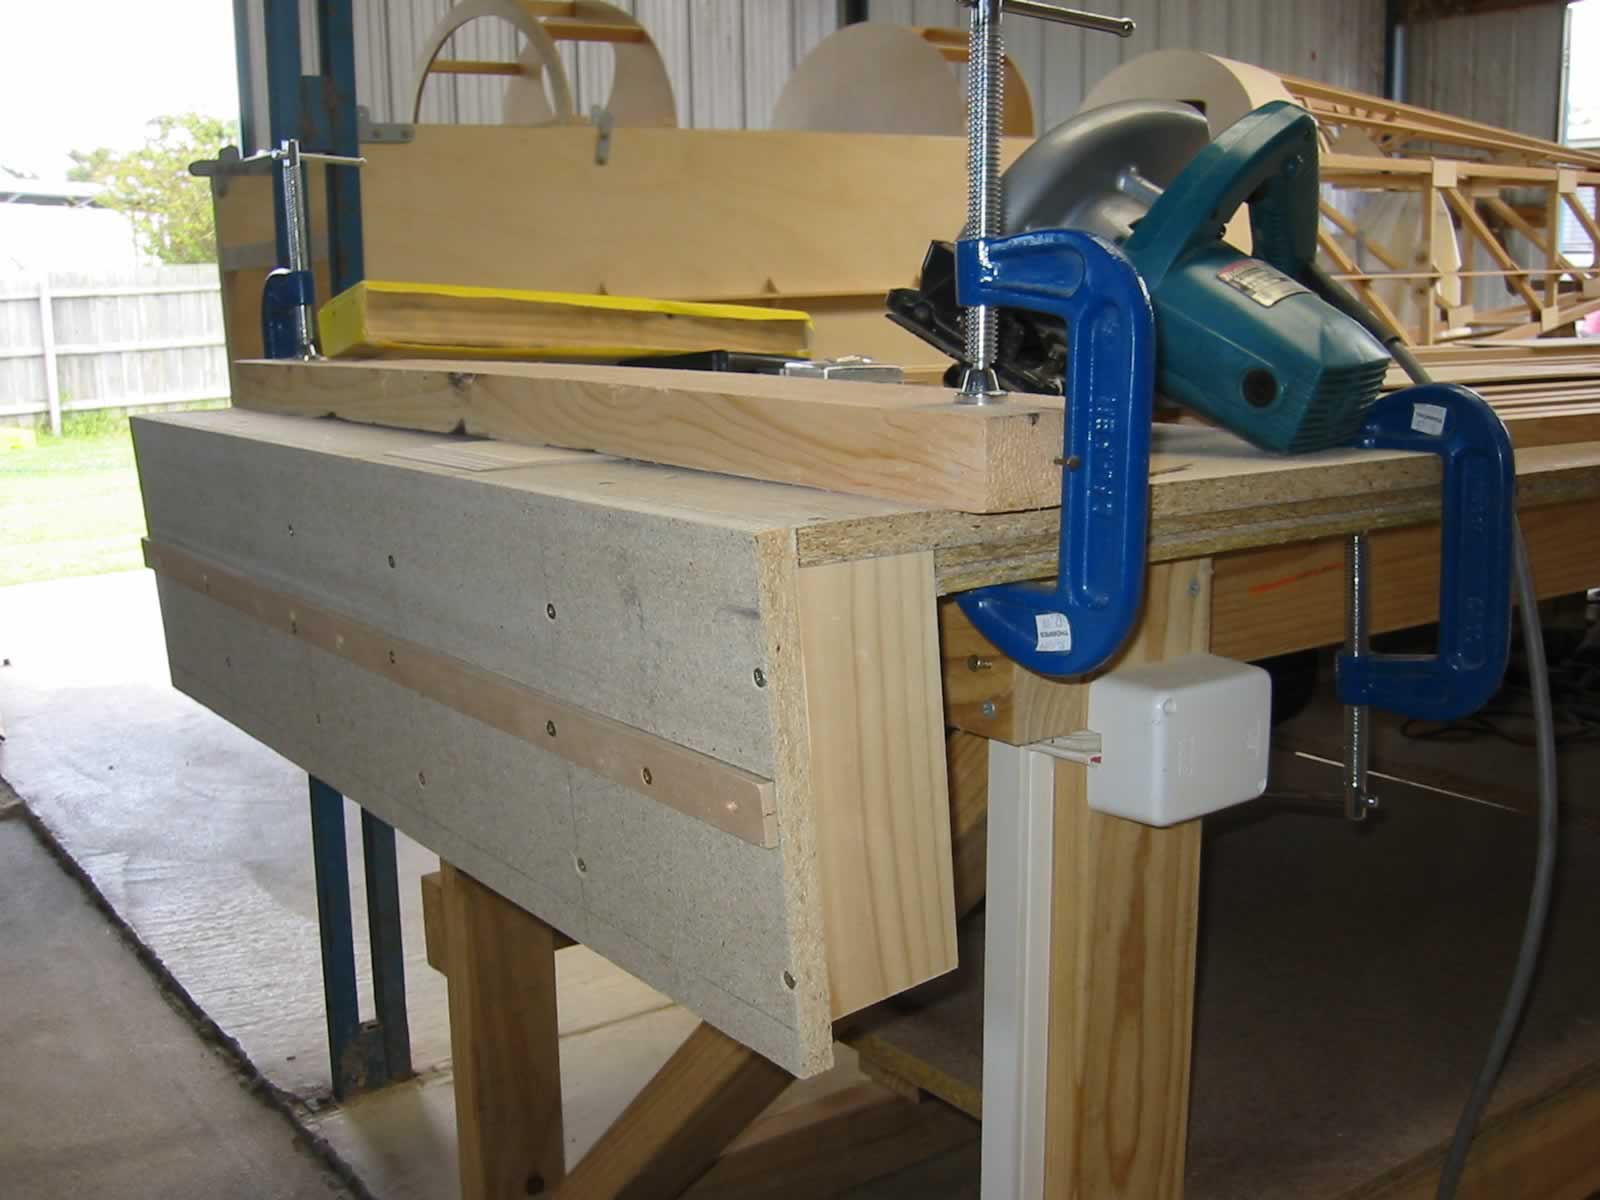 The completed Jig
To cut the scarfe, the ply is clamped and aligned squarely with the end of the jig. The saw is placed against the lower ply face and, with the safety cover pulled back out of the way, a cut is made slowly along the plywood.
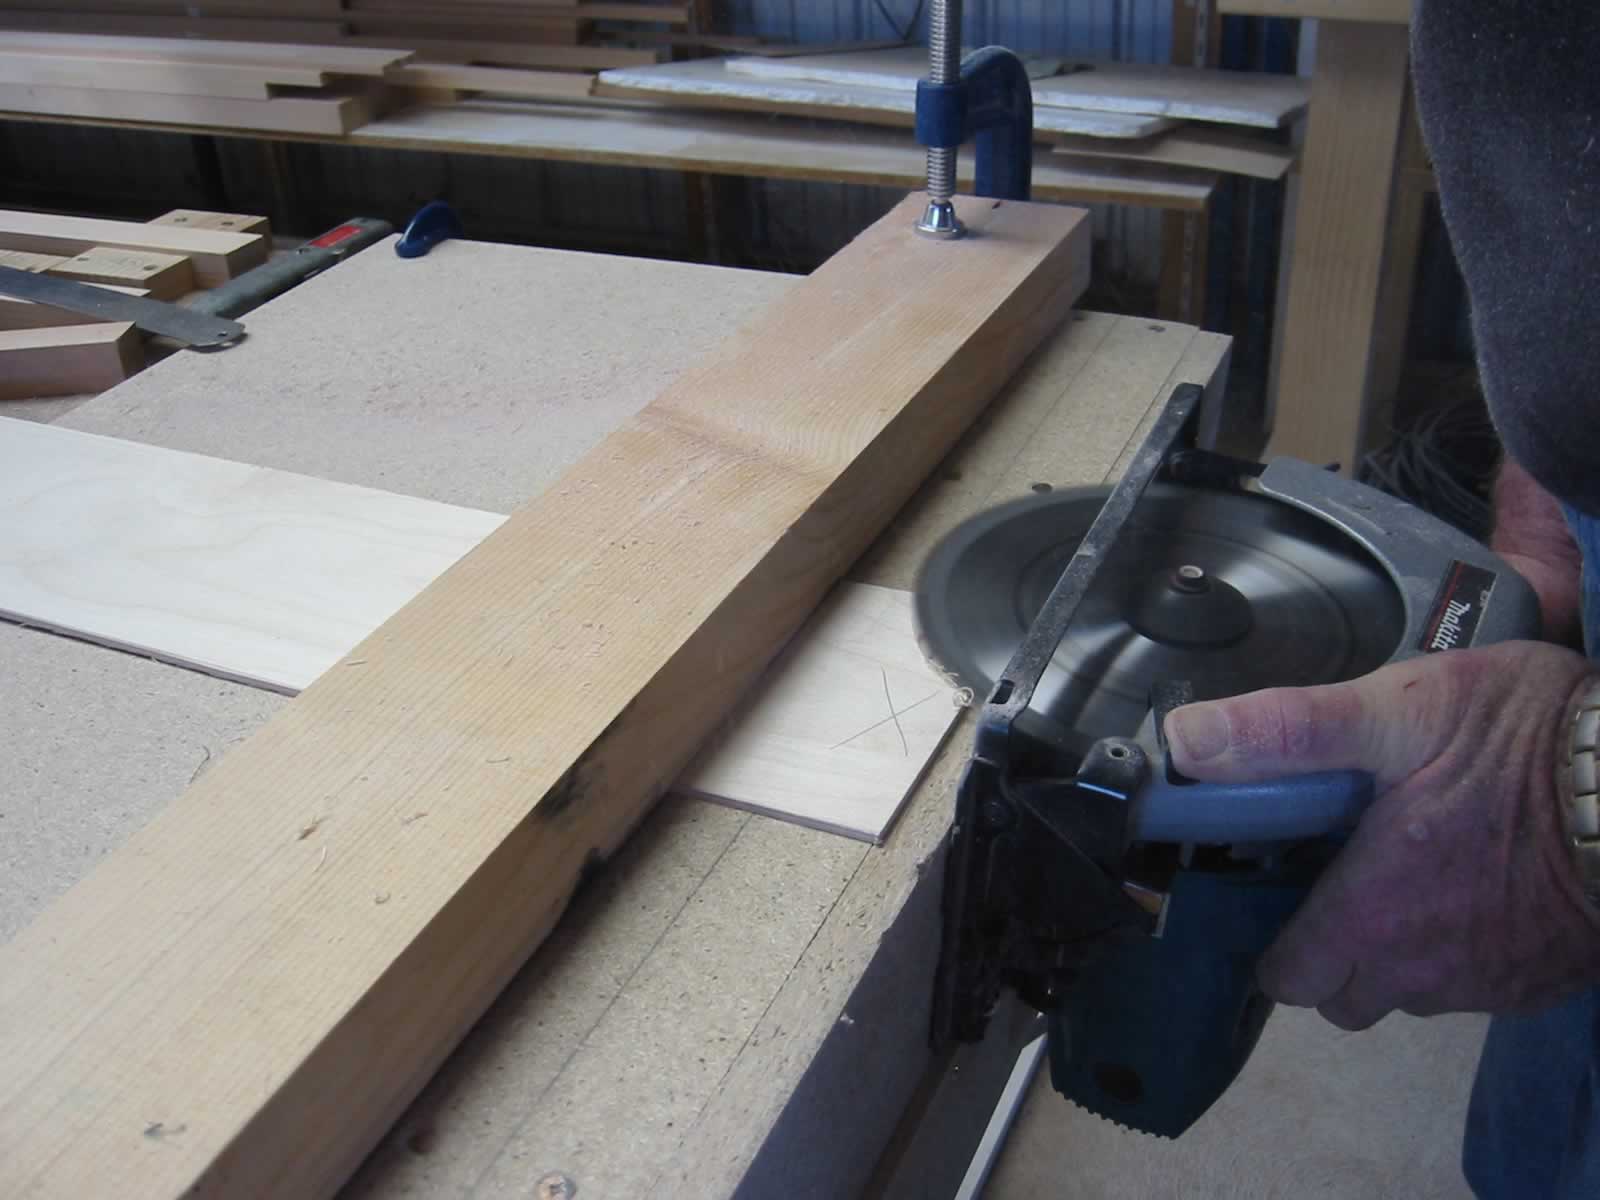 The completed Jig with the saw making the scarfe.
 A final bit of sanding to clean up.
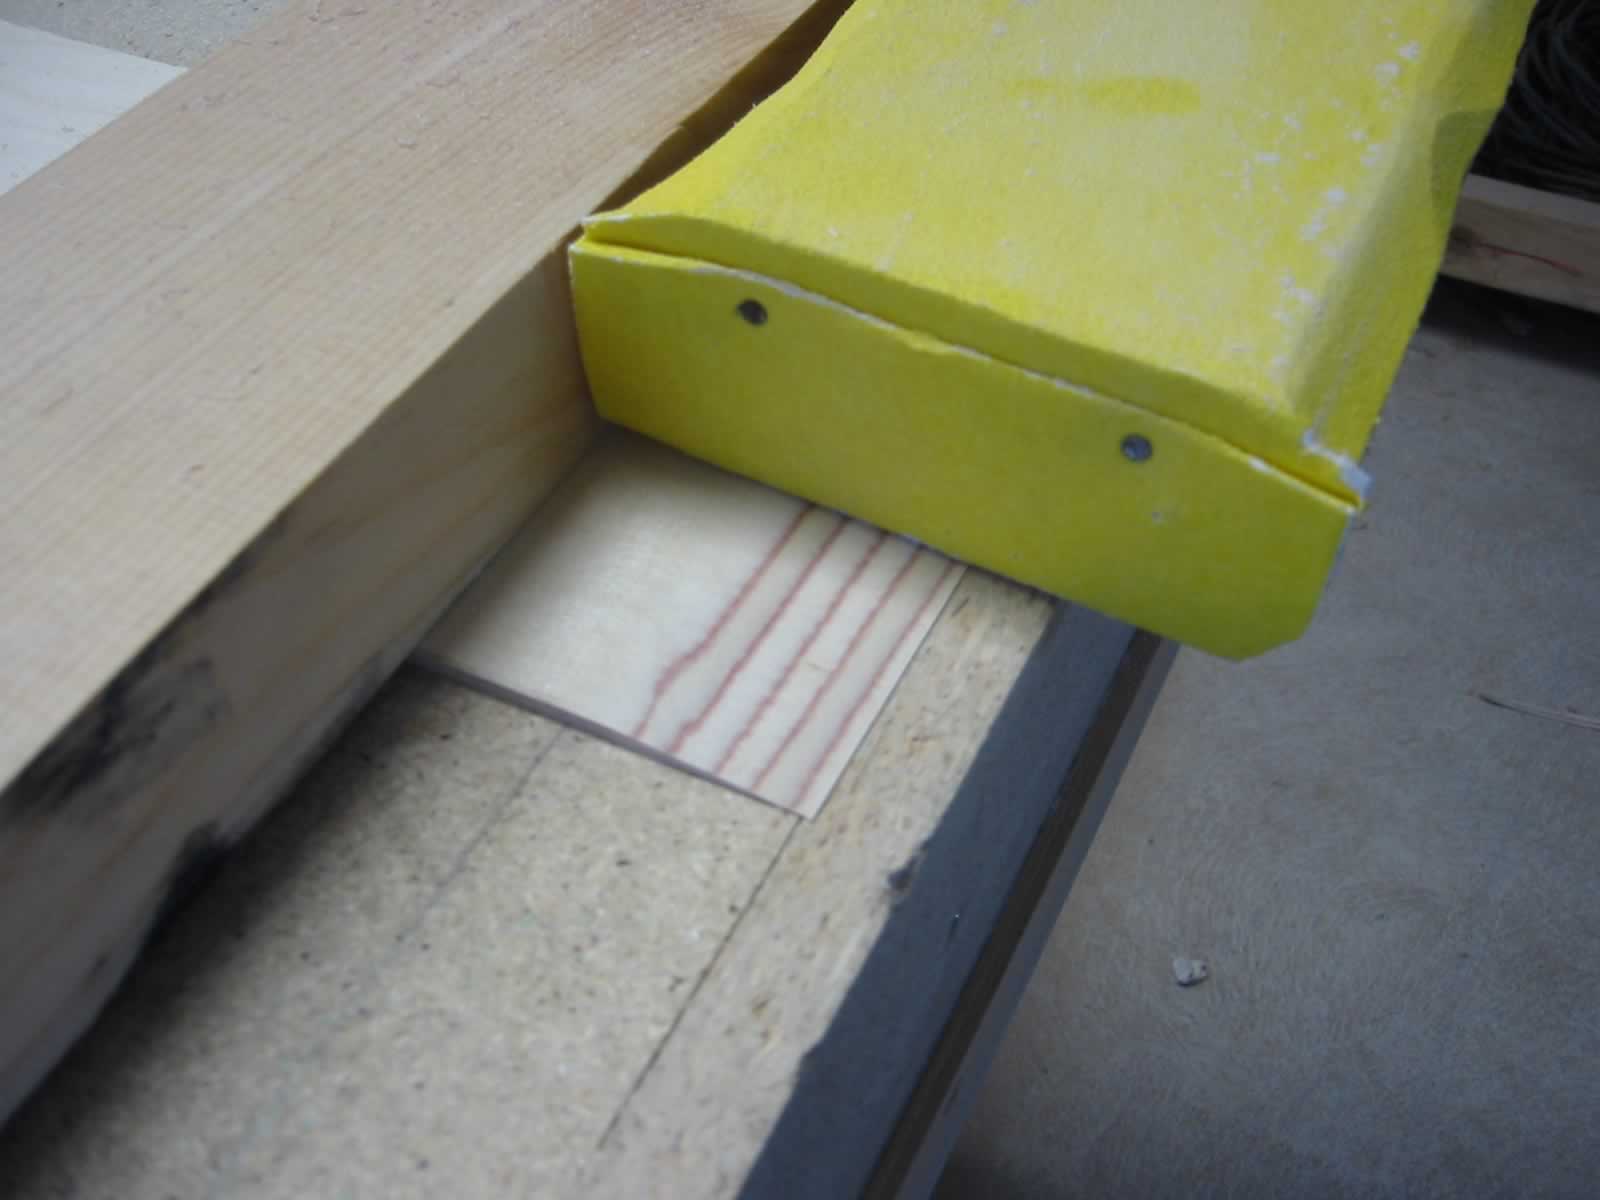
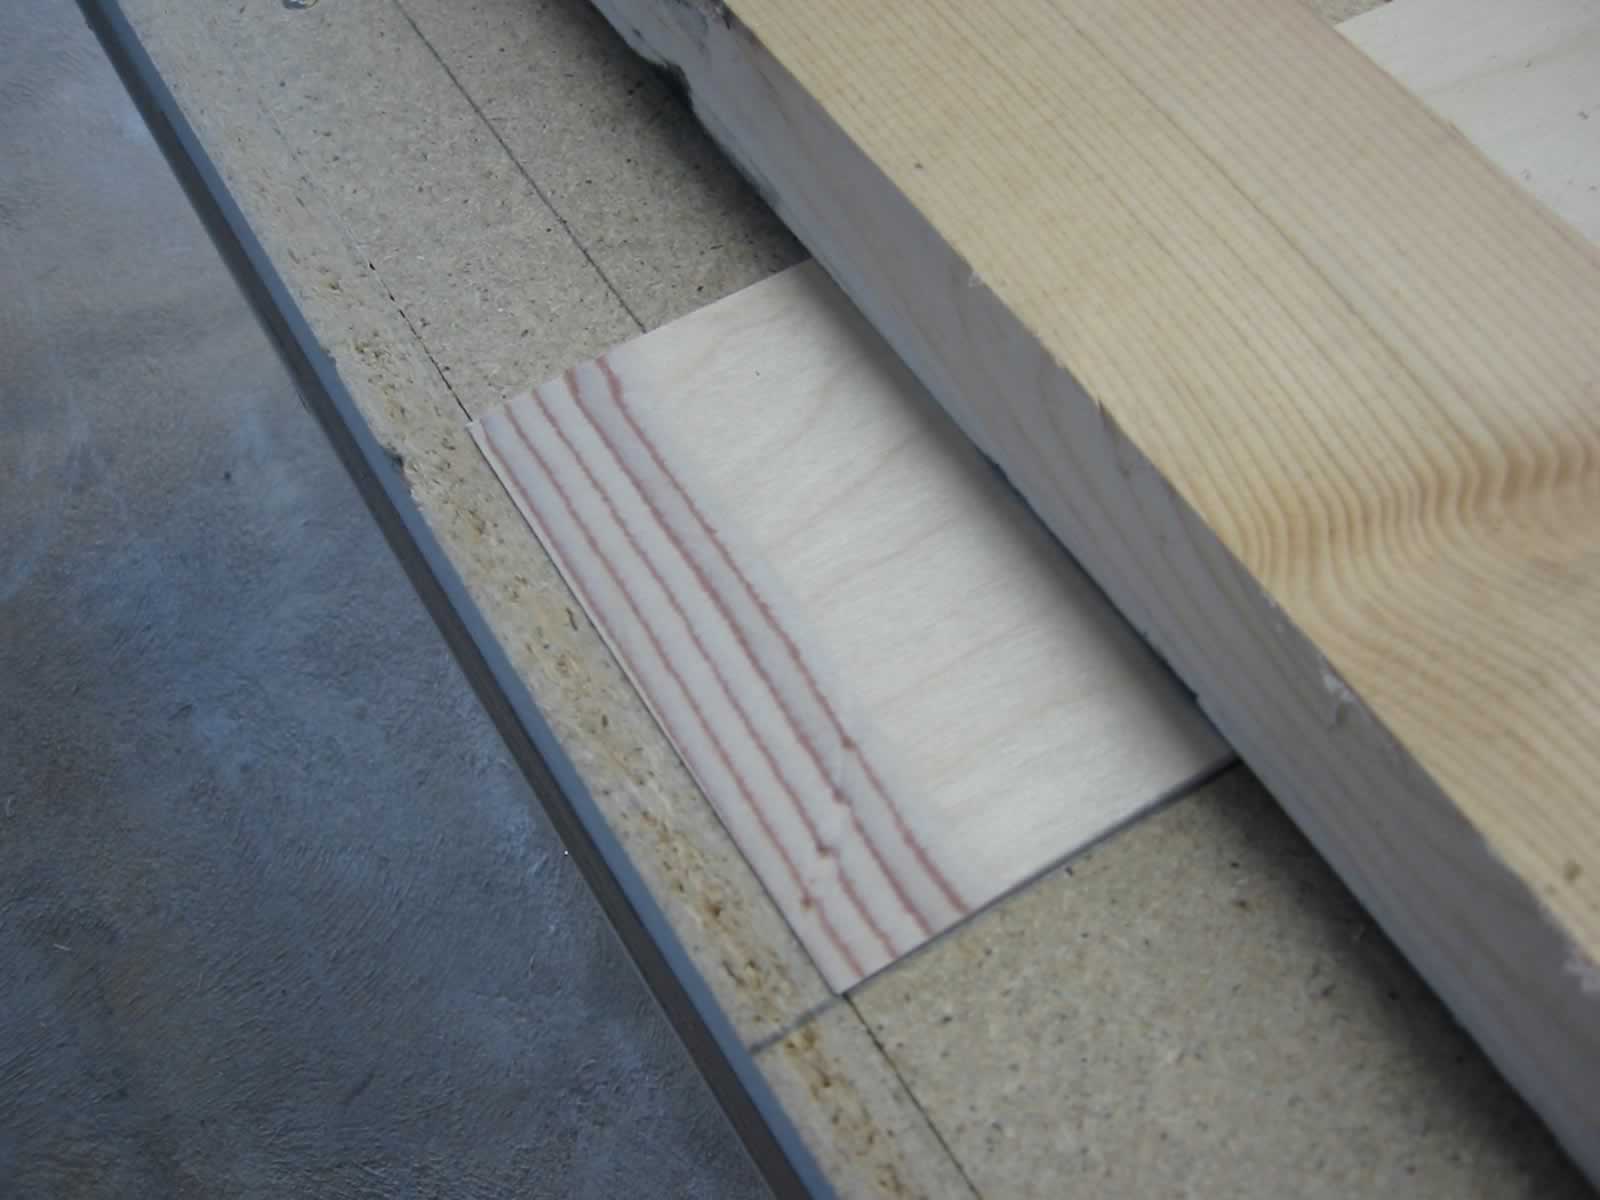 The completed scarfe.
The next thing to do was to glue the pieces of ply together. Ensure that the edges of the ply are at the correct overlap so that the ply is flat across the join. Clamp up tightly and leave overnight to set.
 The ply being glued.
I laid up a jig to hold the top and bottom beams in place while the ply was glued in place.
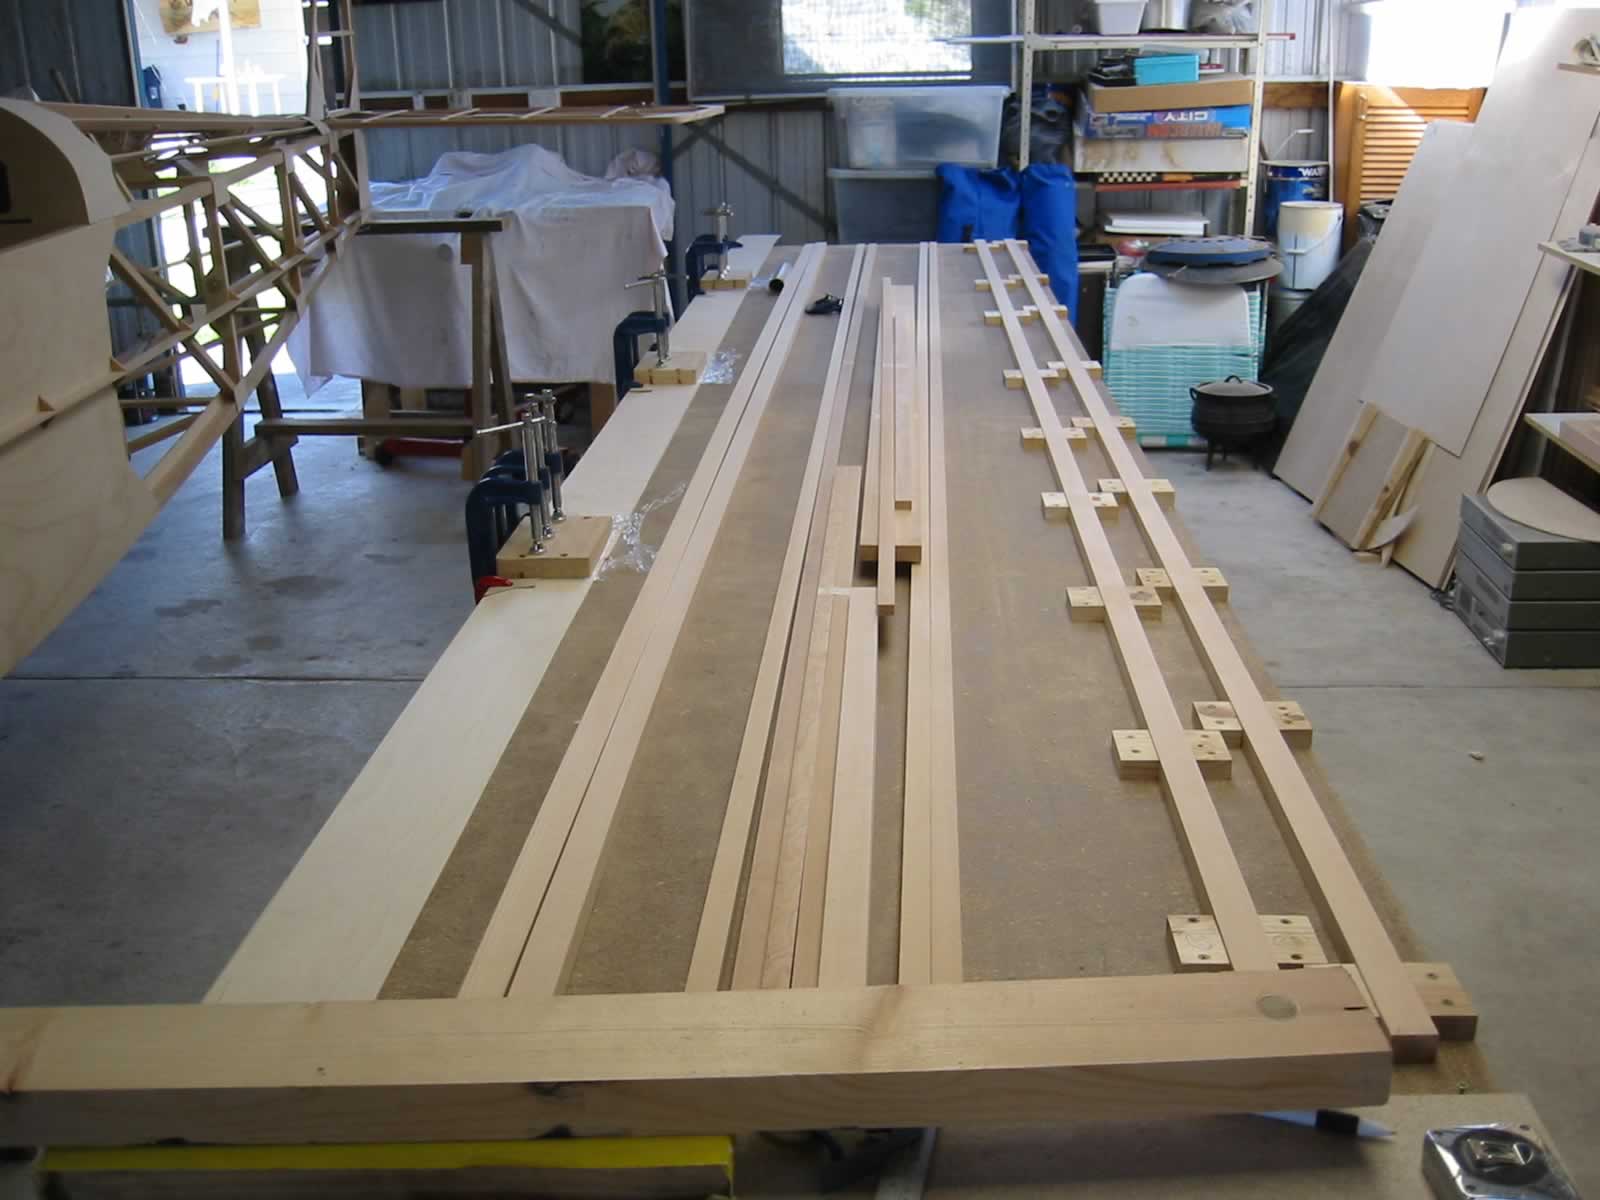 The spar jig with the top and bottom beams in place.
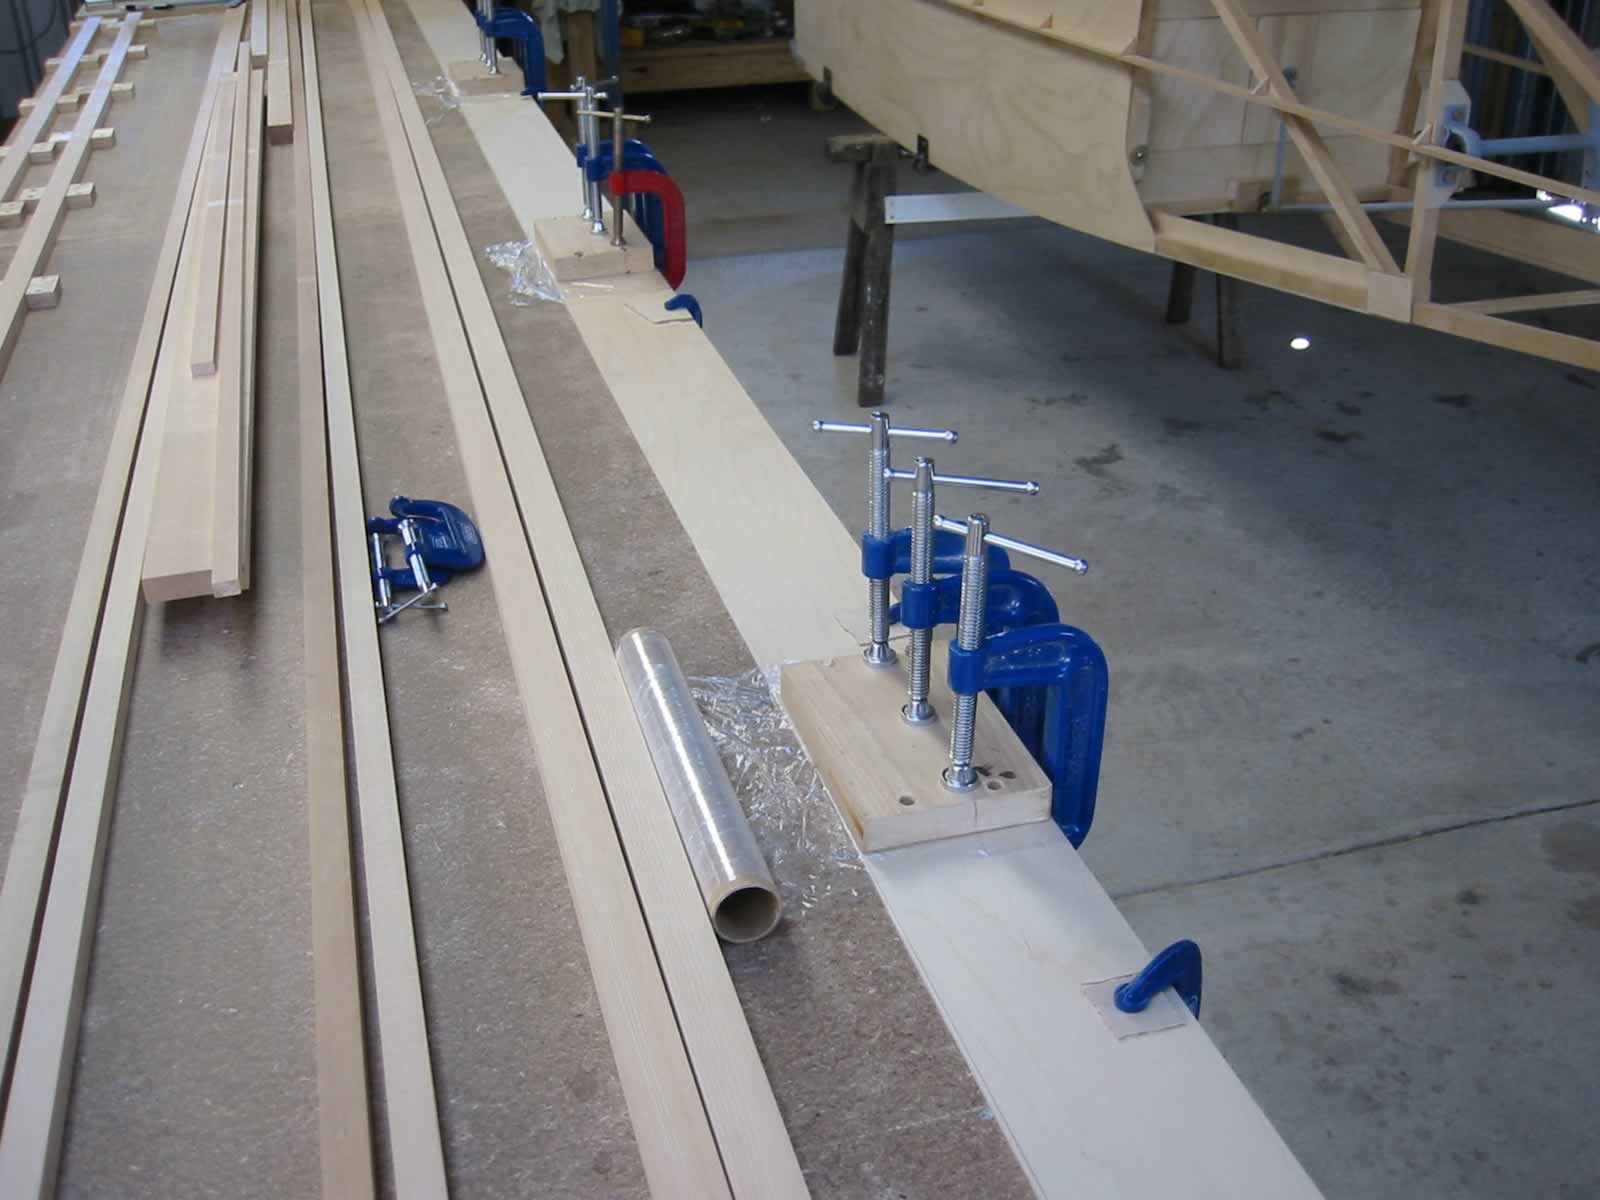
The clamps I have would not clamp the whole spar in one go so I had to glue and clamp one beam at a time.
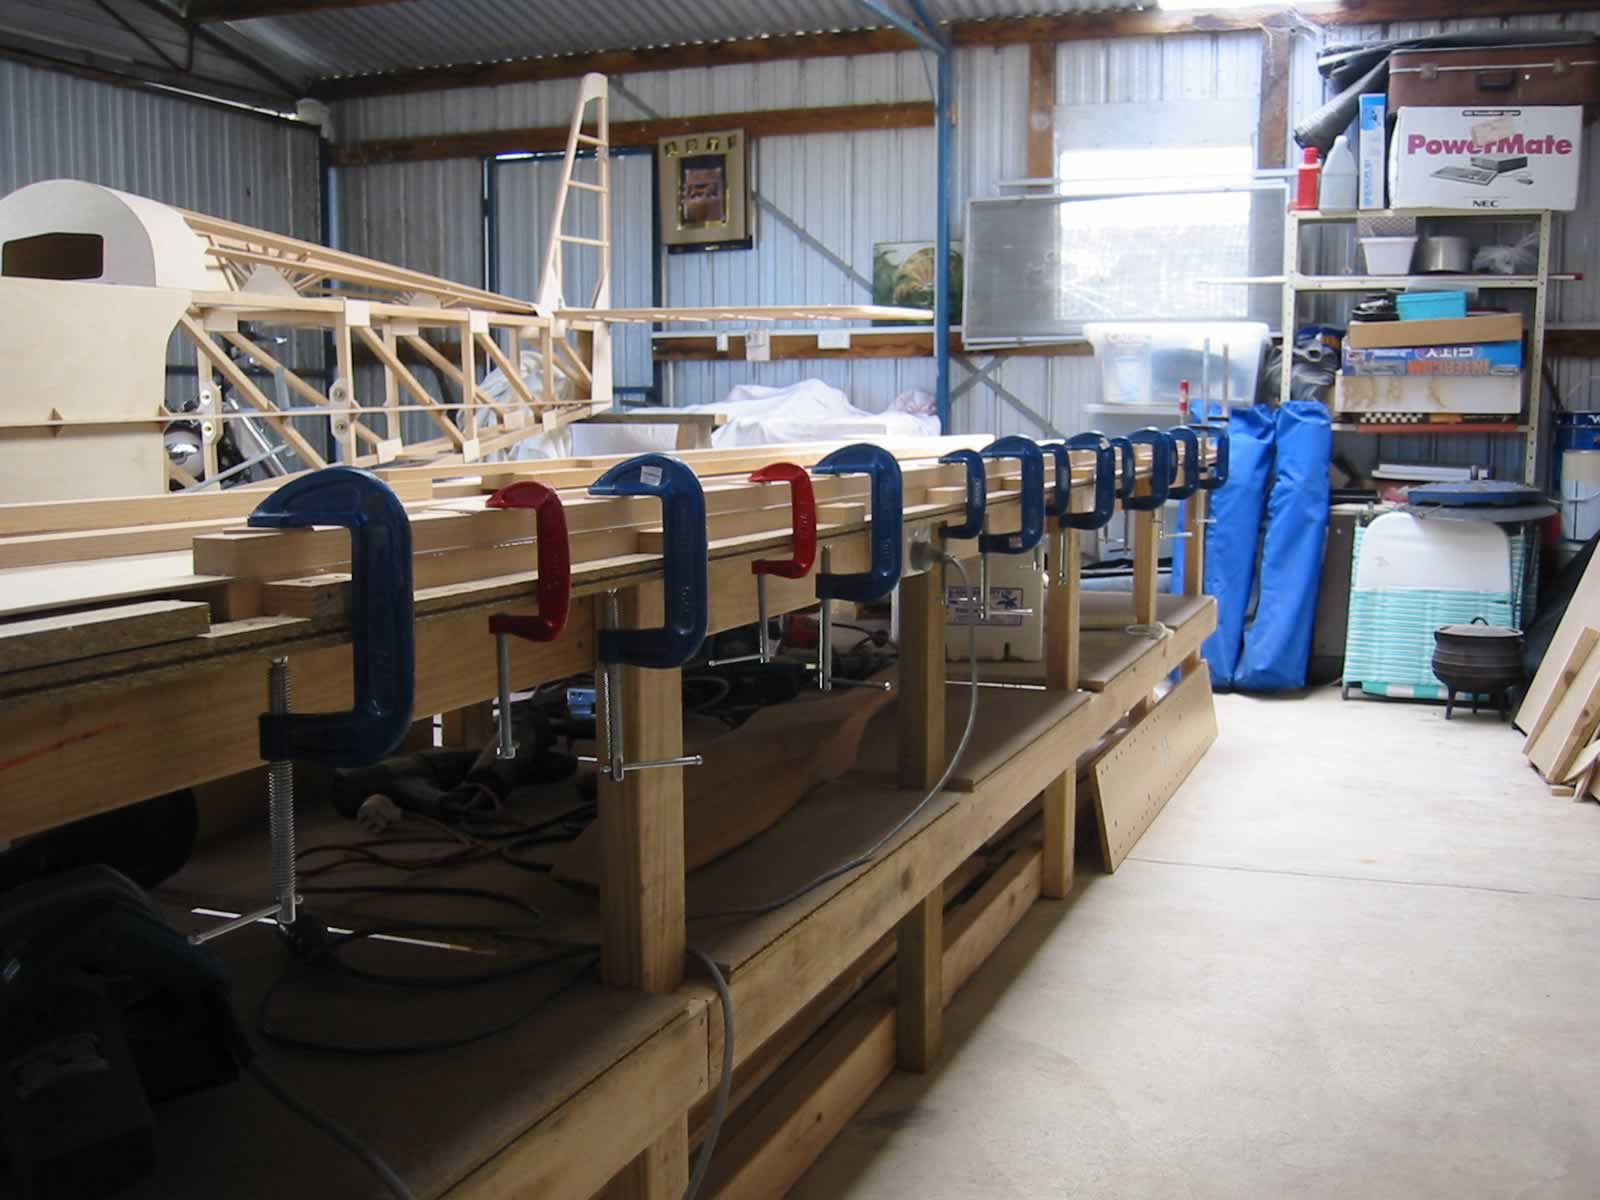 The clamps holding one beam tight to the ply
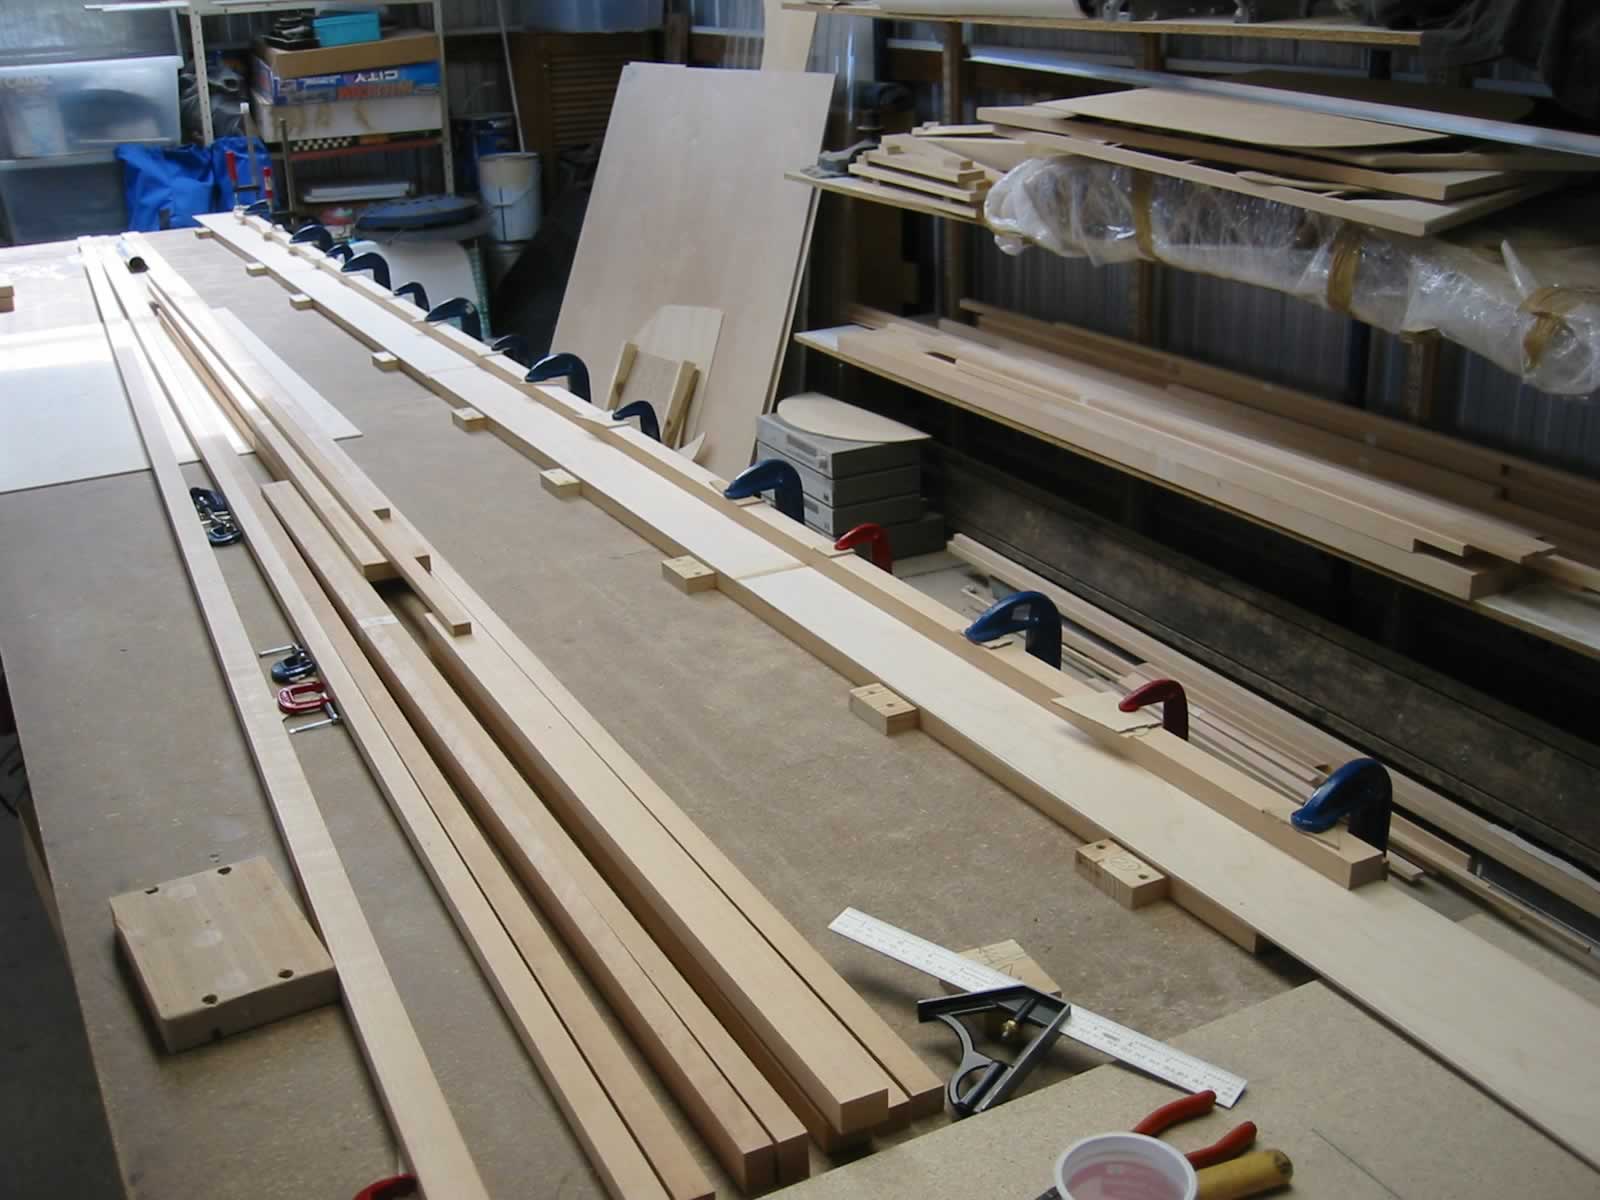
 A stack of spars waiting for the front ply strengtheners
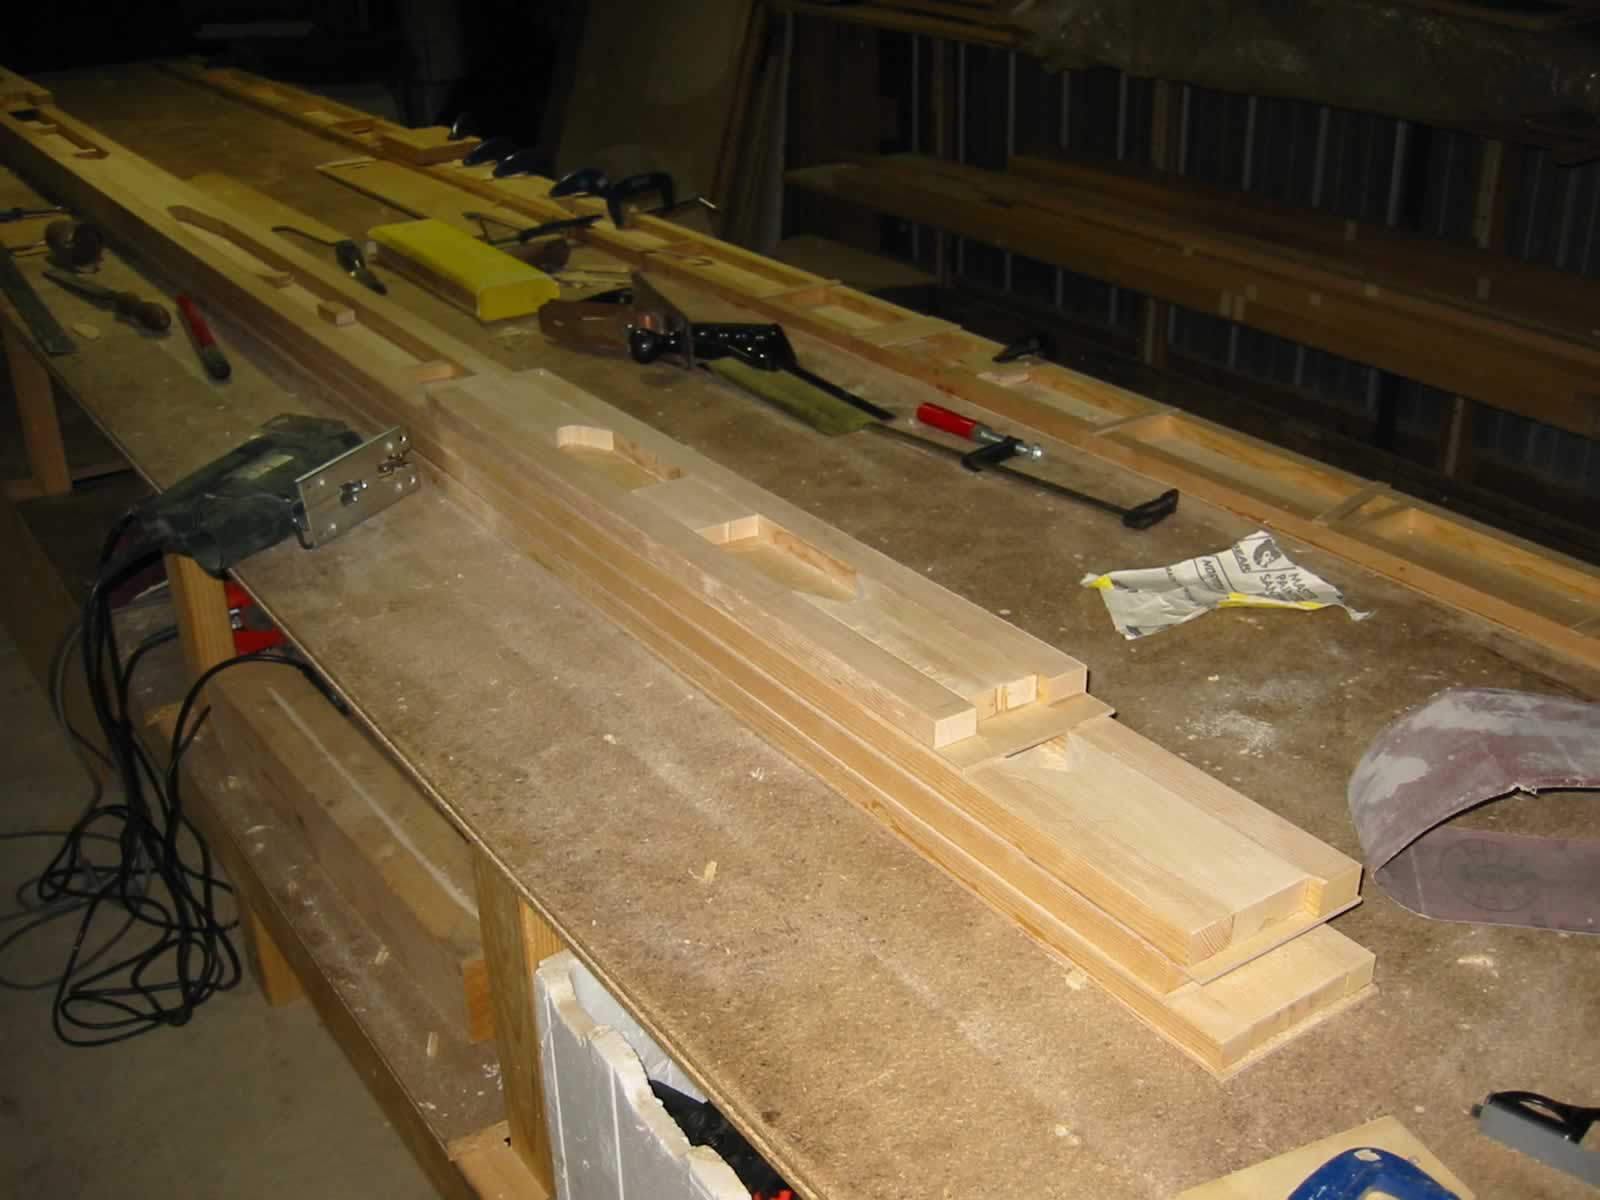
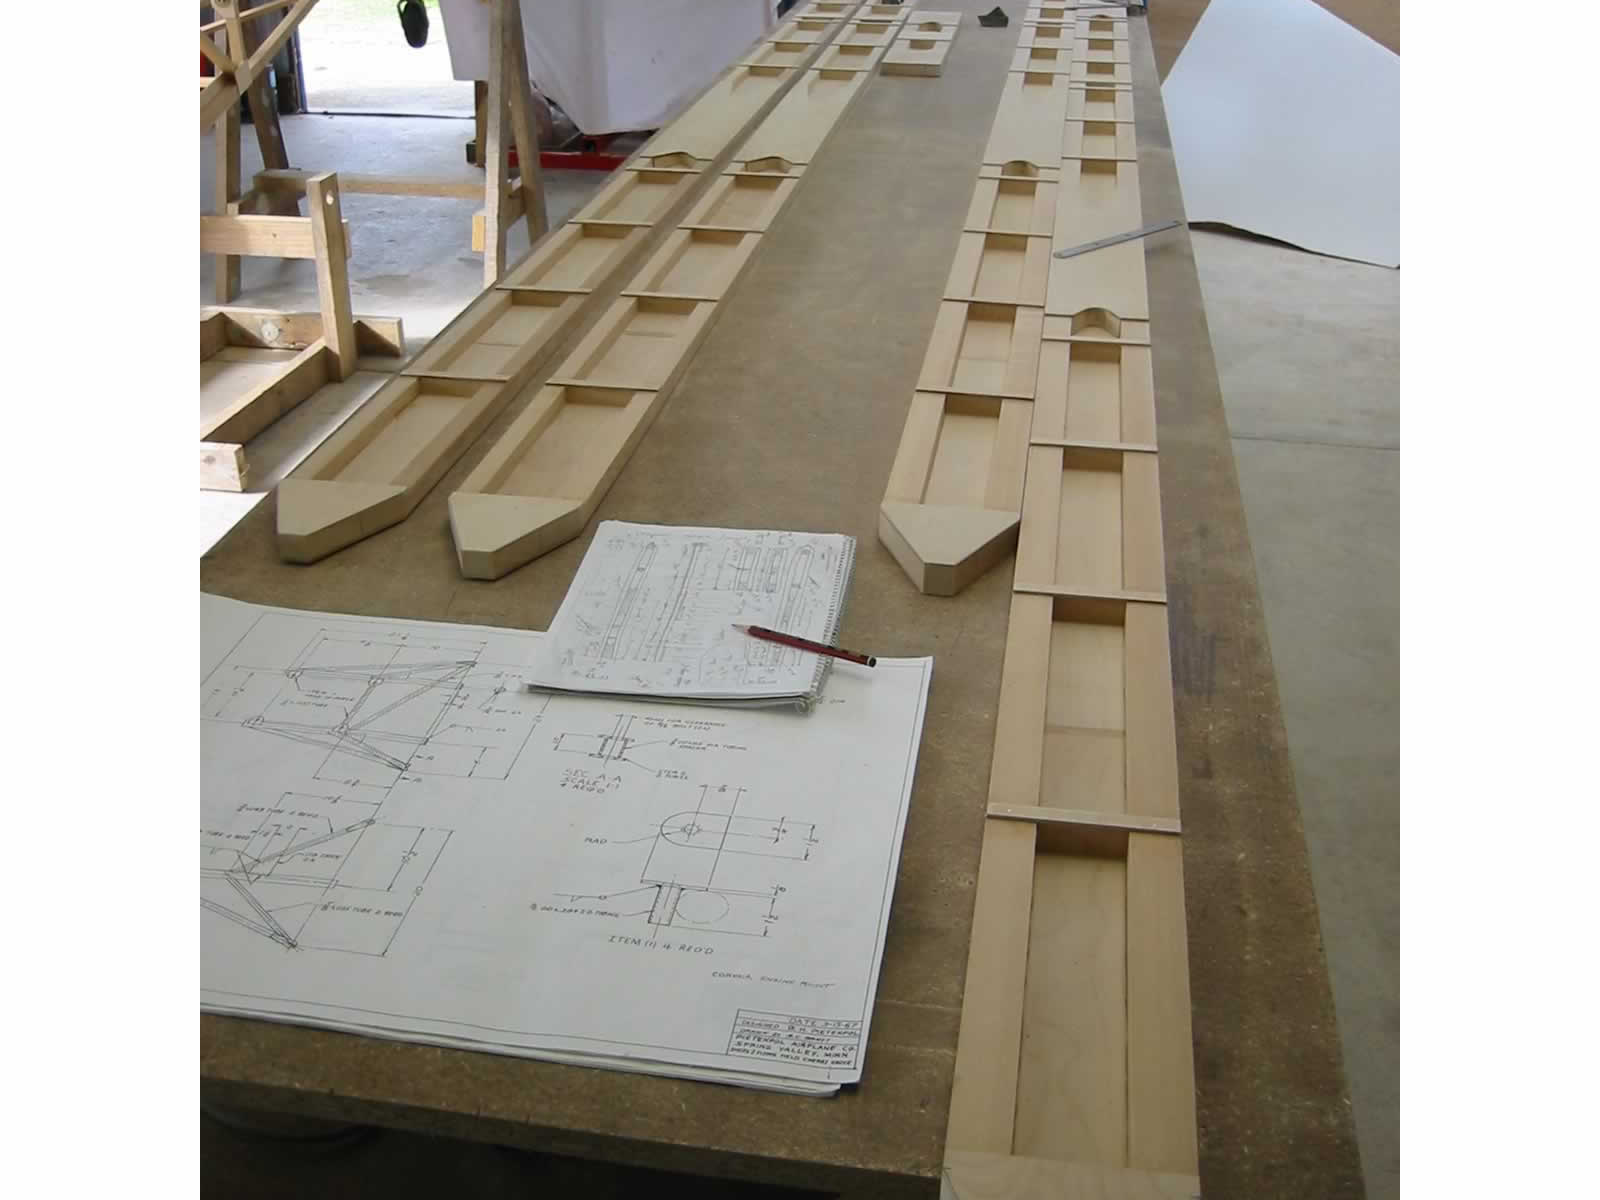 The completed spars.
 Checking where the fittings go.
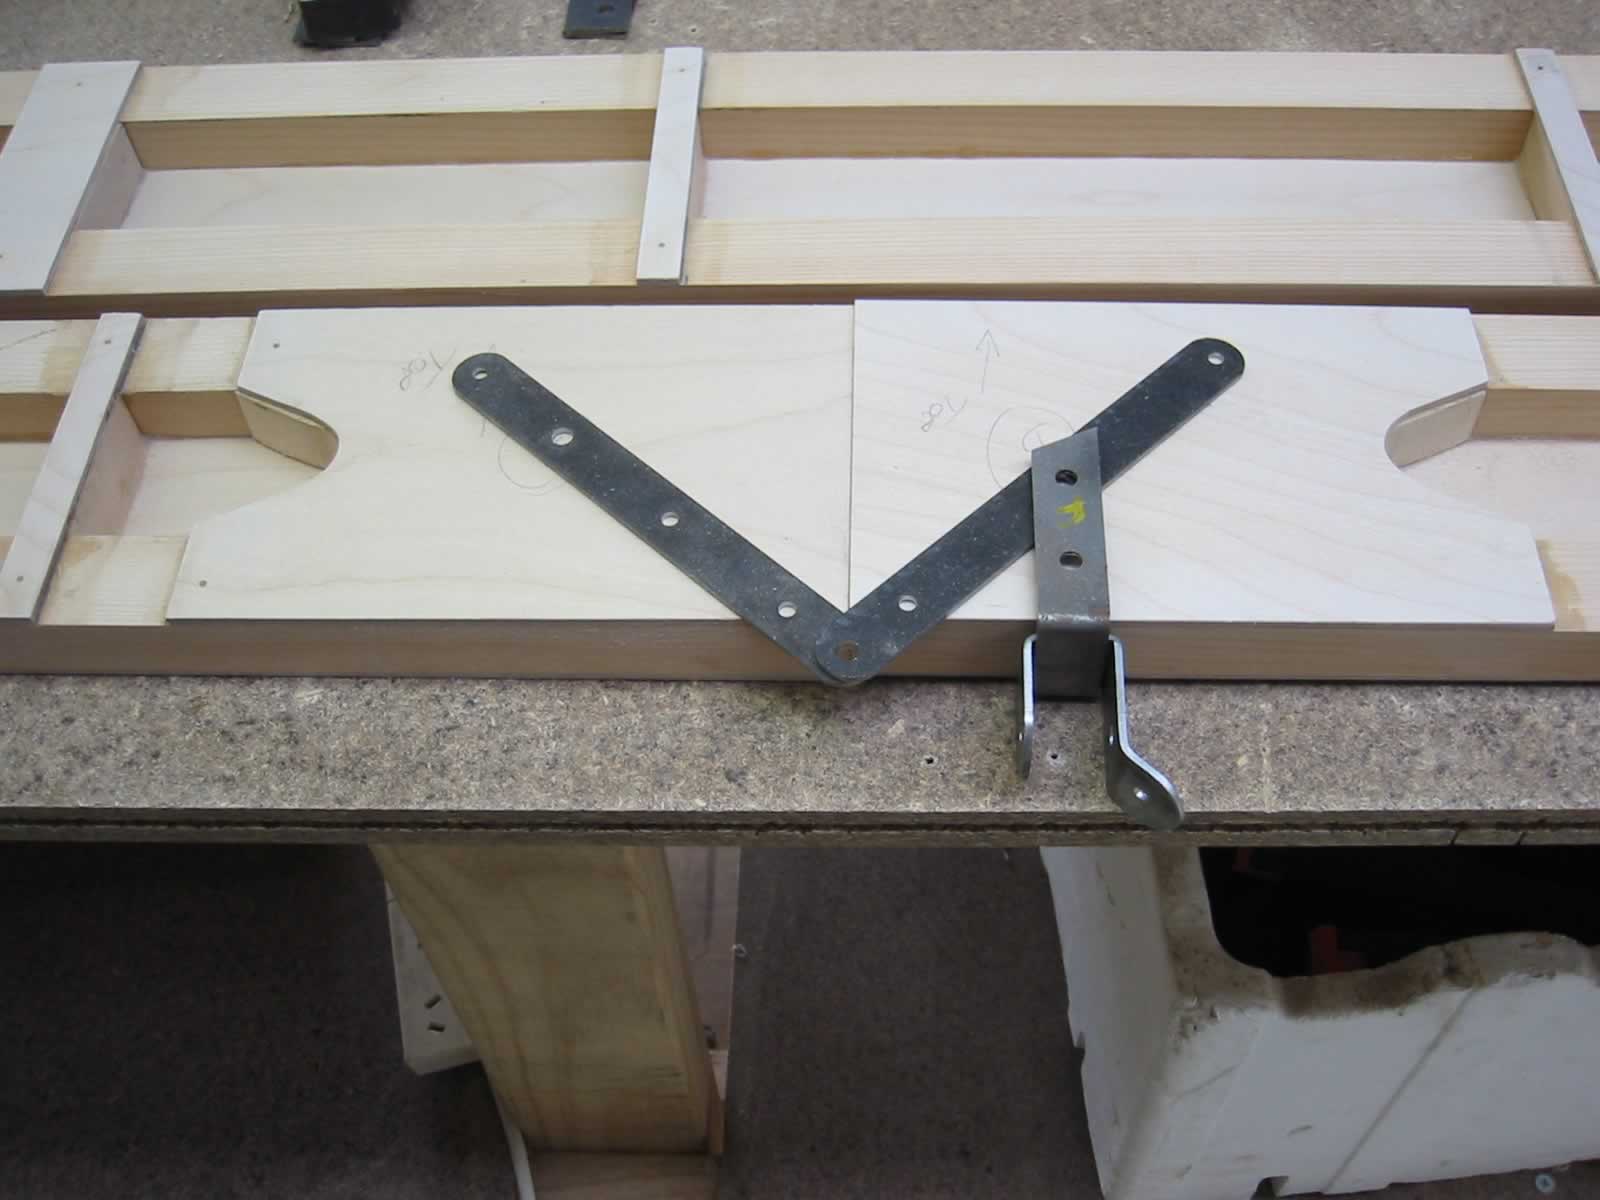
I made up a steel template so that the drilling for the wing spar attachment fittings and strut attachment fittings would be accurately aligned.
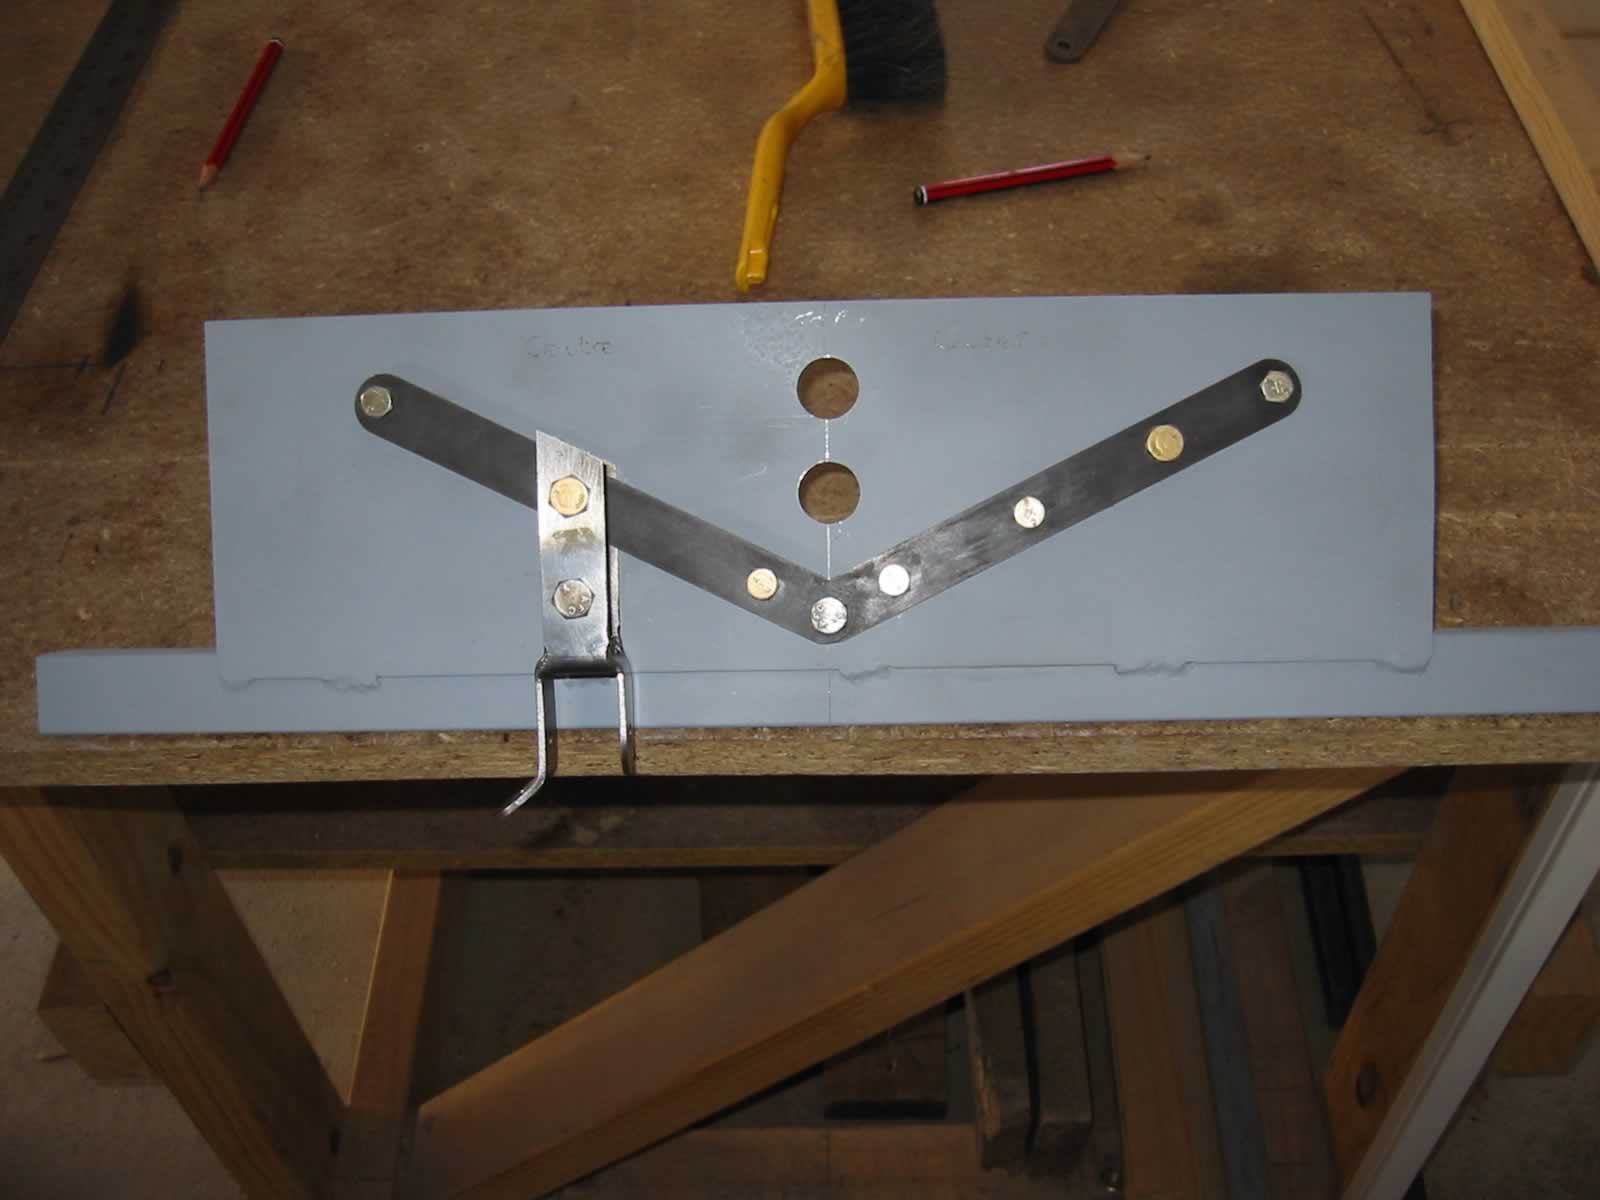 The template with some fittings attached. The two circles go over the join between the center section and the main spar.
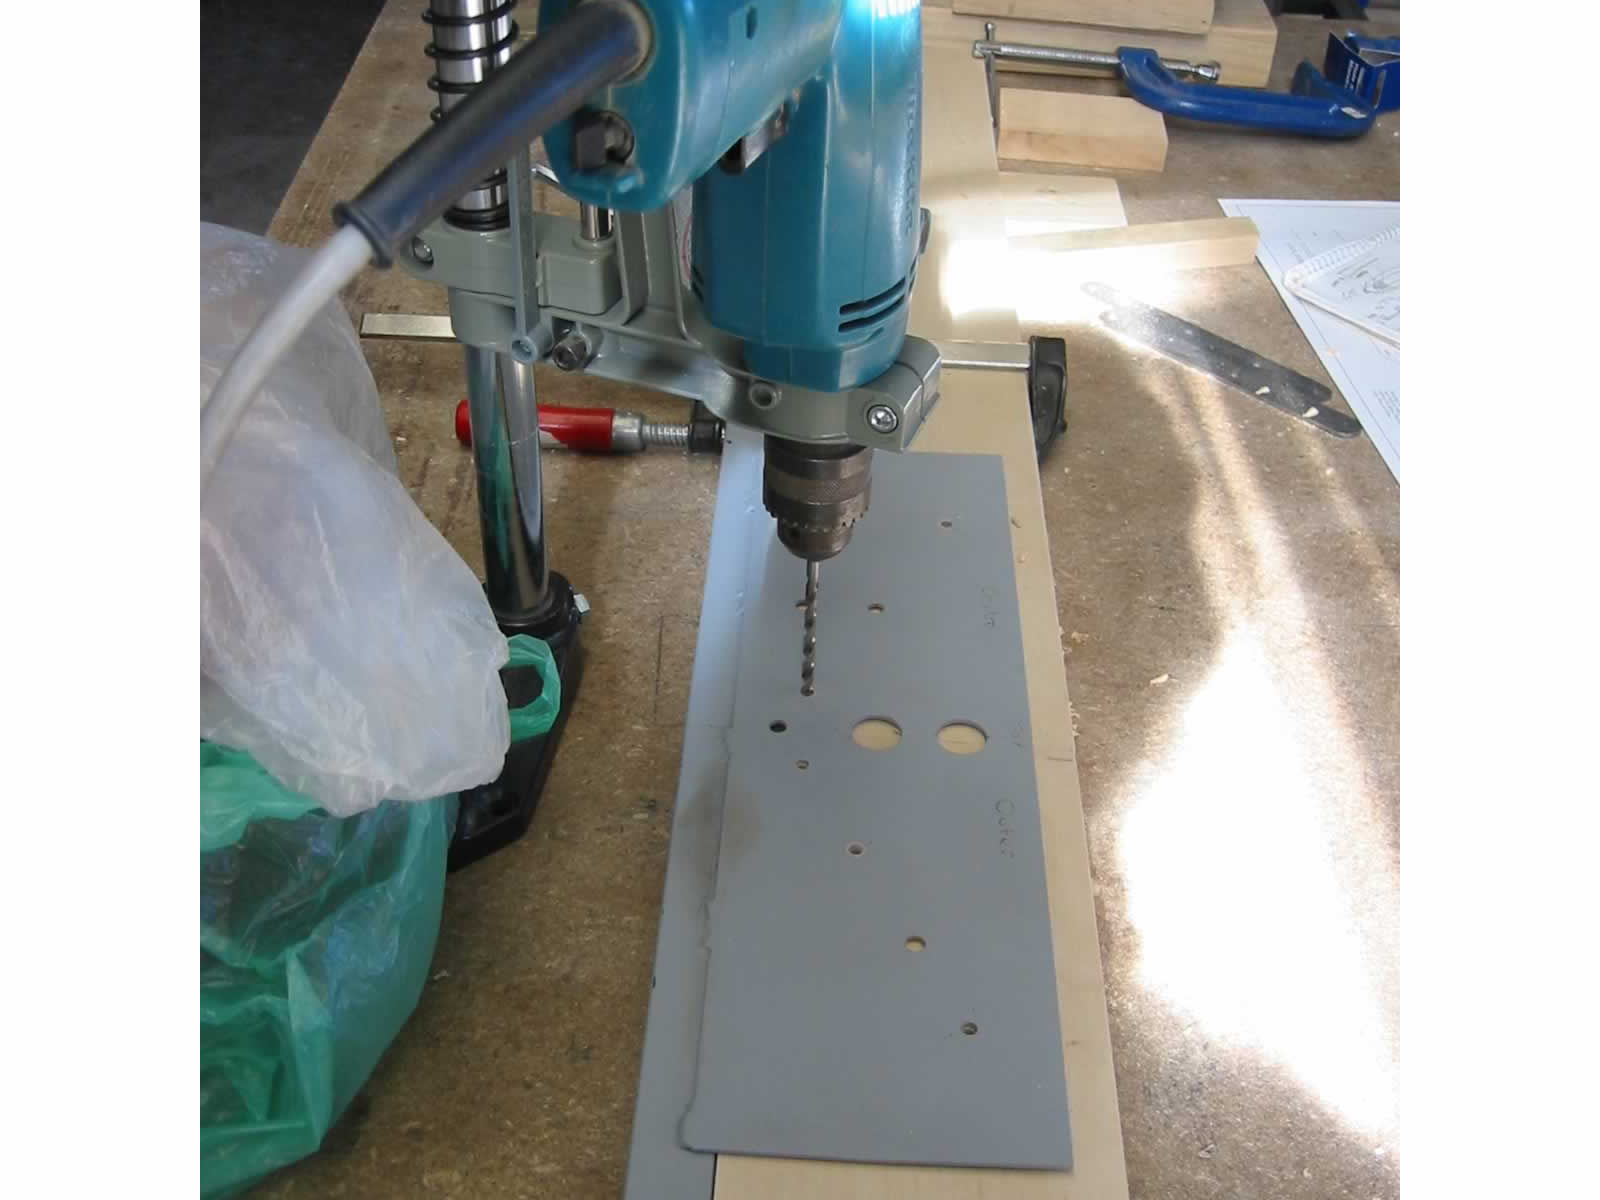 I set the template over the spars using a small bench press to keep everything square….
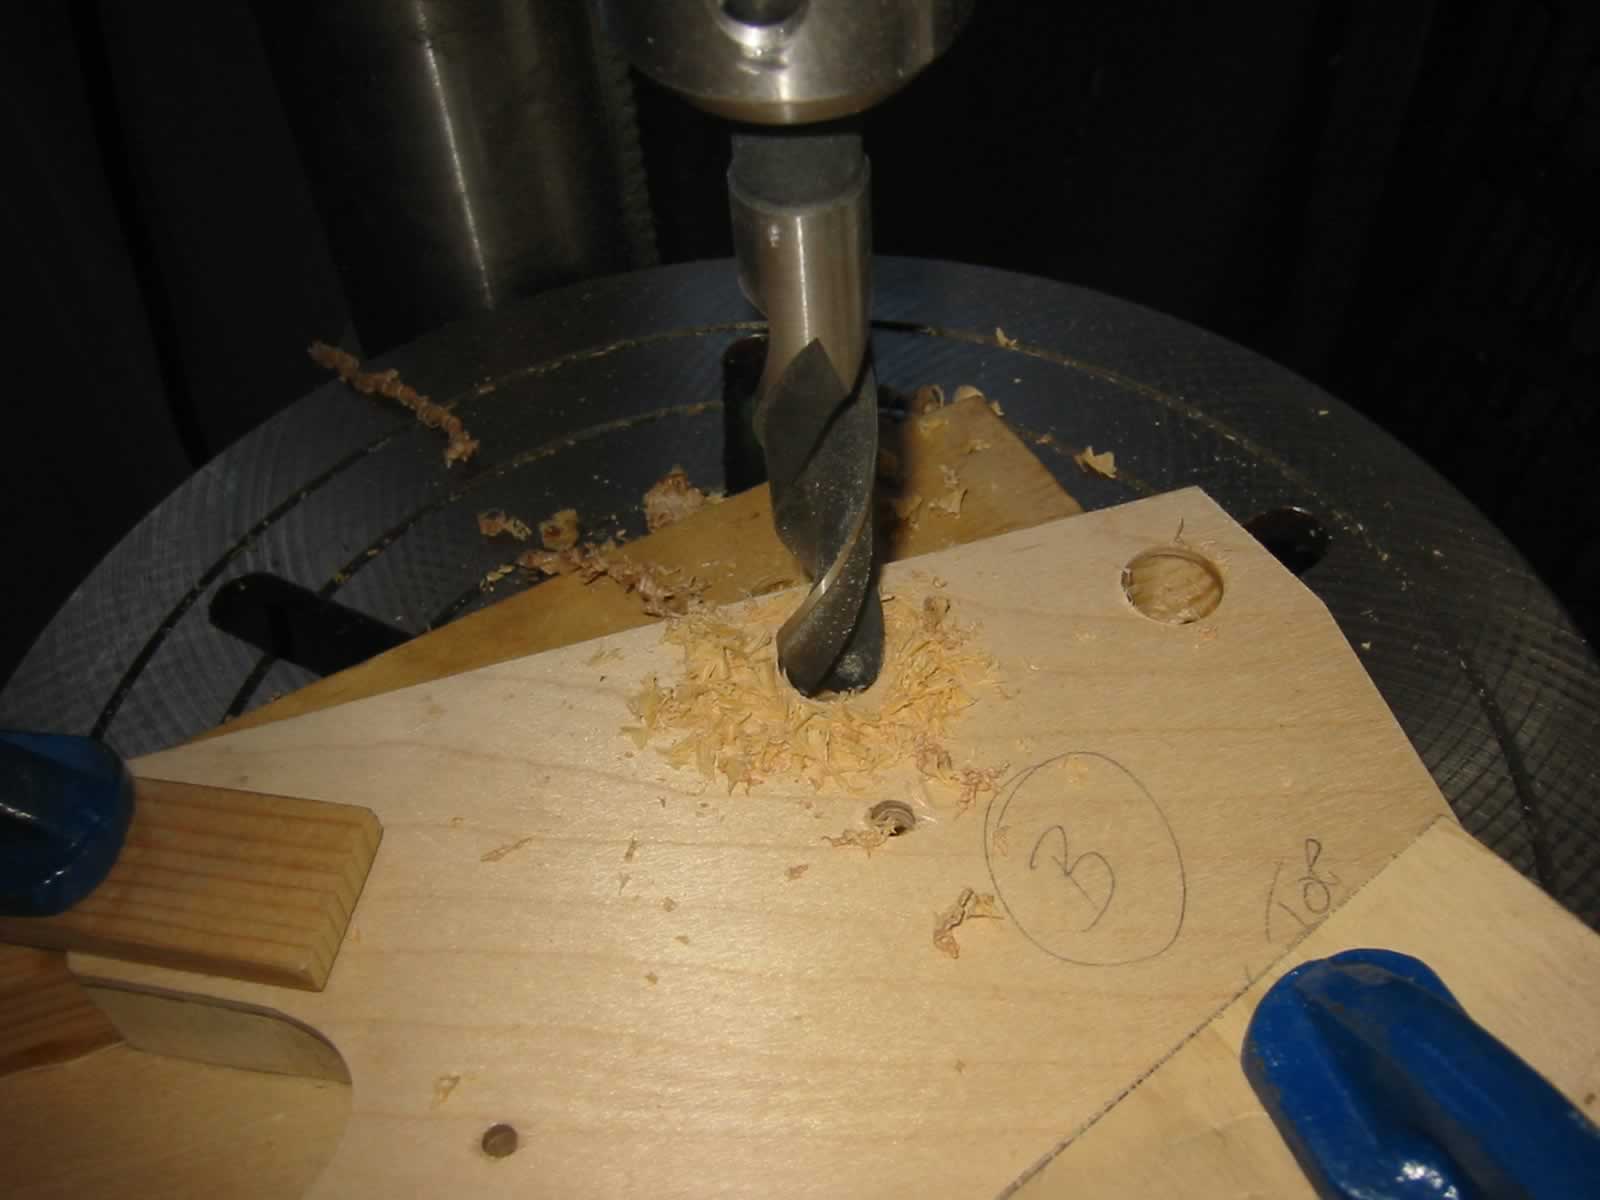 …and then I used the pedestal drill to drill for the phenolic bushings.
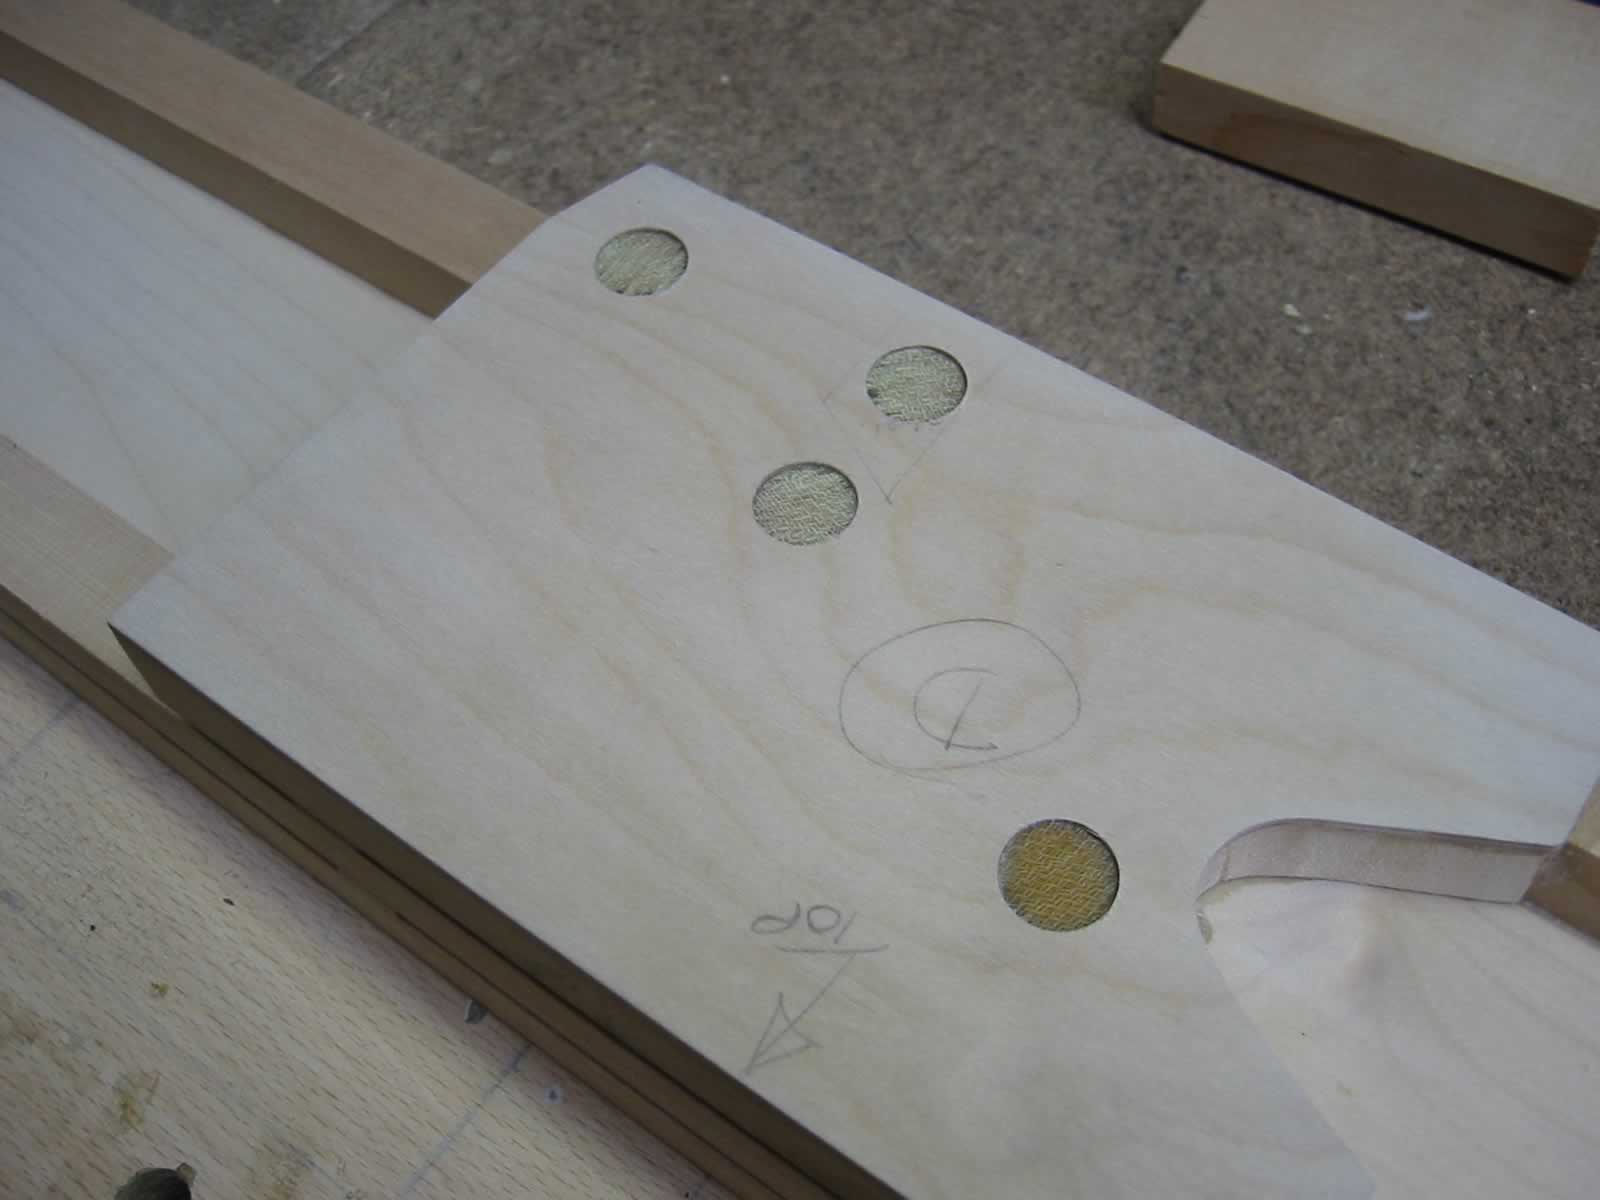 The bushings were glued in place….
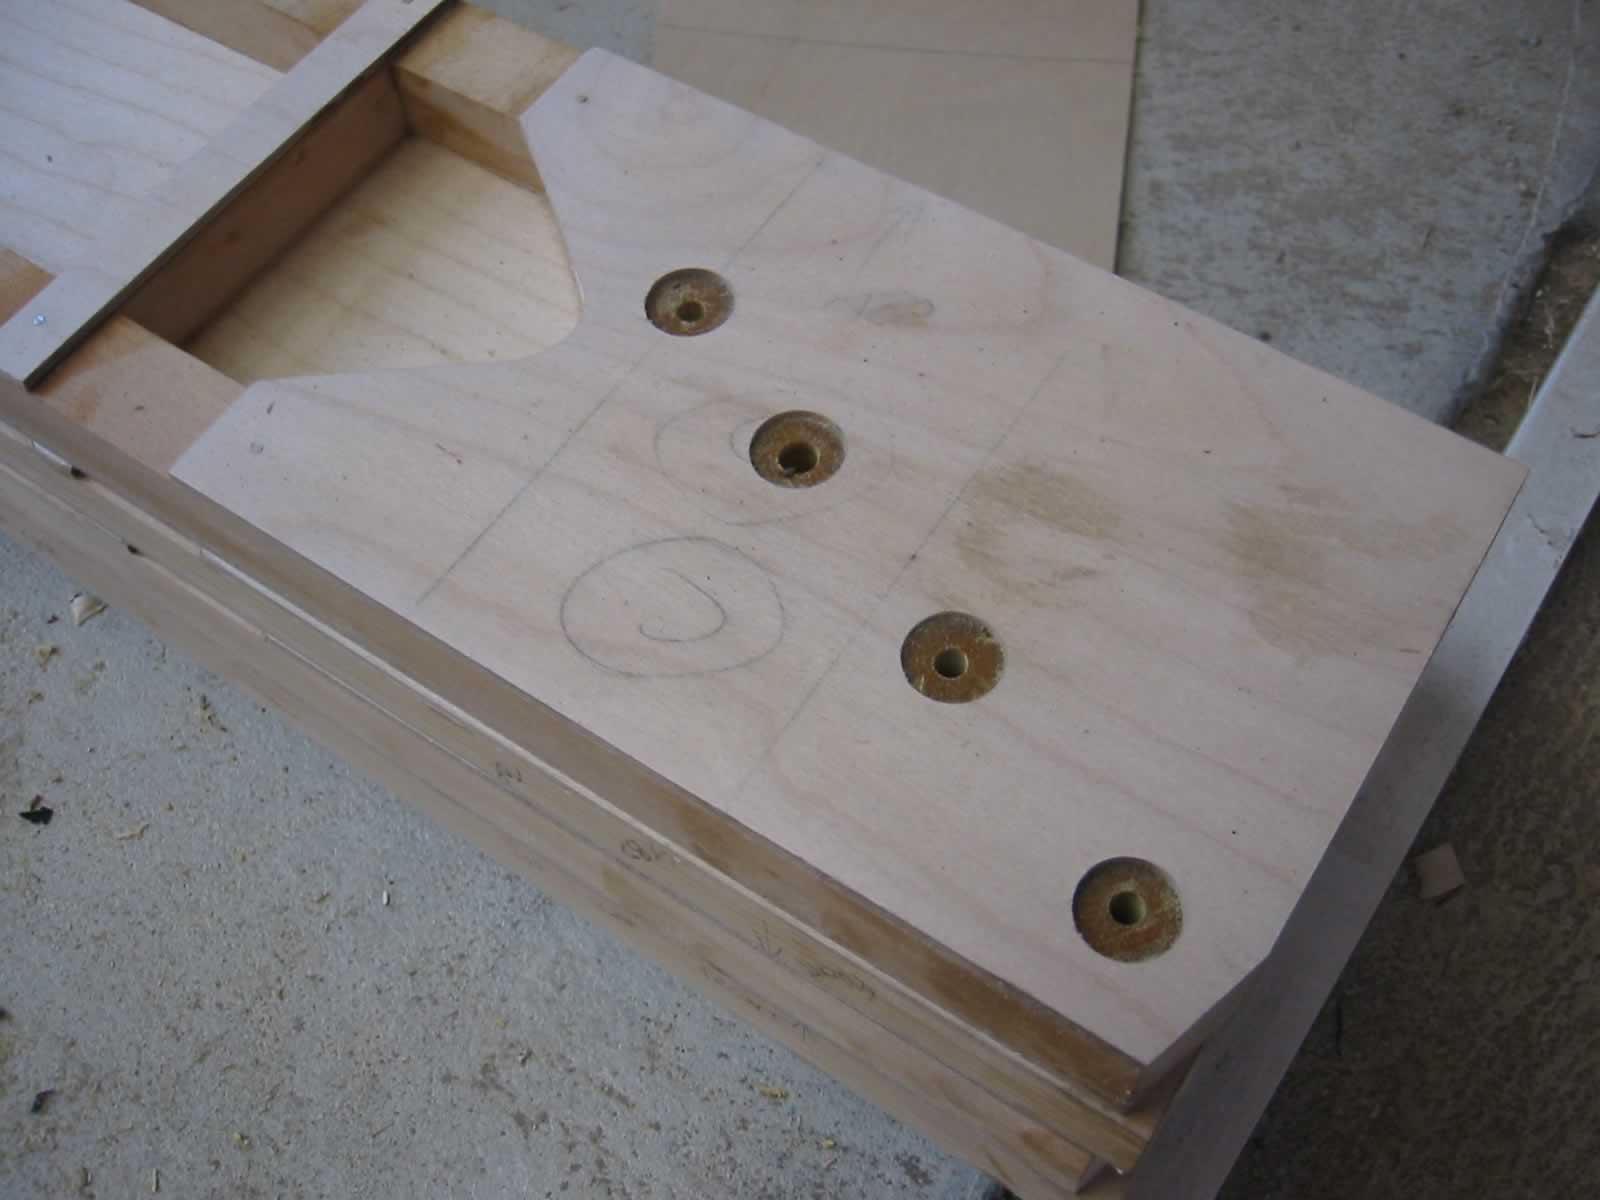 .. and the same template used to re-drill the holes in the phenolic rod.